Short On Shoe Storage? Try A Sleek IKEA DIY To Keep Footwear Hidden In Style
We may receive a commission on purchases made from links.
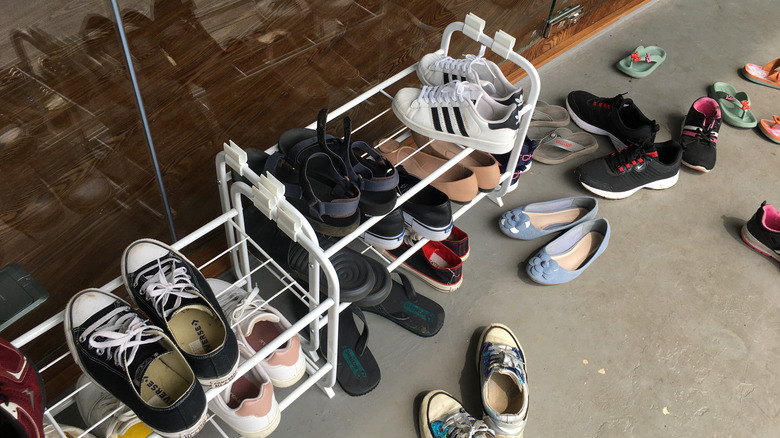
We've all been there. You get home exhausted, stopping briefly to kick your shoes off at the door before heading inside and collapsing on the couch. If every single family member does this, too, your entryway quickly turns into an unnavigable, unsightly mess of footwear. If your shoe organization system is ruining your aesthetic, what to do about it — and how to save your sanity and time spent tidying — involves a trip to IKEA, some affordable supplies, and some minor carpentry skills. This sleek DIY project involves securely connecting two IKEA EKET cabinets together to create a single shoe-concealing sideboard, embellishing them with paint, moldings, and new fixtures, and filling them with IKEA MURVEL shoe organizers. Finally, you'll have somewhere for the entire family to stow away their shoes and an entryway that doesn't make you cringe.
Before you go shopping for these pieces, measure the area where you plan to place the piece of furniture to make sure it's at least a little over 55 inches long. (That's the size of two EKET cabinets together.) Then, take a virtual or in-person trip to IKEA. Pick up the two EKET cabinets with two doors and a shelf for $80 each. The cabinets come in white, walnut, and dark gray — choose whatever color you prefer since you're going to paint over it anyway. Also, grab at least 10 MURVEL shoe organizers in gray at $1.49 each. If you choose to use both sides of your new cabinet for shoes, you'll need double this number of organizers.
How to construct and decorate your new shoe organizer
Assemble the cabinets per the instructions from IKEA. Whether you want to add legs or a tabletop, you'll need to add a wooden board that runs the length and width of each cabinet. Use two connecting plates — like these LOSYHU Silver Flat Bracket 4 x 2 Inch Metal Wood Joining Plates with Screws for about $22 — to connect the cabinets on the base or top, depending on what you're amending. Router out a shallow groove for each plate so it sits flush. If you have carpentry skills, you could skip this step and craft a tabletop that sits snugly over the cabinet corners, forcing them together. Screwing the cabinets together inside works, too — fill the screw holes if you find them unsightly and hide the joints using caulk smoothed flat with a wet finger.
When it comes to paint, sticking with a brown similar to what's already on the walnut EKET will ensure the original finish doesn't affect the new hue. Decorate the white version of the cabinet in a satin-finish eggshell for a subtle sheen — we like the Heirloom Traditions ALL-IN-ONE Paint in Cashmere, a quart for $36, because it doesn't require sanding or primer. We love the idea of painting only the frame, especially if you choose one of the door embellishments below — say, a cotton candy pink paired with raw wood molding. Not one for paint? Cover the doors of the cabinets with a textured wallpaper, patterned contact paper, or even washi tape in geometric patterns, then add trim to hide the edges paired with matching handles.
Design ideas to make this footwear sideboard your own
For a traditional cabinetry feel, frame the doors with molding, attached with a grab adhesive like Unibond No More Nails Invisible Instant Grab Mounting Adhesive for almost $18. Go mid-century modern with pole wrap to create your own stylish fluted cabinet. Curve pole wrap around the sides of the sideboard, cover just the doors with horizontal molding, or bring the look into the 21st century by painting the pole wrap deep gray and adding slender, steel legs.
Prefer the art deco era? Cut random shapes from a sheet of MDF using your jigsaw, glue them to the cabinet doors with wood glue, and paint everything matte black. Add a wooden top for more durability or a modern farmhouse aesthetic, or waterfall the cabinets together using pine boards. Marble tiles on top create a sense of luxury on the (relatively) cheap. You can change the cabinet's footwear, so to speak, too. Add hairpin legs for a lighter, retro feel or build a solid toe kick-style base. Or forgo feet altogether and mount the cabinets to the wall.
Organizational flexibility is key when picking the right shoe cabinet for your footwear. And with this DIY project, you can organize the interior to best suit your needs. Place 10 MURVEL shoe organizers on the top or bottom shelves of each cabinet or just in one cabinet to leave space for tall footwear or outdoor gear. If you have a big family, buy 20 shoe organizers and fill every shelf. Alternatively, pair one cabinet with a set of EKET drawers instead of another cabinet for more storage flexibility.