The Sleek DIY Folding Privacy Wall That's A Game Changer For Any Backyard
We may receive a commission on purchases made from links.
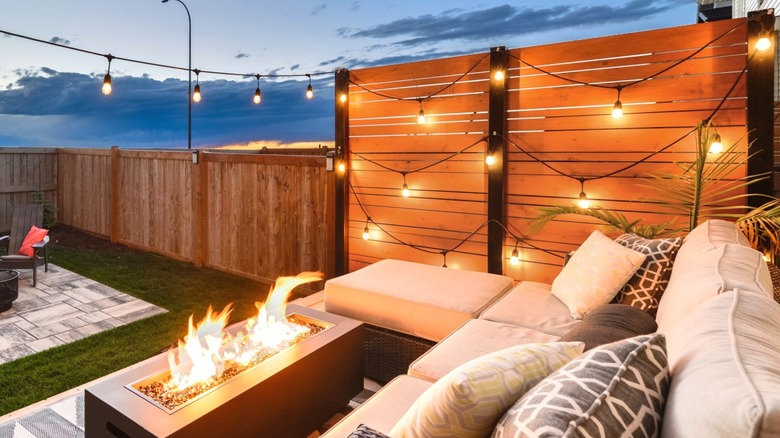
When the sun's shining and the backyard beckons, it's time to get your outdoor spaces primed for fun with friends and family. While you can't control the weather, there's no limit to the ways to enhance your experience with gorgeous DIY patio ideas. Customizing your comfort doesn't have to be complicated either, especially with easy, budget-friendly builds like a folding privacy wall. In one simple construction, you'll have a screen for instant shade and solitude that's easy to move aside when you want the breeze and sun to flow through.
Building a multi-fold wall requires some wood, hinges, and hardware to bring it all together. Since they'll be outside, make sure your materials are weather-rated to prevent rust, rot, and other wear from the elements. You may be able to save money by using untreated lumber, though, depending on how you finish your privacy wall and store it when it's not in use. Each panel consists of a simple four-sided frame you can construct with dimensional lumber, such as 2-by-4 or, if you want to save money, 2-by-3 pieces. Make as many panels as you want, whether for a bi-, tri-, or quad-fold wall. More panels will make a smaller collapsed unit that is easy to maneuver, but it also means more wood and higher costs. Shop around to find rock bottom lumber prices at Home Depot, Lowe's, or your local lumberyard, and you could pull off this project for less than $100.
The basics of building your DIY folding privacy wall
Start your folding privacy wall DIY by measuring the area to cover and planning your wall's dimensions. Divide the width by the number of panels to find the individual panel size. Allow a small bit of give to account for hinge gaps between the panels. Measure and cut your lumber to make matching rectangle frames for each panel. Pre-drill pilot holes through the boards and into the ends of the adjoining boards to make L-shaped corners. Join the boards with weather-resistant screws (e.g., stainless steel or deck screws) at least 2 ½ to 3 inches long to maintain a strong joint. You can also countersink the screwheads to drive them deeper and let you fill the holes for a cleaner appearance.
With your matching frames built, secure the hinges. Note that if the screen you put over the frame (such as slats) will make the overall panel thicker, you should install the screen BEFORE putting on the hinges so you know where to position them. Essentially, the hinge's knuckle must protrude past the panel's face when the wall is fully open to prevent hang ups when you close it. Stand the completed panels (with screens attached) on their bottom end in the "collapsed" position (i.e., two panels back-to-back, two face-to-face for a tri-fold wall). Carefully position the panels flush with one another. Leave a small gap between the panels to fit the hinge knuckle, and install the hinges so the panels can open into a flat wall.
Designing a personalized privacy wall for your backyard

After you make the frame but before you install the hinges, put your screen on your wall panels. Here's where you can get creative. A clean, contemporary look with slats is an appealing option, especially when you have repurposable materials like old wooden pallets to upgrade your backyard. Cut boards to run horizontally across the panels, and secure them with wood glue and brad nails. As you install the slats, use a thin board as a spacer to create even gaps. For accuracy and aesthetics, you should measure the size of the slats plus the additional gap to plan a layout that is symmetrical from top to bottom.
If you don't want slats, wicker, bamboo, and other natural screens can add an air of tranquility to the space. Outdoor fabric that won't fade or wear in the elements, such as Foreate Waterproof Canvas Fabric, makes another great option. With countless colors and patterns to choose from, you can easily blend your folding privacy wall into your backyard design with eye-catching accents. Cut your fabric to fit the frame of each panel. Tack it in place with glue or staples. Combine fabrics and wood slats for unique layouts, and paint the frame a complementing color to make the privacy wall pop. If using untreated wood, apply an attractive water-resistant coating like lacquer, varnish, or waterproof paint to make your frame last as long as possible.
Final additions to complete your DIY folding privacy wall
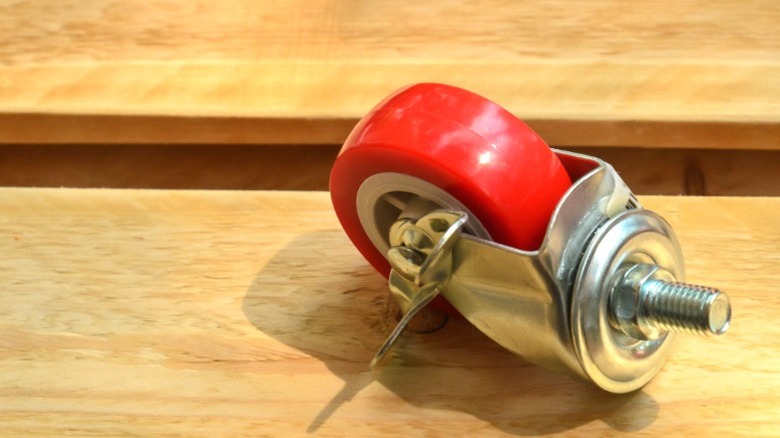
Since it folds up to move out of the way, maneuverability around your patio can be a key benefit. Casters like these ASHGOOB 1 ½-Inch Swivel Casters make it easy to wheel around, though you'll need to position the wheels next to each other in pairs to keep the wall from toppling over. Since you'll only have a few inches of space on each board, you may have to offset each wheel slightly as you position them.
If you don't want casters, you can make simple legs with short, narrow strips of wood. Attach them to the bottom of each panel, installing them perpendicular to the frame to keep the wall from tilting. When you collapse the wall, the legs will slip under the frame. Just be careful where you position the legs on each panel to prevent them from hitting each other when the wall folds closed.
To keep your privacy wall in place, consider locking mechanisms. For instance, a hook latch can connect the folding wall to a frame when open to keep it from moving. Attaching the folding wall to the porch, pergola, or gazebo wall may make sense if you'll only need the on-demand privacy in one place. Screw a hinge to one end of the wall, connect it to your support structure, and put wheels on the wall's other end so it can conveniently extend and contract.