The Best Way To Safely Remove Baseboards To Reuse Them For New Projects
The best renovation projects transform overlooked materials into standout features, giving your space a fresh look that saves you money. Old baseboards are no exception — they're simple, functional, and surprisingly versatile. Instead of tossing them during your remodel, why not transform them into creative, stylish additions to your home? With a little imagination, these unassuming scraps of wood can take on a whole new life in your space.
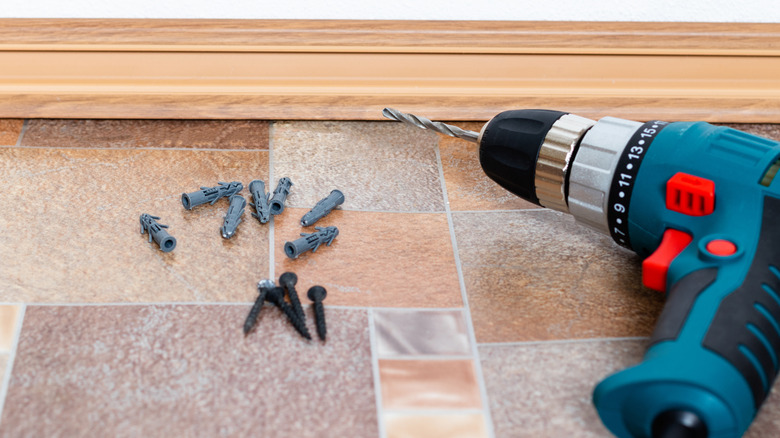
Removing baseboards isn't just about prying them, it requires a delicate touch to protect both your walls and the baseboards themselves. The process involves carefully prying your baseboards away from your walls and giving their previous spot a bit of a facelift. It requires a putty knife, a pry bar, and a bit of elbow grease to dislodge your existing baseboards. Once they're successfully off the walls, you can install a new set of baseboards or merely give the space a fresh coat of paint.
Next, you can begin refurbishing your old baseboards, specifically removing any existing nails that might remain in the wood. With that out of the way, there are a number of creative uses for them around the home, ranging from faux wainscoting to larger picture frames. Quickly transform these otherwise discarded home renovation scraps into beautiful statement pieces around your space with just a bit of creativity. But in order to get to the fun part of this project, you first need to tackle the proper technique for removing the old trim to ensure a clean break for your walls and the baseboards.
How to remove your baseboards properly
To properly remove your baseboards, use a utility knife to carefully score along the length of the trim. Move the knife along the caulk until the seal has been broken between the board and wall. Do this slowly, removing excess adhesive without damaging your walls. Next, insert a putty knife behind the trim and move the tool gently from side to side to loosen the boards. With the putty knife still behind it, stick your pry bar into the gap behind the baseboards. Slowly work down the length of the baseboard, exerting consistent pressure so you don't damage it, specifically targeting the areas where nails hold the trim in place. With your baseboard completely off the wall, fill in any nail holes in your drywall, then either install a fresh set of baseboards or paint over their previous spot.
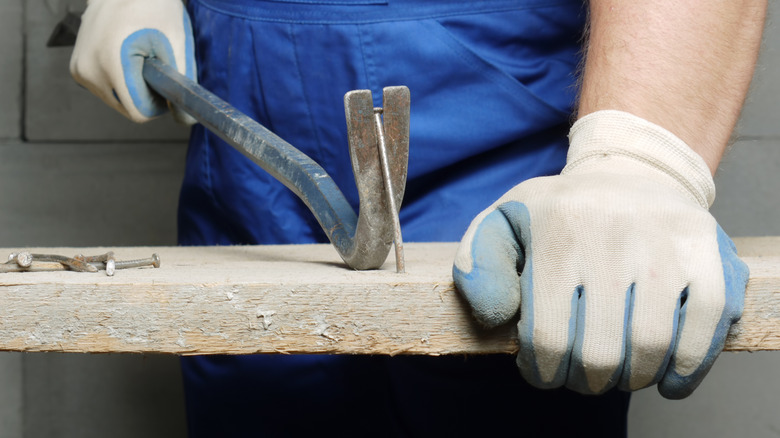
Now that you've successfully removed them from the walls, it's time to give your baseboards a quick refresh. The most important step in repurposing baseboards is taking out the nails that remain in the wood. A reverse nail gun is a useful tool for this DIY project. Otherwise, turn the board to the unfinished backing, which should be riddled with nails, and hammer each nail towards the front face of the trim. Turn your board over and use the hammer's claw to pull each nail out. Just like that, you have a nail-free board that's ready for your DIY project.
Creative ways to reuse baseboards
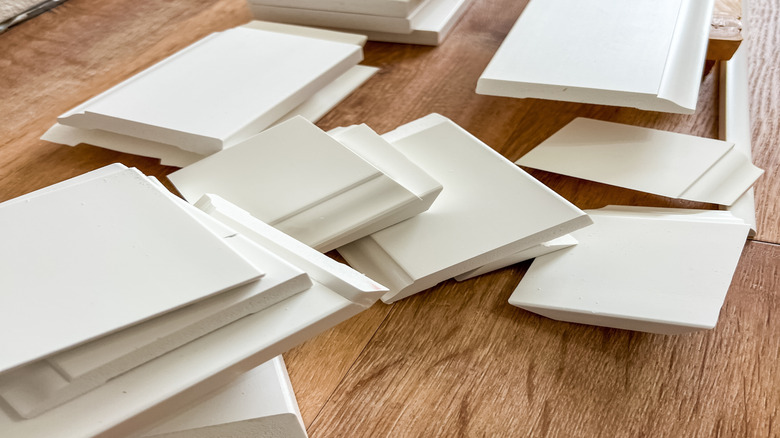
When giving your space a refresh, one of the simplest and most practical ways to reuse old baseboards is to reinstall them, either in the same room or a different one. If the original space no longer fits the style or purpose of your baseboards, they can find a new life in a different area of your home. Old baseboards can easily be cut down to fit the size of any new space, whether it's a home office, a half bath, or another living space. This might be the perfect time to repaint your baseboards or give them a splash of wood stain. This trick can quickly cut down on renovation costs and waste while also introducing a newfound sense of style around your home.
If you're looking for a more creative use for your old baseboards, there are plenty of projects that make use of their unique style and detailing. For starters, repurposed baseboards and trim can be reworked into customized picture frames. Simply measure out your baseboards to cover your artwork, cutting each corner at a 45-degree angle. Apply a generous amount of wood glue and clamp the pieces together. Allow the glue to dry completely, and, just like that, you have a simple yet detailed means of displaying your favorite wall decor. Another innovative approach for repurposing your old baseboards is transforming them into faux wainscoting on your walls. By creating rectangular structures out of baseboards, you can achieve a high-end look that makes use of discarded renovation materials, instead infusing them into your home's updated style.