Tips And Tricks That Make Installing LED Strip Lights A Breeze
You just bought a set of LED strip lights and are excited as you imagine the warm glow that will transform your space into a cozy retreat. There are a lot of clever ways to use LED light strips to brighten up your home in style, after all. Maybe you want to have lighting under your kitchen cabinets or perhaps give your bedroom a soft vibe. You unbox the lights, peel off the adhesive backing, and stick them onto the surface, only for them to not stay in place, or worse, not even turn on.
Installing LED strip lights is pretty straightforward when you know what you're doing. Winging it is not the best approach for this project. To get the best results, you would have to make sure the surface is free from dust and grease, measure and plan the layout, and cut the strips to size before actually securing them into place. This is a fairly simple process, but missing a step can lead to frustration and wasted materials.
Getting the installation right isn't just about aesthetics — it's about function and longevity, too. Rushing through it might leave you with lights that flicker or that don't illuminate evenly. Improper connections could even damage the strips or pose a fire risk. Doing it right the first time saves you time, money, and the headache of fixing a bad setup.
Making LED strip lights installation easier from the start
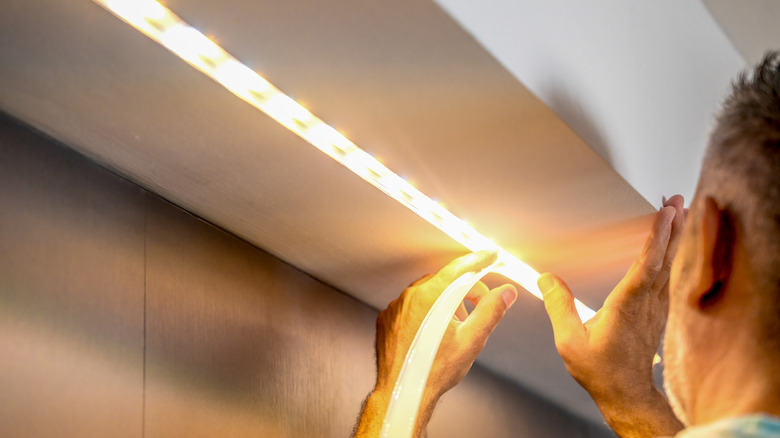
One of the biggest errors homeowners make is not checking if the adhesive backing on LED strip lights is strong enough to hold them in place. Strips generally work well on smooth and non-porous materials, but this might not be the case with textured or slightly dusty surfaces. A quick wipe with rubbing alcohol could do the trick and help the adhesive stick properly. It's also ideal to have mounting clips or double-sided tape designed for LED strip lights when you're installing them under cabinets or along ceilings where gravity is working against you.
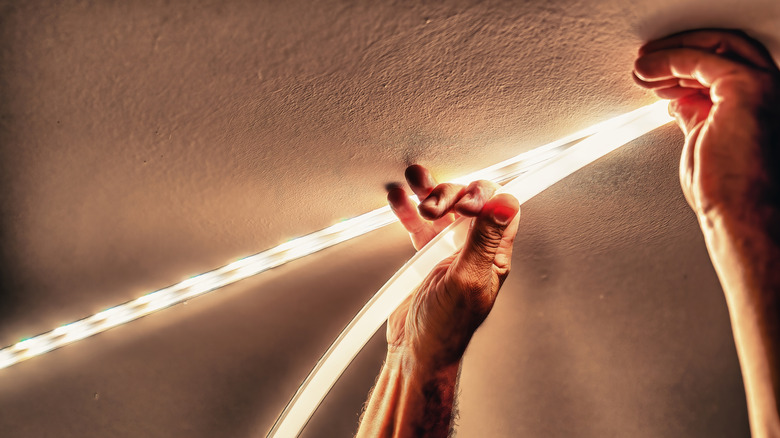
Another step to make installing one of your creative lighting ideas for indoors a breeze is properly planning ahead. This would require you to unroll the LED strip lights and lay them out where you want them to go instead of sticking them on immediately. Then, plug them in to check that everything lights up correctly. Cutting the strip to fit is easy, but you have to cut only at the marked points. Not doing this will damage the circuit. You can also use connectors if you need to go around corners instead of bending the strip sharply, which can break the internal wiring over time.
Remember that LED strip lights also come in different voltage ratings, so make sure that your power supply matches them. This is important, as using the wrong power adapter can either lead to overheating or under-powering, resulting in dimmed or flickering lights. You may need an additional power source to prevent a voltage drop if you're extending LED strip lights beyond their recommended length.
Getting the best results upon installation
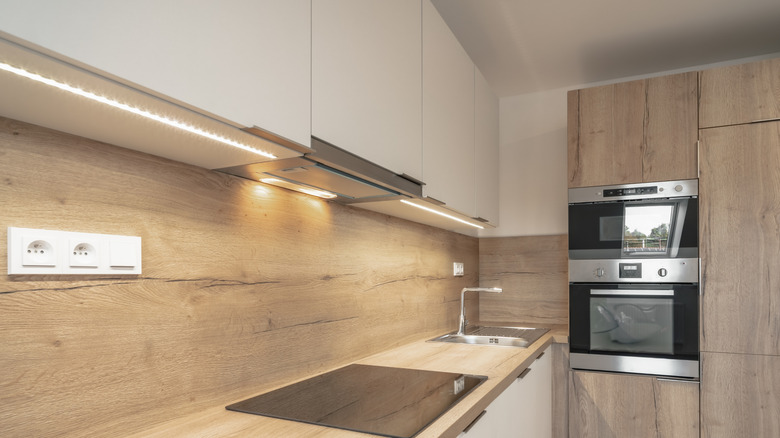
Installing LED strip lights goes beyond knowing how to stick them on and plug them into a power source. Where and how you place them can also make all the difference in how they look. A soft glow can be achieved by installing them in a way that diffuses the brightness. You can get that smooth ambient lighting effect by either placing them under the edge of a countertop, adhering them behind a television, or using them as under cabinet lighting. Using LED strip lights with a higher lumen output is recommended if you need direct lighting, like in workplaces or kitchens.
You can place LED strip lights almost anywhere you want to. But don't forget to buy waterproof light strips if you're thinking of upgrading your outdoor space, a bathroom, or in areas exposed to moisture. Regular strips can short-circuit if they come into contact with water. Placing them too close to heat sources like stovetops can also shorten their lifespan. Just make sure to keep them away from direct heat and moisture so they will last. A little extra effort in cleaning, planning, and securing everything properly goes a long way in increasing the lifespan of your lighting setup.