The Top Mistakes To Avoid For A Flawless Stucco Ceiling Application

We may receive a commission on purchases made from links.
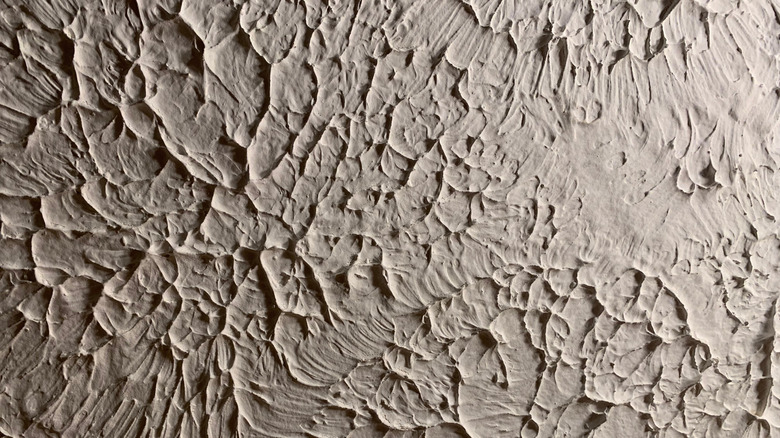
A stucco ceiling stands out for its textured surface. It's a versatile material that combines sand, cement, and lime, to provide a plaster-like coating, and can be used inside and outside the home. The customized textured finish hides flaws and protects the surface; even more so when it's painted over properly. Its durability allows you to apply it to different material types such as wood, metal, as well as masonry work. For those with high ceilings, the textured surface helps disperse sound which buffers noise.
People choose stucco for its unique aesthetic quality and its ability to last for decades — as long as you apply and maintain it properly. That's why it's important to avoid common mistakes so you can preserve your ceiling's lifespan and appearance. Installation can be fast and inexpensive compared to smoother options, but that doesn't mean you shouldn't take precautions during construction. If you make the mistake of not cleaning the ceiling before using stucco, don't expect it to stick well. Other common mistakes to avoid include not waiting for it to properly cure before painting, not applying primer, and using the wrong type of painting tool.
Don't forget to clean the ceiling before applying stucco
Neglecting to clean the ceiling before applying stucco is a major error that can cause poor adhesion and crumbling. You can avoid this by wiping the ceiling down with a dry cloth or small amounts of a mild cleaning solution. For an extra deep clean, you may want to use the brush attachment on a vacuum to suck up tiny particles. Don't forget to cover up everything in the room with a tarp or cloth to prevent damage to your furnishings and floors. This may be a more involved step if you are dismantling an old ceiling prior to installing your new stucco. If this is the case, you will want to make considerations for any demolition hazards, like asbestos insulation, and ensure that these issues are dealt with by a professional.
Once you've thoroughly cleaned your ceiling, it's time to remove your fixtures. Leaving these fixtures in place while applying stucco material can result in more expenses as you can ruin them. After you remove the exterior fixtures, cover any electrical boxes, brackets, or wires that aren't removable.
Avoid these curing and painting errors with stucco
After you've applied your stucco, avoid making the mistake of not letting it fully cure before applying paint (this should take a couple months or so). Painting too soon can result in moisture damage that creates peeling. Once the stucco ceiling surface is ready, apply a high-quality acrylic primer like Benjamin Moore Insl-x and let it dry. Adding primer to a surface before painting helps the paint adhere better. Otherwise, you risk the likelihood of future cracking — even hairline cracks can allow damaging moisture to penetrate.
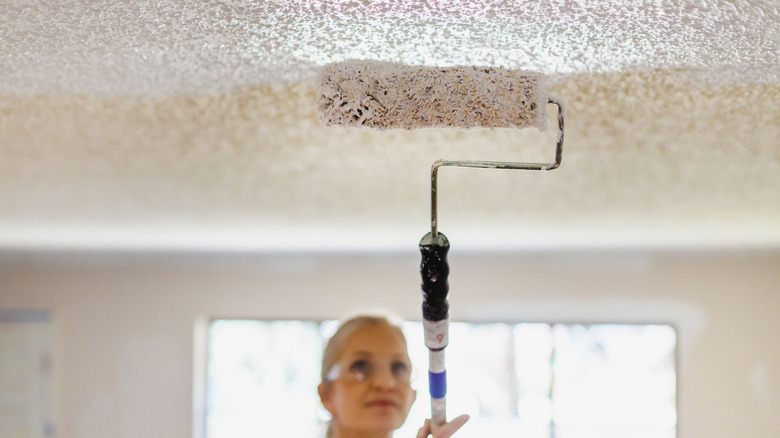
Additionally, don't make the mistake of choosing the wrong painting tool. The ideal option depends on the stucco texture — a thick lambswool roller is a good option. Choose one that is 1 inch or 1¼ inch for flat stucco, and a 1½ inch thickness for highly textured ceilings. The wrong size brush or type can affect how well and how quickly you cover the surface. For intricate details, a small brush comes in handy.
Before you buy ceiling paint for stucco, be sure that you are opting for an acrylic latex option as this will adhere best to the surface. Additionally, try out colors using sample paint pots. Colors and the appearance of a finish can change based on room light and texture, so paint in the store may not look the same in your home. Plus, the wrong ceiling color can affect the visuals of the room in a way you may not like — like making the space seem smaller.