Even Beginners Can Master At-Home Appliance Repair Using A Multimeter
A technician going at an appliance with a multimeter can seem like techno-wizardry, even if they're doing something as boring as diagnosing a dishwasher that isn't drying dishes. The magic is actually fairly mundane, and something most beginners can master easily. A multimeter — a little digital box with a couple of wired probes attached — tells you about the electrical signal that flows through a circuit board, a length of wire, or another path for electricity. Once you know the basics, it will seem less like a magic wand and more like a simple tool.
There are many options among the controls on a typical multimeter, but when diagnosing common appliance problems, there are only a few you'll typically use. You will measure voltage (whether power is getting where it's supposed to be) and sometimes current (to determine if the right amount of power, in amperes, is being used). Often you'll simply want to know if two points are electrically connected by measuring continuity. Sometimes you'll want to measure the resistance (how easily electricity can move through a wire, circuit, or component) of that connection. Multimeters usually have many more measurement functions, but you're unlikely to use these when, for example, you're sussing out a problem with your clothes dryer.
So, what are you likely to do when using a multimeter for DIY appliance diagnostics? The most likely uses for the tool will be tracing power throughout the appliance, testing fuses, testing sensors, and checking out components like heating elements. The multimeter eliminates guesswork, getting your appliance running faster and avoiding the risk of unnecessarily replacing your most expensive appliance parts.
Using a multimeter to test voltage

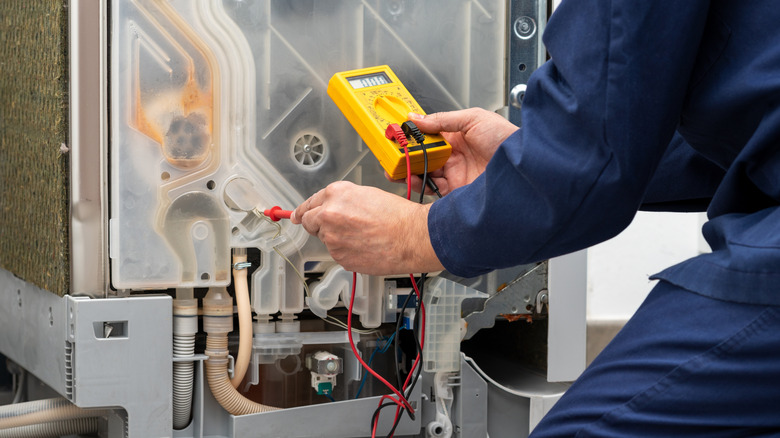
Let's look at common multimeter functions in the context of testing for issues on an electric dryer. We'll start with how to test voltage with your multimeter. Unplug the dryer and remove the access panel where the power cord enters the machine, loosening the cord's strain-relief clamp if necessary.
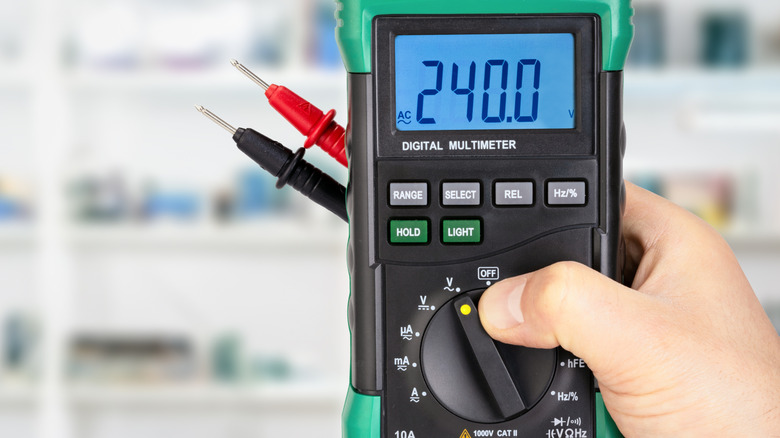
Let's pause here for the most important part: In a moment, you will be actively testing mains voltage at 240 volts. About 400 people die from mains voltage each year in the U.S., and the 30,000 people who are shocked but don't die include 5% of people who are admitted to burn units. Don't touch anything metal while performing these tasks, including the ends of the leads and the housing of the dryer. If you are unsure of your ability to do it safely, embrace that instinct and call an appliance repair professional.
Turn the dryer to the off position and plug it back in. Set your multimeter's dial to the correct range for 110 volts AC (AC voltages on multimeters have a curved line, like a tilde), or the closest value larger than 110, which will probably be 200. With the black lead attached to the COM jack on the multimeter, touch the end of the lead to the terminal where the power cord's white wire attaches to the dryer. Now, with the red lead attached to the multimeter's VΩmA port, touch the end of the red lead to the red wire's terminal. Note your reading, then touch the red lead to the dryer's black terminal and note that reading as well. Both should be around 110-120 volts.
How to measure continuity with a multimeter
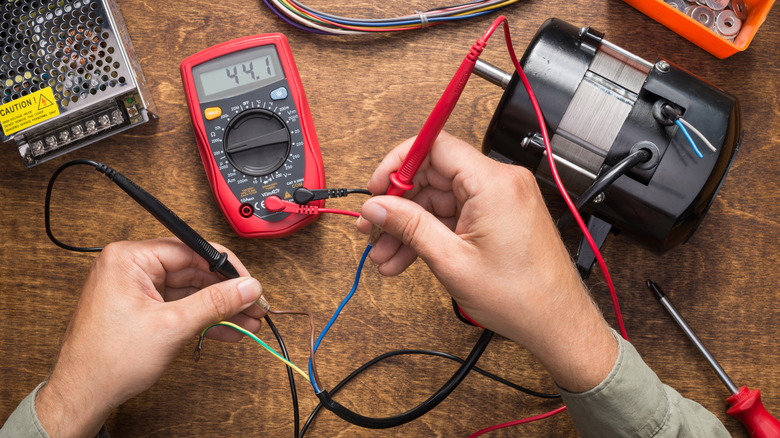
Let's look at how to measure the continuity of electricity moving through a dryer's drive motor. Locate the motor; every model is different, so we'll leave finding the component to you and YouTube. You can and should perform this measurement with the dryer unplugged. Disconnect all wires running to the motor, noting (or photographing) how they connect. Motor wire colors vary by manufacturer and motor type, so you'll need to consult the wiring diagram (usually stowed somewhere within the dryer's housing) to be sure, but it's common for a dryer motor's hot wire to be blue. Assuming that's true, and that the neutral wire is white (it usually is), set your multimeter to continuity mode; this might be combined with diode check mode, so consult your multimeter's manual for details. Now, touch either lead to the blue wire and the other to the white wire.
You might get an audible tone if there is electrical continuity between the leads. For most meters, you will see a number as well. Both indicate that there's an electrical connection between the wire entering and the wire exiting the motor, which is a good sign. The number you are likely to see when there is electrical continuity is the resistance of the circuit between your multimeter leads. If there is no continuity, you will likely get an "OL" reading.
What to do if you need to measure resistance
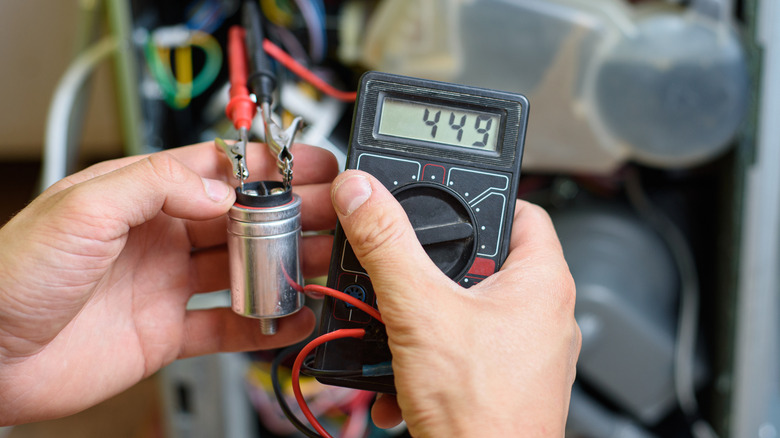
You should get a specific resistance reading for most components, which indicates they're in good working order. Resistance, measured in ohms, is an indication of how much a part of a circuit interferes with the free flow of electricity. An incandescent light bulb filament has extremely high resistance, resulting in loss of electricity as it's converted to heat. A thick copper cable, on the other hand, has comparatively low resistance because it tends to let electricity move through easily.
As you might have guessed already, a continuity test is basically a resistance test that looks for any value at all, so the process for testing the resistance of your hypothetical dryer motor is mostly the same as testing for its continuity. The key difference is that you'll use a different setting on your multimeter. Turn the dial to the lowest AC resistance setting that's higher than 5 ohms, probably 20 ohms. Touch the leads to the same points as before (blue and white wires) and note the multimeter's reading. For most dryer motors, you'll see a resistance between 3 and 5 ohms. Check documentation for your particular motor for a precise value or range of values. If there's no electrical continuity, you will see "OL" on the display (indicating "overload" or "open line"), which indicates an open circuit with essentially infinite resistance: No electricity is getting through. Note that some brushless inductance motors have a resistance too low to read with a common multimeter, in which case a specialized meter called an "LC" meter is required (or a visit from an appliance repair pro).
What to do with your multimeter readings
Knowing what multimeter readings mean is about having expectations. If you set your meter to voltage and touch the leads to your dining table and a spot on the ceiling, you expect to find no voltage flowing between the two, unless something is terrifically wrong. If, on the other hand, you touch the line and neutral terminals on a dryer that's plugged in, seeing no voltage indicates a problem.
You expect each leg of the dryer plug to read 110-120 volts, and anything outside of that range indicates a problem with either the power supply, the outlet, or your home's wiring. If the outlet checks out as properly delivering 110-120 volts per leg (that is, to each of two "positive" prongs on the dryer cord), then you have a faulty dryer cord.
For most devices, you expect to see continuity between where electricity enters and exits. A fuse is a clear example of this: A functioning fuse will show continuity between its terminals, while a fuse that's been blown or tripped will show an open line, meaning you should replace or reset the fuse. A lack of continuity on a dryer motor probably suggests that you should measure its actual resistance level to confirm there's a problem.
If there is no power moving through the motor, you should see "OL" on your multimeter and take that as a reasonably good sign that there's an issue with the motor. Look for obvious problems like wires disconnected from the motor, and once any alternative explanations are exhausted, it's time to shop for a replacement motor or a new dryer.