The DIY Alternative For Buffing Hardwood Floors Without Professional Equipment
We may receive a commission on purchases made from links.
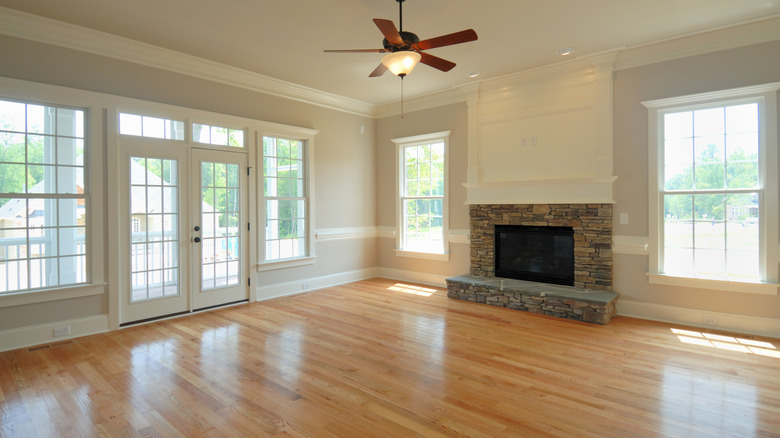
Take a good look at your wood floors. Have you been neglecting them? Is the finish dull and scratched? Boards that have seen better days may be due for a buffing. There are a few crucial tasks to keep your wood floors looking like new, and buffing them occasionally is at the top of the list. Buffing can remove minor scratches and damage to the finish without needing to refinish floors completely, but renting a buffer can set you back a small chunk of change, and it's a bit annoying to have to pick up this appliance from a store as well as return it. If you can effectively buff your floors without a power tool you likely don't already have on hand, why not try?
To fix up an entire house full of wood flooring, these steps may not be for you, as it does involve some intensive scrubbing on all fours. But for one-room-at-a-time buffing and small spaces, you can zhuzh up wood floors without a cumbersome and expensive machine rental or professional services. After you've determined what kind of finish you have and cleaned your floors well, buffing your floors to a glow doesn't require many special tools or products. All you need are some soft rags, a buffing pad, and the right solution for your floor's finish. You can even save your knees and back a bit of pain by subbing rags for a product like these Tamicy Mop Slipper Shoes.
Pre-buffing process
Before you embark on any DIY buffing project, it's important to know what kind of finish is on your floor, if any at all. If your floors are coated in polyurethane, you shouldn't use wax during the buffing process. Also, if your floors are unfinished (including ones that are only stained, varnished, or lacquered), don't buff them, since there's no protective coating you'll be shining up. First, check if your floor has been coated with a sealant by dripping a small amount of water on a high-traffic spot. If the water beads, it's been treated. However, if it soaks into the surface, the floor doesn't have a protective finish.
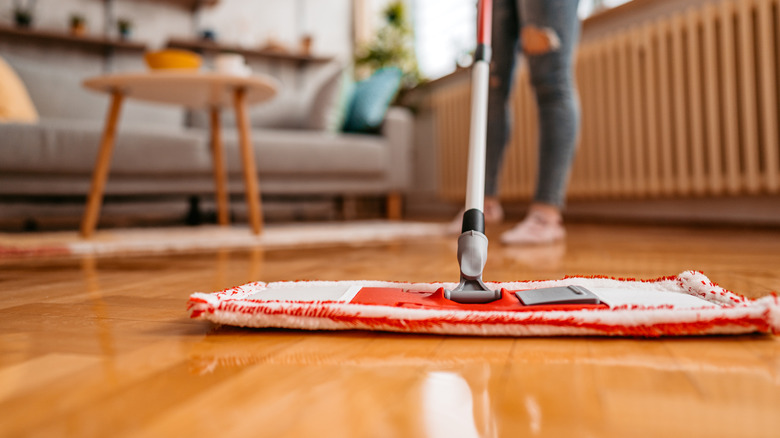
Next, determine whether you're dealing with polyurethane or wax, because the type of buffing compound you'll use differs depending on the finish. Find an inconspicuous spot on your floor (like a corner or the overhang of your kitchen cabinets), and rub a fine steel wool pad lightly over the finish. If you end up with a gray, waxy substance on the steel wool, you're dealing with wax-coated floors. Get rid of dirt, dust, and debris on the floor with a good vacuuming or even better, with a rubber broom. These handy electrostatic tools pull dust and dirt to them like a magnet. Mop up any stains, hand-scrubbing ones that are set-in, using a cleaning solution that's formulated for your type of finish.
Buff your way to beauty
Gather up your supplies: a few rags made of terry cloth or another soft material, buffing pads like Dura-Gold Premium Light Duty Scuff Pads, and the right buffing compound for your floor's finish. Howard Wood-n-Floors is a top choice for polyurethane-coated floors, while Quick Shine Pure Floor Wax is a solid option for waxed surfaces. As an alternative to manufactured products, olive oil and beeswax are a few household staples that will have your hardwood floors shining. Your buffing compound may contain toxins and emit unpleasant gases, so make sure to stay safe by wearing gloves, using a mask, and opening windows or running a fan for ventilation.
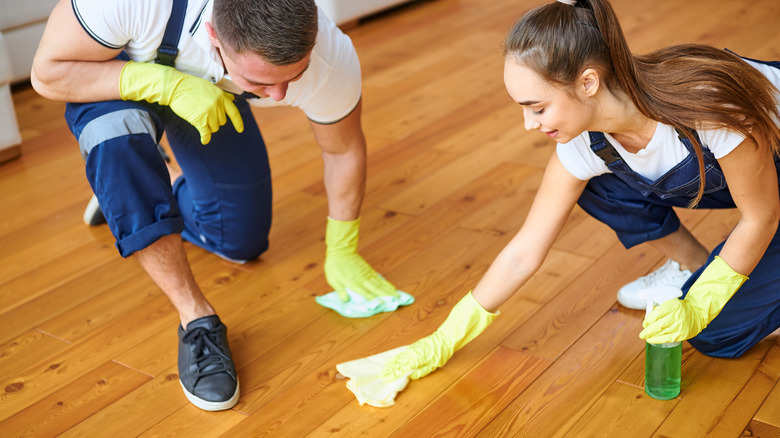
Let any wet spots on your floor dry before moving on to buffing. Tackling 3-foot by 3-foot sections at a time to make sure you don't miss any bits, rub buffing compound into the area with a soft rag. Work your way from a corner toward a door so you won't be trapped! Follow up with a buffing treatment. Scrub lightly in a circular motion with a light-grit buffing pad. After an hour, you should be able to walk on the floors in moderation, but be sure to let the product dry for 24 hours before placing any furniture on top.