Repair Rotted Cabinet Floors Under The Kitchen Sink With A DIY Fix
Water damage can be a homeowner's worst nightmare, especially when it's hiding right under your kitchen sink. It's a frustratingly common issue that plagues cabinets made out of medium-density fiberboard (MDF), as this material doesn't tolerate excess moisture well. This can lead to rotting, warping, and a whole host of other unsightly issues with your cabinet floors. But removing them altogether can be just as much of a pain, and an expensive home project. Lucky for you, there is a simple fix using plywood that will hide your wood rot and prevent it from happening again — without the need for a massive budget.
The key to this trick is bulking up your cabinet base, rather than completely replacing it. Most MDF cabinets rely on their base for structural support, acting a bit like an anchor for its decorative framework. By removing that base, you jeopardize their stability, potentially damaging your cabinets without even noticing. The fix is adding a protective layer to your cabinet interiors. Using a piece of plywood or an additional slab of MDF with a waterproof membrane, start by measuring the base of your kitchen cabinets and cutting your wood to the correct size. For an alternative solution, a bit of framing lumber and a waterproof sealant can do the trick. With the edges of your wooden slab cut to the right dimensions, you want to split it directly down the center into two equal pieces. Draw on two sets of alignment markers that will help ensure a simple install that slides right into the base of your cabinets with ease.
Using plywood to fix your cabinets
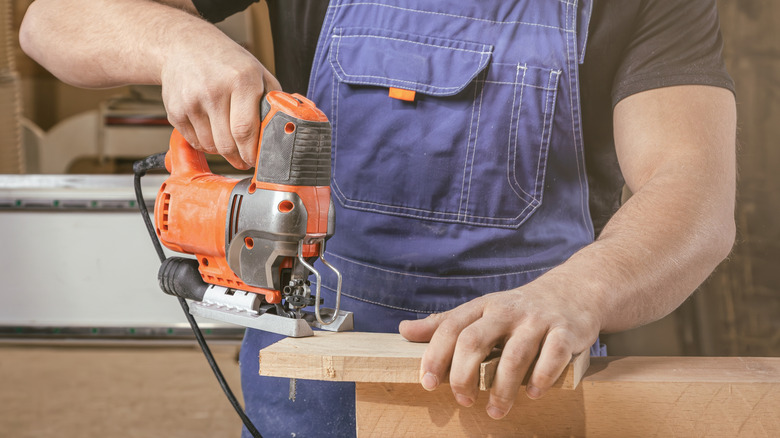
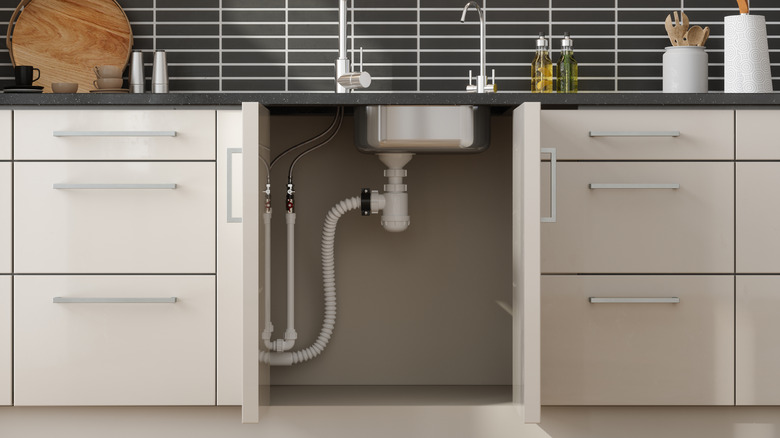
Fixing a rotted cabinet floor doesn't require extensive woodworking experience or an arsenal of expensive tools — in fact, you can do it with the tools that every homeowner should have access to! Measure and mark the placement of any piping or fixtures in the base of your cabinet. There should be a gap between the pipes and your newly installed flooring to prevent any mold growth or moisture damage. To cut the notches, you can use a drill-mounted hole saw for a rounded effect or substitute it with a simple jigsaw if one isn't available.
With your cuts complete, you want to dry-fit your plywood to ensure accurate measurements. Before installing your cabinet flooring, remember to shut the water to your sink pipes off, as you don't want any leaks while you're working. Note that there should be a small gap between your piping and the new base. If there isn't, recut the notches to account for the gap. Place one half of your plywood into the base, securing it with 3/4 inch brads or an alternative nail. If you notice the first board seems to sag, you can secure it with an additional 2-by-4 underneath. Install the second panel of plywood by aligning the previous markers and anchor it into your cabinets.
If you're going for a more refined look, you can easily elevate this DIY with a few finishing touches. Installing front trim to your boards can help conceal the edge of the plywood, caulking over any exposed seams or nails. You can also add a splash of wood stain and a waterproof sealant for maximum protection.