How To DIY A Cleat Wall For Better Garage Organization And Storage
Among the various versatile storage systems DIYers use to suit their ever-changing needs, cleat walls seem to have it all. Able to hold equipment of any size and shape, this garage organization solution lets you add, remove, and rearrange storage units in infinite configurations. With a French cleat wall in the garage, you only need a couple of boards with simple cuts to attach to shelves, hooks, bins, cabinets, and custom storage pieces to manage your unique collection of items. It's a perfect addition for managing tools and family gear, while the attractive looks are just a bonus.
The beauty in this design is its simplicity. If you rip a board (e.g., a 1-by-4) at a 45-degree angle, you'll have two halves of a cleat system. One half sits on the wall with the slope going up. The other connects to a backing for a removable storage piece, with the bevel sloping down to hook into the wall cleat. Once a storage unit is installed, you can slide it around or lift and remove it to replace, raise, or lower it. Dimensional lumber or plywood will work for the wall and hanging accessories. You may need a decent amount, too, so research lumber yards, resellers, and lumber deals at Home Depot or Lowe's to get the best value. While thinner materials, like ½-inch plywood, will be sufficient for hand tools and other light items, using ¾-thick wood will give you a reliable hold for heavier loads, like stocked cabinets.
Planning your DIY cleat wall
After clearing a spot for your cleat wall, decide how your cleats will attach to the garage wall. You can screw horizontal cleats directly to finished walls. Alternatively, you can use a plywood sheet as backing if you have exposed studs or an uneven wall surface. Hanging your cleats on a separate panel also adds layers of flexibility. The entire wood surface provides more anchor points for the cleats, and you can change the wall's location in the garage or take it with you if you move.
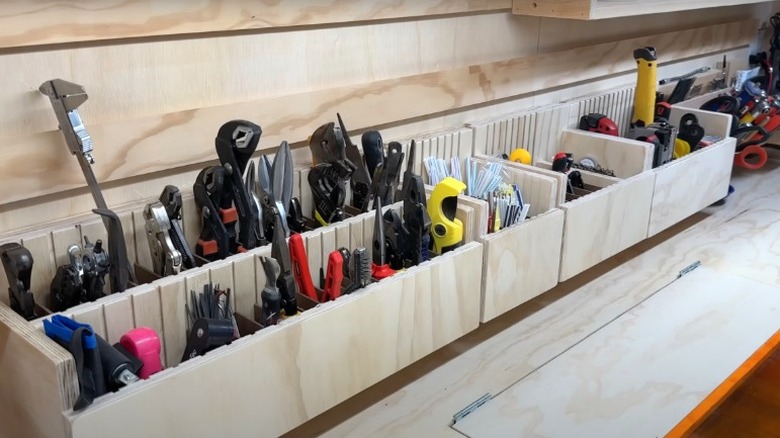
Plan the spacing and width for your cleats. Generally, most cleat widths should work, as long as they're wide enough to resist splitting when attaching screws to the studs. Widths of around 2 to 3 inches should suffice, and with ¾-inch plywood, you should have a sturdy construction for most items you would reasonably expect to store, from tool bins to mountain bikes. For spacing, you'll need enough to comfortably remove each cleat. Closer cleats will give you more versatile arrangements since you can raise and lower pieces in smaller increments. But that will also cost much more since you'll need a lot more lumber. To save money and still organize your garage like a pro, use a blend of materials and spacing. Use thinner wood (e.g., ½-inch plywood) and closer spacing for your small tool sections near your workbench and wider spacing with thicker boards to hold your heavy equipment. As your needs evolve, you can always add more cleats, too.
Cutting boards for a stable cleat wall
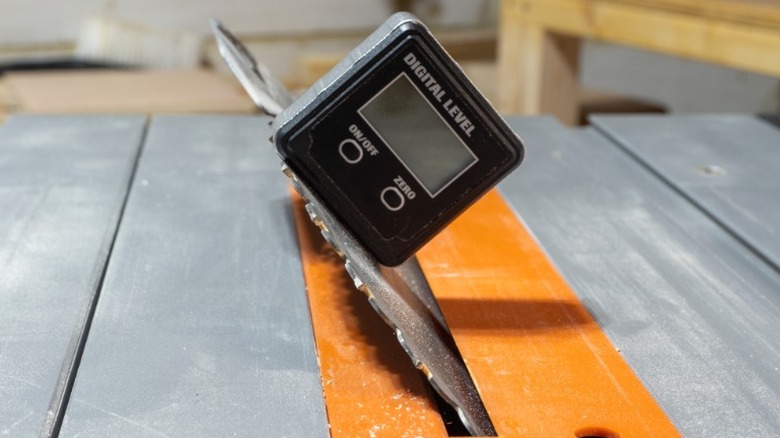
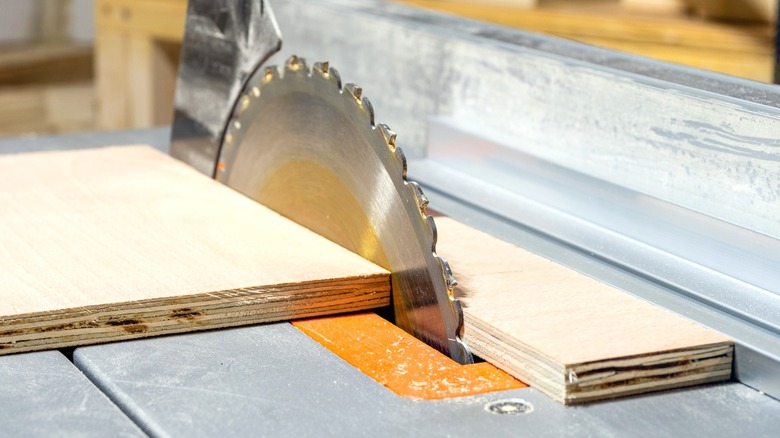
A table saw is the ideal tool for getting consistent, properly angled cuts when ripping long boards. You can also cut down large pieces of wood without a table saw by using a circular saw and a fence to guide it. Start by ripping your plywood into narrow strips with 90-degree cuts. Then, cut these pieces in half at a 45-degree angle, creating matching bevelled cleats for the wall. You can also cut shallower angles (e.g., a 55-degree angle), which would make hanging accessories easier to remove, though they may also be easier to knock off.
The crucial point when cutting is making the blade hit the board dead-center to make two equal-sized pieces. Minor deviations in width won't significantly affect performance, but the finished wall will look uneven. Because of the angled cut, finding the correct fence measurement isn't as simple as dividing the board's width by two, as you would for a 90-degree cut. For instance, with a 3 ¼-inch-wide strip of ¾-inch plywood, you'll set the fence at 1 ¼ inches to get two 2-inch boards after ripping it at 45 degrees. And that will change based on the strip's width, thickness, and the cut angle. You can take a few minutes to do the math, but for simplicity, mark the center of a strip at the end and line it up to hit the blade in the right spot. You can even cut a scrap plywood piece to test the fence position.
Hanging your cleats to complete a clean installation
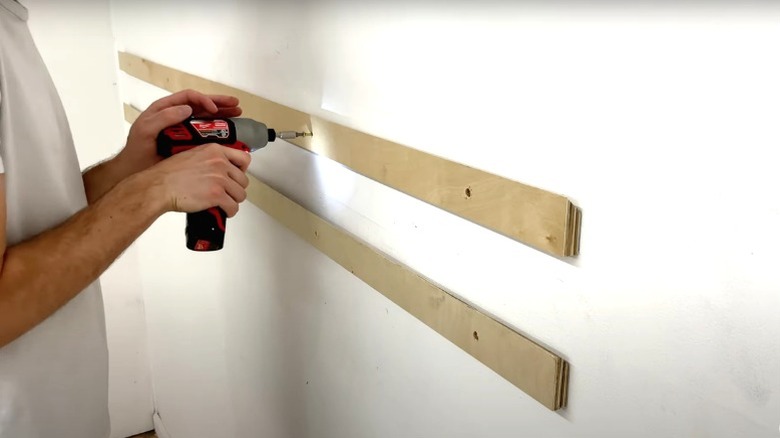
When installing your cleats directly into the wall, use your stud finder to locate and mark the studs. With your cleats cut, set your bottom cleat in place on the wall, using a level to keep it even. Install the cleats with construction screws long enough to drive through the cleat and drywall and well into the stud. Drill pilot holes first, using a countersink bit to let the screw head rest below the cleat's surface. Doing so will make for a more attractive look and prevent exposed screw heads from getting in the way of the hanging cleat accessories. Be careful about placement, as a screw too close to the cleat's top edge will go into the beveled section and block the cleat accessories from sliding in securely.
With the first cleat in place, you can use it as a reference to install the others. Rest a few spacers (e.g., 2-by-4 blocks) on the cleat down its length to position the next cleat, ensure it's perfectly parallel, and secure it to the studs. Repeat this process until you reach the top. After that, feel free to paint the wall and cleats as you wish to style up the appearance. Then, you just have to design your storage accessories using cleat attachments and have fun creating the most organized, ergonomic, and space-efficient garage possible.