The Brilliant DIY Headboard Hack That Upcycles A Fireplace Screen
Creativity and resourcefulness are the heart of DIY projects. They lead to the transformation of something ordinary into extraordinary, breathing new life into items that were previously destined for the trash. This allows for each project to become a personal statement as charm and character make your space truly your own. But, beyond the environmental benefits of upcycling, this approach is also great because it is budget-friendly and allows you to make functional and decorative pieces without spending a fortune.
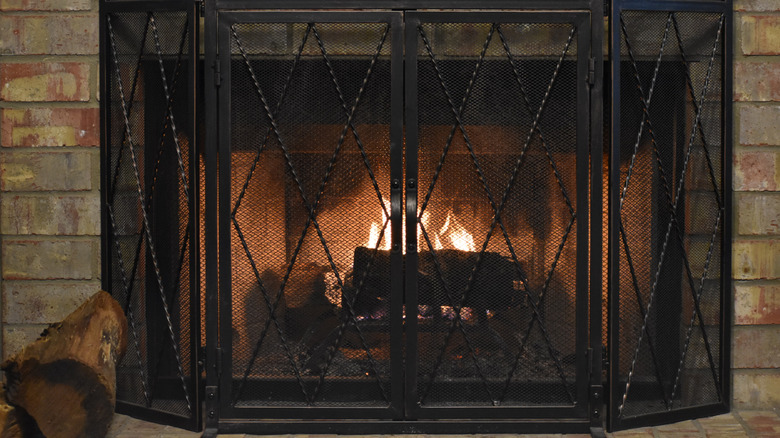
Take an old fireplace screen, for instance. Wear and tear over time can leave it less functional or visually appealing. But, instead of tossing it out when you're ready to redecorate your fireplace, why not transform it into a stylish headboard? With just a few materials that you likely already have at home, you can turn potential waste into a bedroom focal point while also demonstrating the magic of repurposing in action. DIY, after all, isn't just about making. It's also about finding beauty in the unexpected and giving used objects a second chance to shine in new ways. Get ready to make a stylish DIY headboard!
Turning a fireplace screen into a headboard
Transforming an old fireplace screen into a brilliant DIY headboard to upgrade your bedroom is easy. You can start by cleaning the screen thoroughly to ensure that the materials you will be adding will attach securely. Plus, you don't want a dirty object on or near your bed. Just use a damp cloth and warm water to wipe down the screen. Add a dab of dish soap to the mix if there is any grime that simply won't budge. Then use zip ties to fasten the hinges tightly to keep the screen in a fixed position and avoid it from folding. These zip ties will also act as attachment points when you mount the headboard to the wall later on, so make sure they're sturdy and evenly placed.
Then take an old bath towel and measure it to fit the dimension of the fireplace screen. Once you have the right size, cut the towel and use a hot glue gun to secure it onto the screen. This layer of padding not only softens the headboard but also gives it an upholstered look once you've finished. After adding the towel layer, it's time to select a fabric that complements your room's style. You can choose a linen or cloth in a color or pattern that suits your aesthetic. Don't forget to measure the fabric so that it's two inches wider than the screen on all sides to allow for easy wrapping. Then use hot glue to stick the edges of the fabric to the back of the screen and on top of the towel. Once done, just install it against the wall at the desired height using nails or wall hooks to anchor it securely. Then proceed to thread the zip ties over the nails to mount the headboard in place.
How much it costs and tips to improve it

One of the best parts of this DIY headboard hack is how it is a budget-friendly way to upgrade your bedroom. If you already have an old fireplace screen and a towel at home, your main expenses will just be fabric, zip ties, and hot glue. A yard of fabric, if you also don't have any usable old sheets or curtains in your home, typically costs at least $9.5 depending on the material and design, like the Sedona Designz Cotton Duck Canvasz. A Karoka Ultra Heavy Duty Cable Ties sells for $7.99 while you can grab Krightlink Mini Hot Glue Gun Kit for $8.99.
It is also easy to take this project to the next level just by experimenting with different fabrics. You might want to use velvet or faux leather to add a touch of luxury while patterned linens can bring a playful vibe. You could also add decorative trim like nailhead accents for a more professional look. If you're aiming for a more textured look, try stitching buttons into the fabric or use quilted fabric. You can even add LED strip lights along the edges of the screen for a subtle glow that enhances the ambiance of your bedroom. Another idea is to stencil or paint designs directly onto the fabric or frame for a touch of artistry.
With so many ways to make it your own, this DIY project is proof you can upcycle items that could've been another addition to a landfill into something both beautiful and functional, letting you enjoy the satisfaction of a masterpiece that's uniquely yours!