The Correct Way To Repair Water Damage On Popcorn Ceilings (& Mistakes To Avoid)
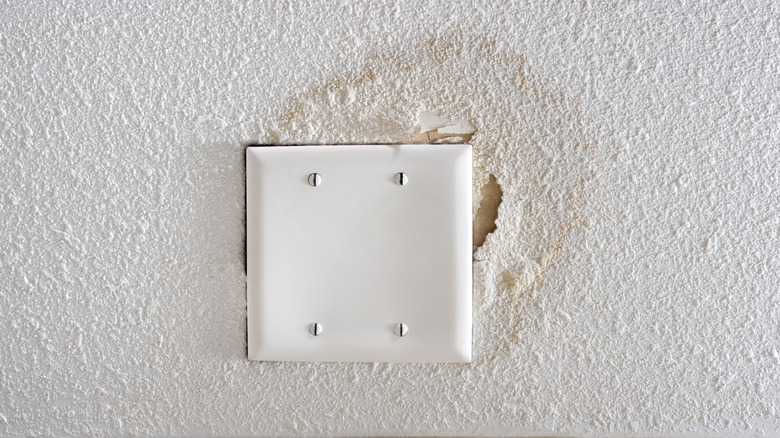
Repairing a water damaged ceiling is intimidating, and even more so when working with a popcorn ceiling. Still, it's totally doable as long as you follow the proper procedure. To find out the correct way to repair water damage on popcorn ceilings (and mistakes to avoid), House Digest reached out to Judi Kutner, who is a licensed realtor and senior contributor at Virtual Staging. She explained that you must repair the water leak, dry the ceiling thoroughly, scrape off the damaged area, and apply a stain blocking primer followed by popcorn ceiling patch. Paint over the repair when you're done. According to Kutner, common mistakes include a lack of surface preparation and failing to address the source of the water leak.
The most intimidating part of this process is arguably figuring out how to make the repaired area look seamless. Thankfully, Kutner shared some reassuring advice that should help you pull this off. "In order to repair water damage on a popcorn ceiling, you have to give lots of attention to detail to ensure a proper finish and achieve that touch of 'nothing happened here,'" she said while speaking exclusively to House Digest.
An additional important note to keep in mind before moving forward is that many popcorn ceilings contain asbestos. Inhaling these fibers puts you at risk of developing diseases like mesothelioma and lung cancer, so test your ceiling before working on it. The best method for testing your popcorn ceilings for asbestos is to put on protective gear, collect a sample, and send it to a lab for results. If the sample comes back positive, hire an asbestos abatement professional to handle the damage.
The steps to repair water damage on a popcorn ceiling
While speaking exclusively to House Digest, Kutner stressed that your first step to repairing water damage on a popcorn ceiling should be to identify the water source that caused the damage. "This is crucial as fixing the source will prevent future damage," she explained. "Some causes may be a leaky roof, a plumbing issue, or a condensation problem. If you can find the issue with certainty, it's a job you can do on your own. Otherwise, consult a professional."
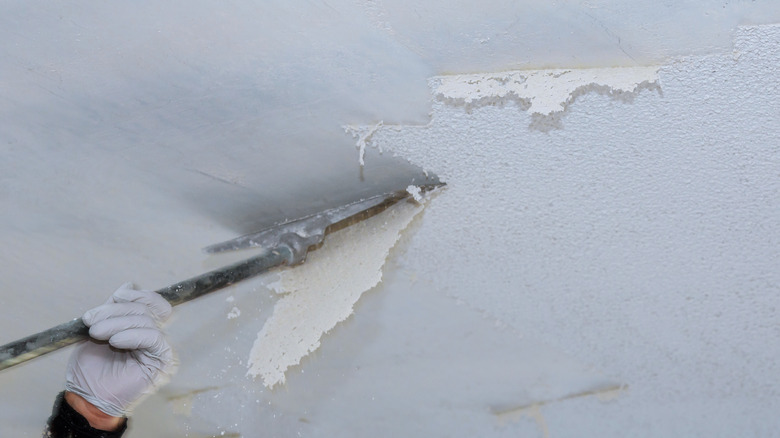
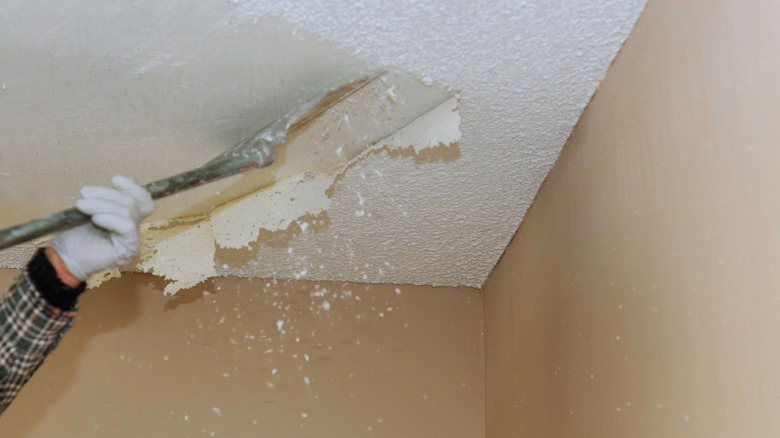
After addressing and eliminating the source of the water leak, Kutner recommends using fans or a dehumidifier to dry the ceiling completely. Next, apply a drop cloth over the area underneath the ceiling damage you'll be working on. Put on a dust mask and safety glasses too. With your gear on, go ahead and scrape off the popcorn texture in the affected area and about an inch around it using a putty knife. "There may be material you can't see that is still affected," Kutner warned. "Also, if the texture is stubborn, you can lightly mist it with water to soften it, but don't overdo it because you can [over-wet] the area."
When done, apply a stain-blocker primer to the repaired area to keep water stains from making their way through the new finish. Fix any ceiling cracks or holes with joint compound or spackling paste at this point, allow it to dry, and sand it down. Lastly, apply a popcorn ceiling patch to conceal the damage and paint over it. This is the easiest way to fix a ceiling with water damage.
Other repair techniques and common mistakes
In some circumstances, you'll need to use a slightly different repair technique. "There are some cases where scraping the area might not be necessary," Kutner said while speaking exclusively to House Digest. "For example, if the damage isn't too abundant, you might want to paint over it after curating the ceiling." To complete this alternative process, start out by laying down a drop cloth and putting on protective gear. Next, combine 1 part bleach and 4 parts water in a spray bottle. Apply the solution very lightly onto the water stains on your popcorn ceiling. "After 15 minutes, gently blot the area with a clean, damp cloth to remove the bleach solution," Kutner said of the next step. "Avoid rubbing, as this could damage the texture."
If you still notice staining after the area is completely dry, repeat this process. Apply stain blocker and paint over the repair using a long-napped roller when done. Regardless of which process you use, it's important to avoid mistakes. According to Kutner, common errors include not repairing the water leak, skipping certain preparation steps, using the incorrect texture grade, applying spray paint rather than using a roller, and inadequate sanding.
Some DIYers even complete repair steps before the ceiling dries thoroughly, which can also cause problems. To avoid these mistakes, Kutner recommends reading up on proper repair techniques and reading all product instructions thoroughly. For those who cannot locate the water source, find mold or asbestos, do not have the necessary equipment, or are not confident in their DIY skills, the expert confirmed that you should hire a professional instead.