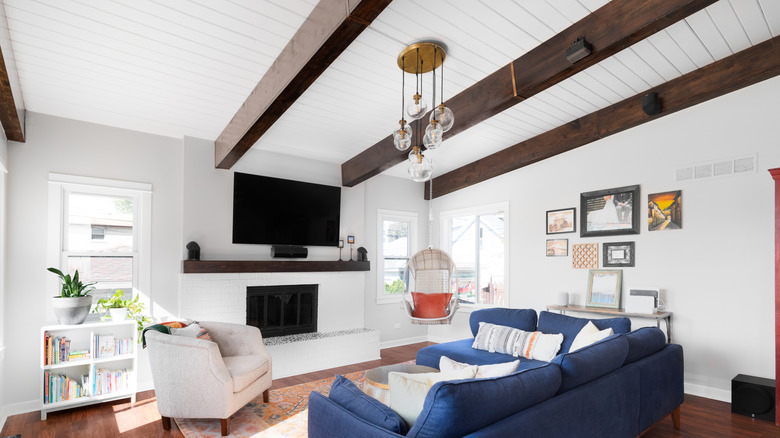
The Easiest Material To DIY A Shiplap Ceiling (& How To Do It)
We may receive a commission on purchases made from links.
While shiplap has long been used as both an exterior siding material as well as an interior wall treatment, it was catapulted into mainstream popularity by Joanna Gaines via her TV show "Fixer Upper." A type of grooved paneling composed of horizontal wood planks that overlap to form a tight seal, it's highly coveted for the texture and modern farmhouse charm it can add to a home. When it comes to installing shiplap on the ceiling, though, the weight of the wooden boards can make the process quite cumbersome. Fortunately, shiplap made out of PVC is incredibly lightweight, making it much easier to work with when attaching boards to the ceiling.
In addition to being lightweight, PVC shiplap is 100% waterproof. This makes it a better choice than traditional wood shiplap if you plan to install it on your bathroom or kitchen ceiling, where it'll be subject to high moisture levels. It's also mold- and mildew-resistant and won't warp over time, so it's a great low-maintenance material. What's more, PVC shiplap is easy to cut with a jigsaw, and it's also paintable if you'd like to create a stunning statement ceiling to give your space a new look.
You can find PVC shiplap at any big box hardware store. Lowe's sells these ECHON PVC shiplap planks for $24, which come in a pack of three 8-foot boards. Or, these Everbilt PVC panel molding shiplap planks are available at Home Depot for $35, which also come in a three-pack of 8-foot boards. Both products feature tongue-and-groove style planks, making them easy to fit together during installation.
Installing PVC shiplap on your ceiling to add character
If you're looking to spruce up your plain, chipped, or stained ceiling or cover a dated popcorn ceiling without the hassle of scraping, installing PVC shiplap will instantly add style and character. Start by measuring your ceiling. Some rooms aren't always square, so it's best to measure in several places. You can either attach shiplap directly to the ceiling drywall or attach it to furring strips. Use a stud finder to find your joists, and then snap a chalk line or mark them with a pencil. If using furring strips, attach them to the joists with 2 ½-inch screws, spaced 16 inches apart. Cut your shiplap boards to size, and attach them to the joists (or furring strips) with a brad nailer. Some DIYers also like to apply construction adhesive to the back of each board before nailing for extra hold. Just be sure to use a suitable adhesive for PVC like Loctite Power Grab.
To fit the shiplap around any lights in the ceiling, mark the opening on the board, and use a jigsaw or hole saw to cut it out. If the opening lands between two boards, you can clamp them tightly together, and then cut the hole out. Once all the boards are in place, leave them white or paint them whatever color you'd like. A high-quality enamel paint is recommended for PVC, and you'll likely need two coats for full coverage. To hide the transition between the shiplapped ceiling and wall, you may want to install crown molding. This will also give it a more polished look.
