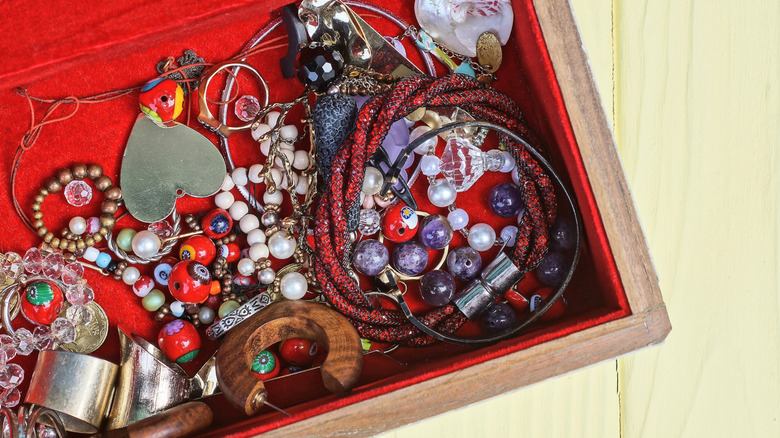
Keep Jewelry Organized And Tangle-Free With An Affordable DIY Storage Solution
We may receive a commission on purchases made from links.
Building patience is a valuable life skill. But even the most zenned-out human will feel frustration while untangling a ball of tightly-wound necklaces. It's happened to every jewelry fan, and it'll keep happening unless you discover the perfect storage solution. Well, you can make your own for just a few dollars and virtually no DIY experience. Grab a scrap piece of wood, or purchase a small cut from your local hardware store. Top it with stain or paint, screw in a few hooks, and hang it on a wall for an attractive jewelry perch with nary a knot in sight. This simple wall-mounted solution is a streamlined way to declutter and organize jewelry to free up useful space.
Make this with a 10- to 12-inch section of 1 by 2-inch lumber, some screw hooks, and hanging hardware like these 888 Corp No Nail Sawtooth Picture Hangers. You can make variations of this with a thin dowel that's the same length as the wood piece and/or a collection of repurposed chopsticks. As for color for your wood, a simple stain will enhance the wood grain and look classy, but a sleek or bold paint color can also top your hanger beautifully. Make your project even less-expensive by pouring yourself an extra cup of coffee; you can use this life-sustaining elixir to naturally stain wood.
Finally, you'll also need a paintbrush or sponge and some sandpaper. If you are using nailless picture hangers, set aside a hammer. Although it's possible to insert screw hooks with a few taps of a hammer and some hand turning, you may need a drill to add your hooks.
A hanger with some twists
Scrub your wood with sandpaper, wipe away the dust, and apply the paint or stain. If you're using a dowel, give it the same treatment. Tack two picture hangers to the back of the cut of wood, each about 2 inches from the ends. Next, you have a couple of jewelry hanging options. You can attach a row of evenly spaced hooks to hang individual necklaces or bracelets to what will be the lowest edge of the wooden piece, or you can go the dowel route. For this variation, only install two hooks on the bottom edge, about 1 inch from each cut end. Slide a dowel through the two hooks, and you have an easily removable rod to slide jewelry on and off, even rings.
Both of the versions above leave the entire face of the wood a blank slate. Adventurous crafters, this is a chance to repurpose chopsticks from your pantry stash. Fit your holder with hooks made from chopsticks. If you want uniform hooks, you'll need a separate chopstick to make each hook; since most chopsticks are tapered, bits cut from different sections of a chopstick will have varying thicknesses. Also grab a drill and shears capable of cutting the chopsticks. Don't stain the wood until you've added the hooks. Drill into the wood at an acute angle opening to the top of the wood piece. Slide cuts of chopsticks into the holes, and coat the whole unit with paint or stain. These little hooks will be perfect for rings, bracelets, or even the set of keys you always misplace.
