Here's The Trick To Removing Tile Adhesive From Your Walls
Removing tiles from a backsplash or bathroom is a tough enough job, but it's not over when the tiles come down. More often than not, you still have to wrestle with whatever adhesive was used to put them up in the first place. Whatever you plan to do to the walls next, the adhesive has got to go.
Generally, this is a messy job. However, if you get lucky, you might need little more than a bucket filled with water, a scraping tool, and some elbow grease. The trick is to wet down the adhesive to make it softer so the entire job is easier and cleaner. While this may not be effective for every type of adhesive, if you can easily scrape away bits of the product with your fingernail, the method will likely work. To test its viability before starting, wet a small area of adhesive and let it sit for a minute. When you come back, it should scrape away easily.
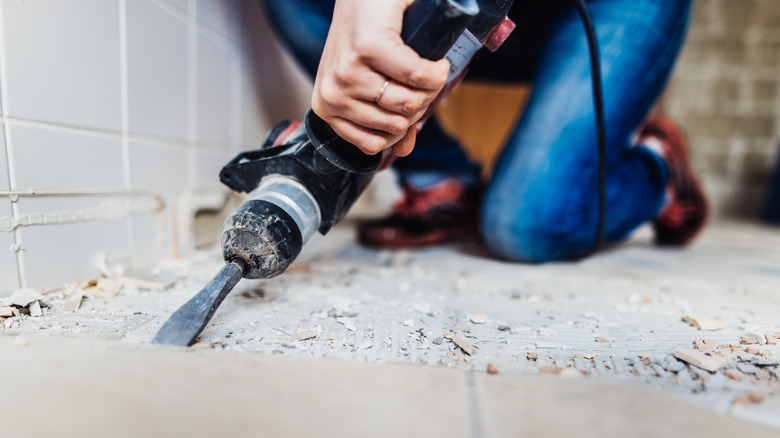
Cement-based mortar is the most common type of tile adhesive used in homes, and this method will likely work for it or thinset. For less cooperative adhesives, you might need a hammer and chisel, an electric drill with a chisel attachment, or even a concrete grinder and lots of protective equipment. So keep your fingers crossed and hope you have an adhesive that is easily removed when wet.
Use water and a scraper to remove old tile adhesive
Before you start wetting down your walls, there are a couple of things to keep in mind. First, turn off the power to any nearby outlets to prevent potential electrocution. Also, consider where you're working. While wetting down the adhesive will make the whole process less dusty, things will still get messy. If, for instance, you are working in the kitchen, you'll need to find an easy way to protect your countertops during the renovation (a drop cloth works great). You may also need to cover drains, outlets, and other openings.
While YouTube's mac plastering says cold water will work fine, you can make the process even easier by using warm, soapy water. Fill a bucket, get a nice big brush, and start applying water all over the walls. If a spot starts to dry out before you get to it, reapply the liquid. When it comes to scraping the adhesive, there's no real science to it, though you may want an older, sharper tool to get the job done quicker. You may also run into stubborn patches — for these, consider using a solvent like bile soap to loosen the adhesive. If you're retiling or otherwise covering up the walls with something that doesn't require a completely smooth surface, congratulations! You might be finished. If you're painting, you may still need to prep the walls for paint.
Skip the scraping and skim-coat over the adhesive
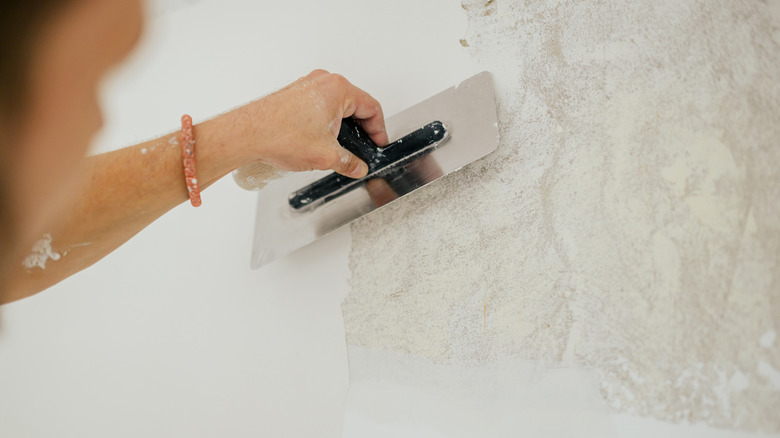
If the wet-and-scrape method doesn't work for your adhesive — or you just don't feel like doing all that scraping — there's another option. Walls in good enough shape after the tile is removed are candidates for skim coating. Start by grabbing some high-quality primer to ensure the drywall compound has a better surface to adhere to. It could take up to three coats to get a smooth finish, so be prepared to put in a decent amount of work. Check for high-points on the wall and take the time to get rid of any you think may cause ridges or bumps. Then, once you've mixed up your drywall compound, get out your 16-inch flat trowel and apply it to the wall.
You can expect to see ridges and imperfections after the first coat, so don't skip that second round of application. Once you have the hang of skim coating, you may realize old tile adhesive is not the only eyesore this technique can help you with. You can also say goodbye to popcorn ceilings without having to remove them thanks to this handy method.