Adjust The Height Of IKEA Furniture With A Clever Hack
Countless details contribute to a clean room design, and uneven furniture pieces can throw off the whole vibe of a living area or workshop. Mismatched cabinets and shelves are an eyesore, and counters that don't line up or cabinets that hang too low can make workspaces less functional. To avoid a disjointed appearance and an impractical layout, it pays to line your pieces up and make them mesh by adjusting their height. Sometimes that means adding legs to build your furniture up, and other times you have to cut your cabinets down to size.
This IKEA hack for adjusting furniture height can be applied to several situations. The trick involves cutting the bottom off the furniture and reinstalling the finishing pieces from the cut-off portions to keep the general design intact. Use it to level your ALEX system with your desk or hack a BESTÅ to take your home storage to the next level. Completing this project only takes a circular saw, hand saw, or jigsaw, and a few hand tools to put everything together cleanly. Since IKEA furniture and similar products use materials like particle board and plastic, there are a few crucial steps you should take to ensure a stable build.
Change the height of your IKEA furniture while keeping the design
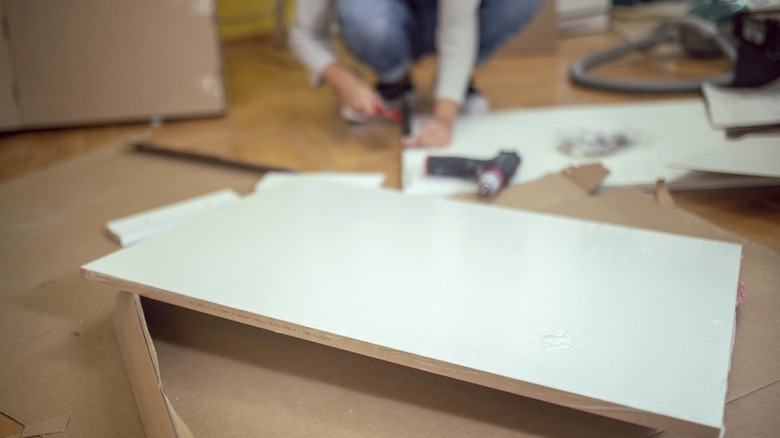
To get started, measure the height you need and mark cut lines on the side panels to cut them to the desired height. Remove any drawers, shelves, or hardware that are in the way. To prevent tearout and make a precise cut, lay down painter's tape over the cut lines on both sides of the panel. Lay a straight-edge board parallel to the cut to function as a fence. Clamp it in place on the panel, and use it to guide your saw as you shorten the panels.
After cutting the panels, you can repurpose any finishing pieces, like support shelves or toe kicks, from the portion (or portions) you removed. You can use the bottom pieces you cut off of your panels to act as templates to transfer fastener holes to the newly shortened cabinet — this way, you can use all the original hardware. Another option would be to fasten the pieces with new brad nails or countersunk screws, or if you have to create new holes to connect the pieces, you can use dowels and wood glue. When using screws, pre-drill holes to prevent splits, and patch the old screw holes with wood filler. You can also apply filler to quickly repair any dents or cracks in the IKEA furniture that may pop up while completing the modification.
Ideas to make this IKEA hack even better
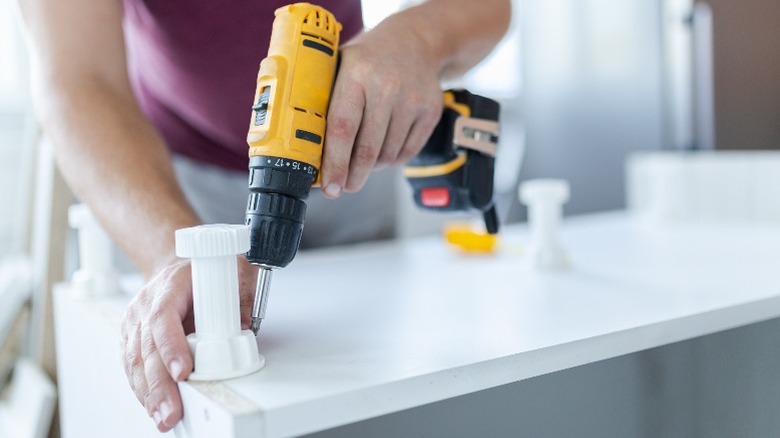
Being able to change the height of your IKEA furniture opens a world of possibilities to get the look and function you want. Legs can help dial in the ideal height and clean up the look of a floor-standing cabinet. Plus, they'll give you another decoration opportunity as you can install matching drawer pulls for an updated look. Legs are straightforward to install, especially when your furniture has a flat foundation. If you're cutting the side panels, you'll likely have to add a base to secure the frame. Cut a plywood piece to fit the dimensions of the furniture and attach it to the bottom with screws.
When you're shortening a wall-hanging cabinet, consider how custom counter clearance might help. You can make your cabinet as high or low as you want, and depending on your needs, this may be a great time to take advantage of different storage options. Maybe you're putting the cabinet over a garage work surface. By deviating from the standard upper cabinet height and making it a little shorter, you can add hanging hooks underneath it to store tools, extension cords, paper towels, and more while still leaving space over the counter. Resizing projects like these aren't the first thing we think to do when getting new furniture. But knowing how easy it is to accomplish should inspire you whenever you need an existing piece to suit your changing layout. With some tweaks, there's no reason you can't reimagine your IKEA furniture to make it work perfectly for your space.