The DIY Wall Vase That Instantly Turns Flowers Into Beautiful Masterpieces
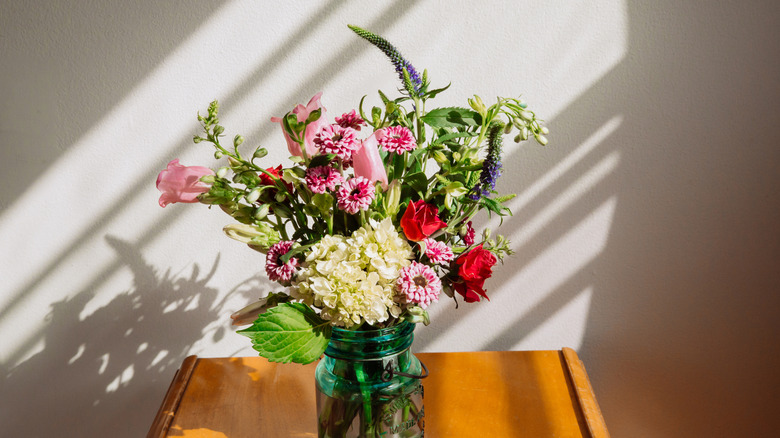
Flower bouquets are an easy, classic way to add color and cheer to your home decor. Once relegated to vases that require a flat surface on which to sit, this DIY will move your floral arrangements from table to wall by creating a hole in the vase from which you can hang it. With a stunning picture frame mounted around the vase, your brilliant blooms will be transformed into a 3D art piece.
This project takes styling vases in your home to another level, and the aesthetic lynchpin is actually the frame. There are a few ways to approach the project — create a hole in a glass vase and hang it from a nail to provide support for the weight of your bouquet (and water, should you need it). Or, if that sounds a little daunting, consider using a plastic vase instead. In fact, there are a plethora of items that can easily be repurposed to create a hanging vase. You could even purchase some that are designed explicitly for that purpose. Though if you're comfortable taking a drill to glass, we've got some tips to help ensure success.
How to hang your vase on the wall
Start by selecting your glass. Square or book-shaped vessels are fantastic options and will hang flush on the wall. But if you want to use this project as an opportunity to upcycle your empty wine bottles or use more traditional, round-sided vases, you'll just want to take extra caution securing the bottle before you begin drilling.
Your top priority to avoid shattering is to keep the glass cold while you work. Use a diamond or carbide-tipped drill bit and run the drill slowly. Running water under your drill bit will help to keep the surface cool until you break through. Alternatively, you could use one of the many household items that can be repurposed into beautiful flower vases. Which, incidentally, may negate the need for glass drilling and make this project even easier.
In fact, if you're looking for alternatives to drilling, you could use a double-sided picture hanger, sticking one side to your bottle and the other to the wall. Or use a specialized glass glue to attach an S hook to the back of your vase. You could even use a bucket, basket, or other decorative container with a handle and simply employ the handle as the hanging mechanism. You'll just want to ensure you consider the weight of your bouquets and their water. Once your vase is hung, you can add the frame element.
Styling your vase frame
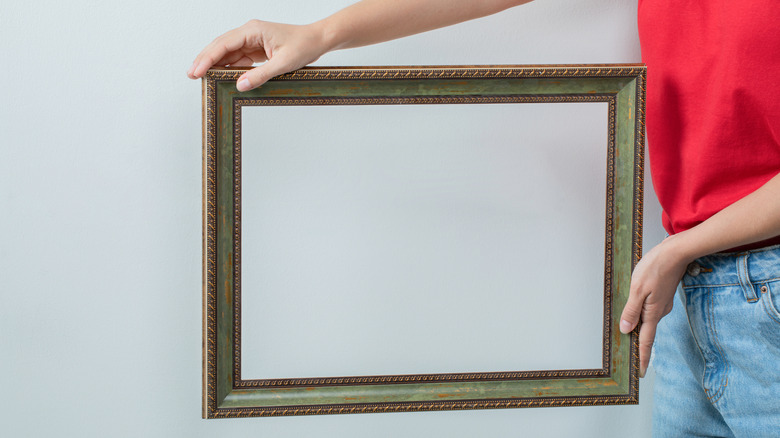
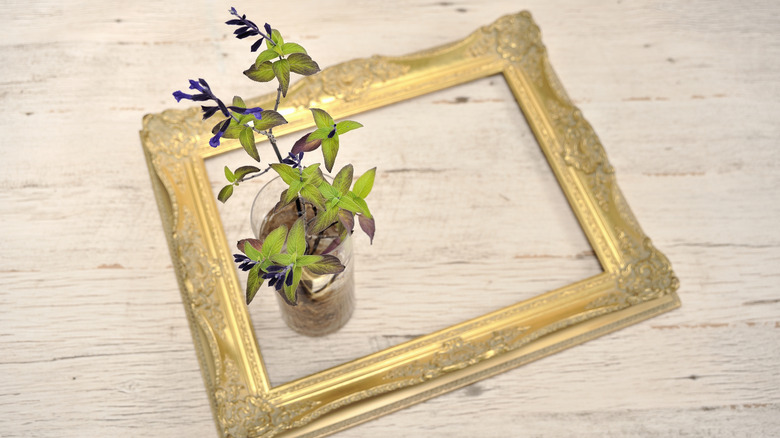
Creatively repurpose an old picture frame from around your home or local thrift store. Then, dress it up to fit your vision. An ornately carved version painted in an elegant copper color gives a bold, eclectic vibe, while a sleek, slim construction in a raspberry tone creates a more pared-down, distinguished look. Including a mat in your frame will elevate the impact (and give you even more creative options). It's also a clever way to use leftover wallpaper. Repurpose a busy leaf pattern to give bold roses a stunning backdrop. An extra wide mat in a solid, dark color would highlight pastel and white blossoms.
The position of your vase in relation to the frame will significantly impact the overall look, so let your personal style (and the way you plan to use your art piece) guide the way. Hang a large, wide frame with the vase near the bottom to give lots of space for robust bouquets. Single stem arrangements may be better served by positioning the vase nearer the center of a tall, narrow style. Visually, you'll want to aim to keep the heads of your flowers an inch or so inside the frame, though this unique sculpture-style floral art is very forgiving of blossoms spilling over the edges. And, as with all art, aim to mount the focal point of your sculpture (the blooms) at about 57 inches from the floor.