The Biggest Mistakes To Avoid When DIYing A Wood Accent Wall
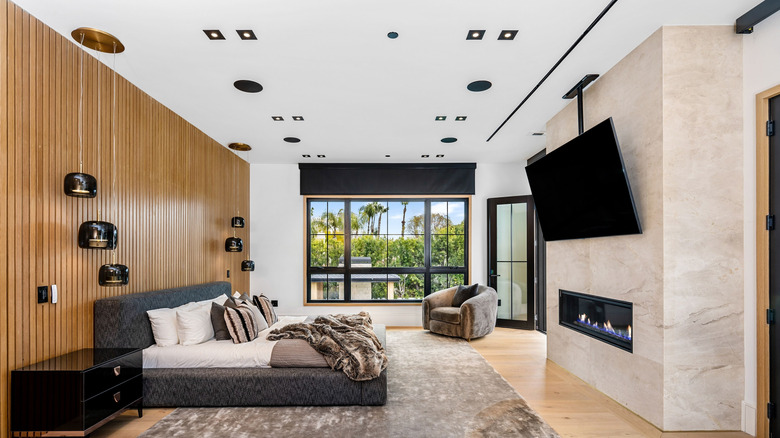
DIYing a wood accent wall can be one of the most rewarding home projects, especially if you use any of these wood accent wall ideas for a natural design look. You get to flex your creativity, save money on hiring pros, and — if you play your cards right — end up with a stunning wall that makes your space look like it's straight out of an interior design magazine. But before you start patting yourself on the back for taking on this epic project, a few rookie mistakes can turn your wood wall dreams into a DIY disaster. The three biggest mistakes to watch out for are not leveling your boards, failing to measure properly, and skipping the finishing steps.
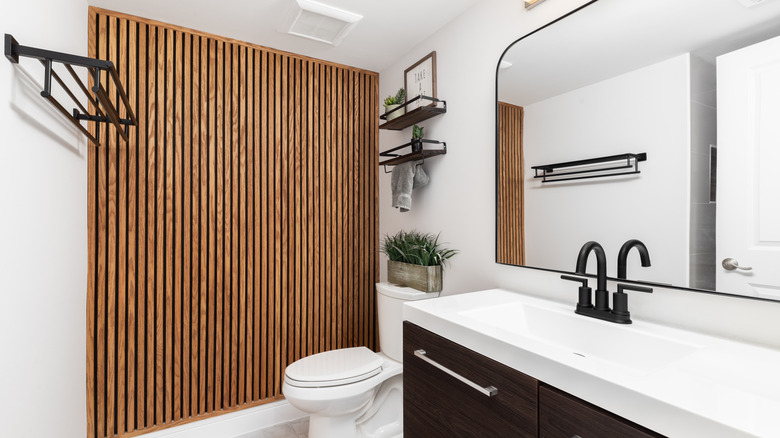
If you think you can eyeball it and slap those boards up without making sure they're level, you'll be setting yourself up for serious regret. Leveling is key when using reclaimed wood, shiplap, or tongue-and-groove planks. If even one board is off, it can create a domino effect that leaves your whole wall looking like it belongs in a funhouse.
So, how do you avoid this? Grab a level. Use either a traditional spirit level or a more advanced laser level, which is an essential tool for home improvements. Starting with the first row, check the level before securing the boards to the wall. Once the first row is aligned, it'll serve as your baseline for the rest of the installation. From there, you can continue to check each new row of planks as you go.
Guessing the measurements
We know measuring can be a drag, and it's not fun. But guess what? Neither is trying to figure out how to hide giant gaps in your wall because you miscalculated the dimensions. One of the most common mistakes when installing a wood accent wall is failing to measure correctly. Poor measurements can result in gaps between your boards, boards that are too short or too long, and the inevitable headache of making multiple trips back to the hardware store.
To prevent this mistake, measure from the floor to the ceiling and across the width of the wall at multiple points. This is especially important if your wall isn't perfectly level (which can happen in older homes). It's better to measure and account for slight variations than to assume everything is even. Next, determine the dimensions of the boards you'll be using. You'll want to measure the length and width of each board and figure out how much space you'll leave between each plank. That spacing can make a huge difference in the final look. Some people prefer no gaps at all, while others like the look of subtle spacing between the boards. Make sure to plan accordingly.
One trick for visualizing the finished product is to use painter's tape on the wall to mark where each board will go. This allows you to step back, examine your layout, and make adjustments before cutting and attaching the boards.
Skipping the finishing steps
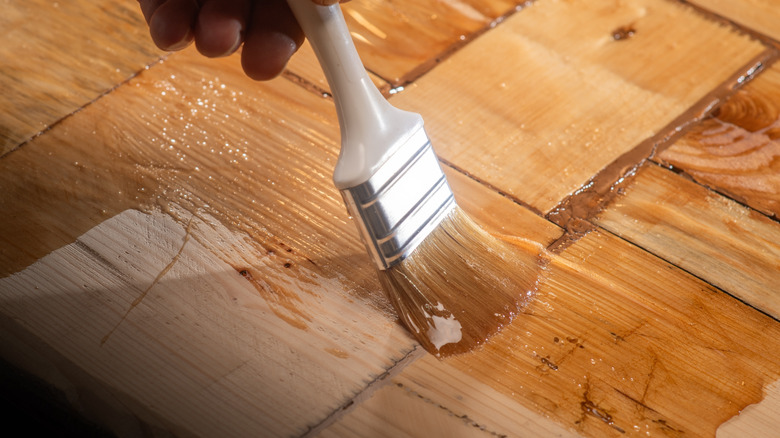
The final mistake that can ruin your wood accent wall is skipping the finishing touches. After hours of cutting, nailing, and sweating over your wall, you might be tempted to step back, throw up your hands, and call it a day. But here's the thing: a wood wall is only as good as the finish you put on it. If you skip this step, you're slapping a half-done project onto your wall.
First things first: sanding. Even if your wood planks seem smooth, sanding them down is a good idea to remove any splinters, rough patches, or imperfections. A smooth, even surface ensures your wall looks professionally done. You may also need to fill nail holes and caulk around boards. Next, it's time to apply a protective finish. Whether you choose to use this ingredient to achieve a natural wood stain or a regular stain and a clear polyurethane coat, finish not only brings out the natural beauty of the wood but also protects it from moisture, dirt, and wear. Without this step, your wall will likely show signs of wear and tear much faster. Plus, an unfinished wood wall can easily collect dust and grime, making it harder to clean.