From Seed Saving To Seed Harvesting: How To Grow A Bundle Of Blue Star
We may receive a commission on purchases made from links.
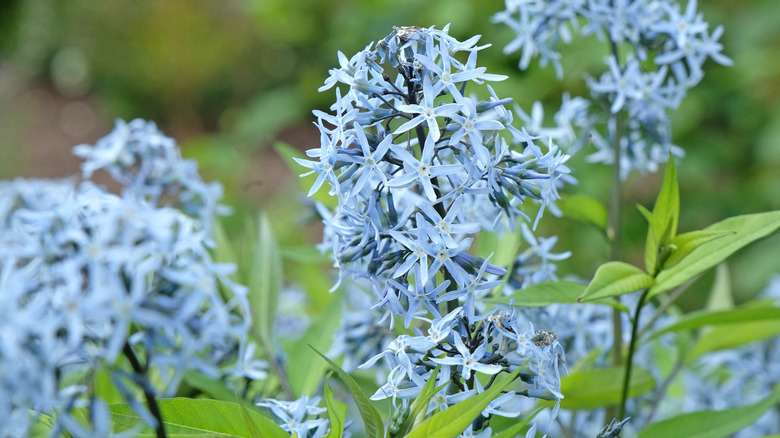
There are a number of plants with seeds worth harvesting from your garden and replanting. Blue star (Amsonia spp.) is one of them. Known for its star-shaped blue blossoms and interest to butterflies, this perennial wildflower is a popular choice for pollinator gardens in the southeastern United States. It's native to this region, as well as Texas, and thrives in USDA hardiness zones 5a to 9b. You can grow an abundance of blue star by collecting seeds from mature plants, storing them under the right conditions, sowing them in a way that promotes germination. At the end of the growing season, harvest more seeds to start the process anew.
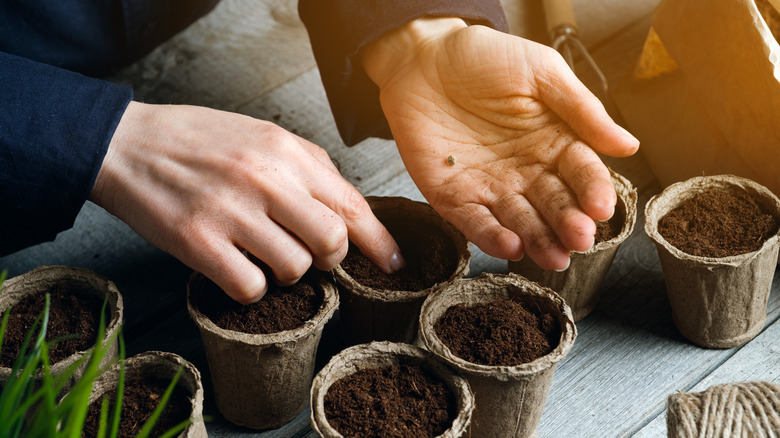
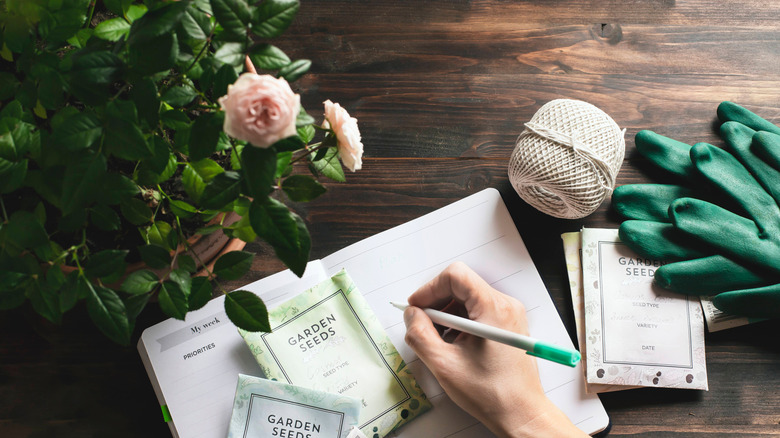
First things first, buy some high-quality blue star seeds. When shopping, check the dates printed on the packages. Seeds packed recently will have the highest germination rates. Pass on seeds that may have been exposed to heat or water. This includes store displays extremely close to live plants. To kick-start the germination process, submerge your blue star seeds in water for a couple of days. Then gently push them into a moistened growing medium.
If you're planting your seeds in containers, make sure they can accommodate a taproot that's several inches long and consider covering them with thin, transparent plastic to create a greenhouse-like atmosphere. As long as the seeds stay damp and have access to light, baby plants should emerge in two weeks. You can transfer the seedlings to larger containers or an in-ground garden once they're a bit larger. Spend a week or so hardening off your plants to prepare them for the outdoors. This involves giving them a little time outside each day.
Sowing and nurturing blue star
When sowing blue star seeds outside, wait until the last frost of the spring has happened. Blue star requires at least a few hours of sunlight each day, so avoid deep shade when planting. For the most vibrant spring flowers and autumn foliage, choose a sunny location. Also keep in mind that each blue star specimen will grow to a width of 2 to 3 feet. Since blue star also needs soil with enough drainage, consider adding compost to your planting site. It can improve drainage and deliver nutrition to your plants. Don't fret if flowers don't appear the first year you start them from seed — blue star can take up to two years to produce its first blossoms.
If you live in a cold climate, winter sowing your blue star seeds is another option. In January or February, scatter the seeds in your garden or plant them in the bottom half of a milk jug filled with seed starting mix. Espoma organic seed starter premium potting mix is one of many options. If you're trying the jug method of winter sowing, use the top half of the container as a cover when the seedlings are at their most tender. Cold stratification occurs outdoors, and the seeds sprout as soon as the conditions are right, which can give you the earliest possible blooms.
Collecting and storing your seeds
The first step of collecting blue star seeds involves identifying the seed pods and knowing when to gather what's inside. Seed pods that resemble green beans form after the plant blooms. When the pods are green, don't disturb them. They're working hard to produce their seeds. Wait until they're a brownish color before harvesting the seeds, which are also brown. Eventually, the pods dry out and start to break apart. Collect the seeds before the pods have cracked open completely. Blue star's thin, elongated seeds often slide right out of their pods once they have an escape hatch. If that hatch gets too big, they can fall to the ground, landing in spots you may not want them to grow.
After collecting your seeds, be sure to store them properly. For at least part of their storage journey, they should reside where they'll experience the cold they need to germinate. This required chilling period — what's known as cold stratification in seed speak — lasts about a month. A temperature of 30 to 40 degrees Fahrenheit is adequate to ready the seeds for springtime. To achieve this, you can store them in the fridge, inside a labeled jar, envelope, or plastic bag. Let the seeds dry out for a week or more before refrigeration, which helps ward off mold. When cold stratification is complete, you can transfer your seed storage containers to another location that shields them from moisture, light, and summery temperatures. Once your plants mature, collect the seeds to start the process again. Before long, you'll have a garden bursting with beautiful blue flowers.