Ditch Your Lazy Susan For An Alternative Storage Solution That Maximizes Space
We may receive a commission on purchases made from links.
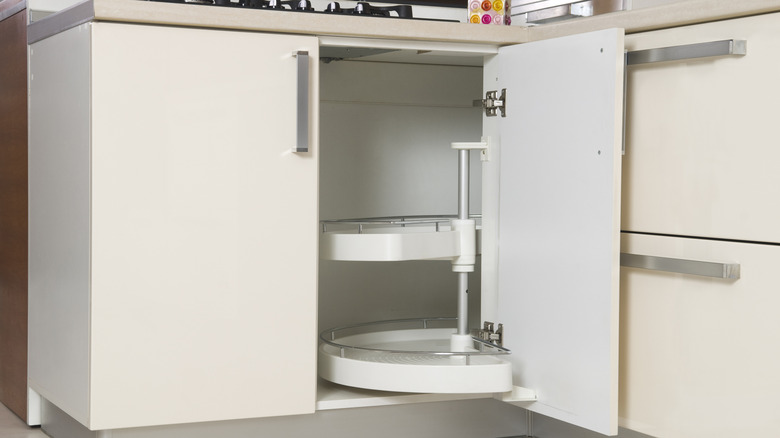
Lazy Susans can be a kitchen's best friend, but sometimes, it feels like they don't make the best use of space. While they can certainly come in handy for smaller items, they often make it tough to neatly store bulkier kitchen essentials like pots, pans, and small appliances. If this sounds familiar and you want to use every inch of space in your deep corner cabinet, it might be time to install an alternative storage solution: shelves. They may not exactly be a revolutionary concept in kitchen organization, but they are tried and true for a reason — they can be customized to hold pretty much anything in your kitchen, they're easily organized, and they maximize precious kitchen space.
Replacing your lazy Susan with shelves is a straightforward and budget-friendly project. You'll need a screwdriver or power drill, screws, a putty knife and wood putty, a hammer and nails, one-by-two boards, and a strong wood for the actual shelves. The wood is where the bulk of your budget will go, so choose the material wisely. Hardwoods like oak or birch are typically more expensive but can hold more weight. If you'll be storing heavy things on your new shelves, hardwood might be worth the investment. If you're looking to do this project on a budget and don't need the shelves to support much weight, consider using medium-density fiberboard (MDF).
How to transform your lazy Susan into shelves
First things first: Take everything off the lazy Susan. Find the screw on the turntable's pole — it's usually a few inches above the shelf — and unscrew it. Then remove the screw right above the shelf. Repeat with the bottom shelf and let the shelves slide to the bottom. Remove the pole, then the shelves. Unscrew the pole brackets at the top and bottom of the cabinet and fill the screw holes with putty. Let this dry, then thoroughly clean the inside of the cabinet.
To make your shelves, measure the length of the cabinet walls, then cut your one-by-twos to size; if a support will sit up against another support, measure it an inch short to allow for its neighbor's width. Screw the shelf supports into place. Now, make a map for your shelves by laying newspaper or foil along the base of the cabinet, trimming it to the shape of the cabinet floor, and using it as a template to cut your wood. Insert the shelf into the cabinet. Depending on the cabinet's configuration, you may need to cut the shelf in half to get it inside, then install a tie plate on the underside of the shelf to reunite the pieces. Nail down along the supports, and you're done! For ways to organize deep shelves, check out deep cabinet storage bins, like ClearSpace Clear Plastic Storage Bins. These make it easy to not only keep smaller items together but to reach the back of the cabinet without knocking things over. To further maximize your storage, consider adding shelf raisers to keep your kitchen beautifully organized.