Give Outdated Brick A Makeover With This Spackle DIY
We may receive a commission on purchases made from links.
A bare brick wall or feature can already add charm and character to a room. After all, its rustic or industrial vibe can already bring a touch of texture into living spaces, which makes it a popular choice for homeowners. But there are times when that classic brick just doesn't seem to blend well with the rest of the decor. This prompts many to paint over the entire thing to match their desired aesthetic.
Luckily, there's another method to enhance the look of your bricks without going overboard, and this only involves using spackle, a paste that is used to repair damages in walls. This DIY project can be an excellent way to achieve a textured and aged look while still showcasing the original brick underneath. You can transform your space in a way that balances character and charm with just a few simple tools, including spackle, a sponge, a putty knife, and sandpaper. The process doesn't even require professional experience on top of not needing to commit to a permanent change like full painting.
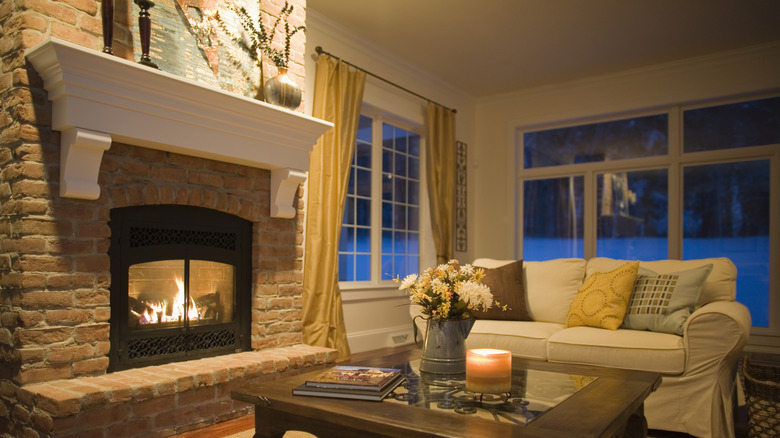
Knowing how to spackle a wall can result to a soft, aged, or antiqued look while still exposing the gorgeous hidden brick on your walls. It's a versatile solution that works in various spaces, like a cozy fireplace, to even an accent wall in your living room or hallway. You can even pair it with warm lighting or rustic décor elements to enhance the charm and create a timeless look!
How to give outdated brick a makeover with spackle
You can start the process by applying spackle in the grout lines before working towards generously spreading it on the entire area you want to upgrade. Make sure you have a rough and even layer of spackle, but don't worry about making it perfect, since the goal here is to create a rustic look. The next step is to start revealing some of the original brick underneath. Do this by rinsing a sponge with water and gently wiping over the spackled surface. You can also use your putty knife to scrape off some of the spackle for a more controlled reveal of the brick. Continue to work until you've achieved the desired look, which depends on how much of the brick you want to show. You can also use sandpaper to lightly sand the areas to give them a smooth finish and soften any rough edges. Allow the bricks to dry completely once you've reached the desired effect.
A good thing about this transformation is how it doesn't cost too much. A pint of Red Devil spackle costs $8.79 on Amazon, while the same size of spackle from DAP sells for $7.57. You may already have a putty knife, old sponge, and sandpaper in your home, bringing the total expenses down.
The key in this DIY project is to work in small sections and to test first if you are happy with the look. Prevent the spackle from drying too quickly by rinsing your sponge and putty knife frequently. You may want to use a clear sealant if you want to protect the finish once the spackle is dry. With this simple spackle DIY, you can refresh your brick walls, fireplaces, or other features and add that extra character you've been wanting!