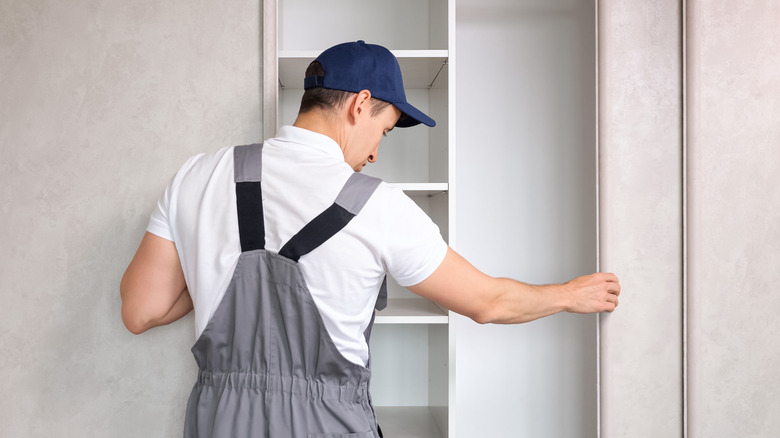
How To Safely Remove Wooden Closet Shelves Without Wall Damage
If you've ever planned on giving your old and boring closet a facelift but are held back by those clunky wooden shelves bolted to the walls, you are not alone. Many homeowners share the dilemma of being caught between their dream spaces and the reality of fixed shelving. Built-in wooden closet shelves may be practical, but they often become obstacles to creativity when it is time for an upgrade. Ripping out wooden shelves, after all, can lead to cracked drywall, ugly holes, and a repair bill that may go out of budget. So, it's definitely not a mystery why some people decide to treat these shelves as immovable objects and just design their new space around them.
But those shelves don't have to dictate your design choices. You don't need to wonder if it's better to work around them than risk the headache of removal. With the right approach, you can safely remove wooden closet shelves without leaving your walls in ruins. It is not just possible, but also achievable with just careful planning, basic tools, and a steady hand. By following a few straightforward steps, you can avoid costly mistakes and create a clean slate for your perfect closet redesign.
Steps for safely removing wooden closet shelves
Start by gathering the essential tools before proceeding to take down your closet shelves. For this project, you will only need tools that you probably have in your home, including a screwdriver, pry bar, utility knife, stud finder, and rubber mallet. A power drill or pliers might also come in hand in some extreme cases.
The first important step is to closely inspect the shelves to understand their attachment points. You need to find out if they are held in place either by screws, nails, or brackets so you can determine your approach. A screwdriver or drill is best to remove screws, while inserting a pry between the shelf and a ball is necessary if nails were used. If the edges of the shelf are sealed with caulking or paint, it's best to run a utility knife along the seams to break apart this attachment without peeling or chipping.
Once you're done removing the attachment points, it's time to hammer down the shelves with a rubber mallet or hammer to remove them from their placement. Remember to work in small sections to gradually detach the shelf to minimize stress on the wall surface. You can then inspect for minor scuffs on the wall once the shelves are down. If there are any, clean them with a damp cloth or quickly patch them with a touch of paint.
Precautions to observe when removing wooden shelves
While removing wooden closet shelves is straightforward, it doesn't mean that you'll do it without preparation nor observing some precautionary woodworking safety measures. You have to make sure that the area you are working on is clear, and this means completely emptying the closet, allowing you to work freely without worrying about risk of injury. It's also important that you wear safety gear, like gloves or safety goggles, so you can protect yourself from sharp edges or flying debris.
Don't forget to pay attention to potential hazards like hidden wiring or plumbing, especially if the shelves are near electrical outlets or located on a shared wall with a bathroom. A stud finder with electrical detection features can help you identify and avoid these risks but it is best to consult a professional if you are in doubt.
Finally, it's crucial that you take your time since the fastest way to damage your walls is by rushing through the removal process. The key is gentle and deliberate movement. With patience and care, you'll have your walls ready for your next design project without the added stress of repairs.

