How To Install A Tongue And Groove Ceiling (And Common Mistakes To Avoid)
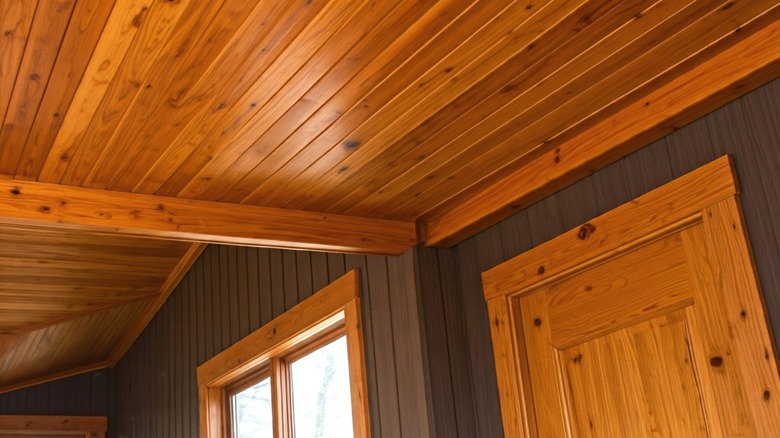
When you're ready for a ceiling refresh, don't overlook one trend enjoying a well-deserved comeback. Natural details permeate today's most popular interior styles, giving tongue and groove wood ceilings plenty of places to fit in and complete the aesthetic. Attractive wood grains in tongue and groove installations can bring a dose of authenticity and timeless sophistication to your design. It's a clear choice for the cozy warmth of a rustic home, yet equally appropriate for a chic modern abode or as a way to add beachy charm to a space. From a practical perspective, owners love these ceilings for their durability, limited maintenance, and, if you're a DIYer, straightforward installation.
One of the key benefits of tongue and groove is its versatility. Whether you're updating ho-hum drywall, covering a popcorn ceiling, or starting with bare joists, you can quickly begin laying your first run of planks with little preparation. If you are going over an existing ceiling, you may install the tongue and groove directly over the drywall, ensuring you use nails long enough to reach the joist (e.g., 2 1/2-inch nails).
Use a stud finder to locate the joists, and mark their position. For reassurance, you can also install 1-by-2 or 1-by-4 strips into the joists over the drywall, giving you a more visible anchor point to ease installation. When going over exposed joists, check their condition. Put plywood or slats over worn or uneven joists to give the boards a stable, flatter surface to hold onto. Remove any fixtures, fasteners, and other obstructions for a smooth installation.
How to install a tongue and groove ceiling

Starting in a corner of the ceiling, lay your first row of tongue and groove planks with the tongue side out. Face nail these boards, driving nails directly through them and into the joists. You can fill the holes later. Add subsequent rows, staggering any joints from one run to the next. The butt joints don't have to sit over framing, since they'll lock each other together, but you should leave at least one or two joists between butt joints in adjoining rows to ensure stability. After the first row, you can blind nail the boards in place. Drive nails at 45-degree angles into the crook where the board's tongue begins, creating a stable hold while allowing the next row to hide the fastener.
If any boards are bent and not locking cleanly into the previous row's tongue, you may have to force the issue. Put a scrap piece of board against the board you need to knock into place. Hammer the sacrificial board firmly to bend the ceiling board and lock in a tight seam. When you reach the last row, you may not have enough room against the wall to lock the boards into the previous row. In that case, you can remove the bottom lip of the groove side, so the remaining lip of the groove and the tongues of the previous row can fit together like a lap joint. Since the groove isn't locked in on this last row, you will have to face nail the boards.
Don't make these common installation mistakes
Many common mistakes people make during a tongue and groove ceiling installation occur before they even lay their first board. Measuring, planning, and prepping the boards will make all the difference in the final appearance. Expansion and contraction need consideration at several points here. Don't forget to store your boards for at least a week in the room where you're installing them, similar to how you would acclimate hardwood flooring. Add your stain or polyurethane before installing the boards. That way, any minor gaps that may open between the boards when they contract won't create a stark contrast.
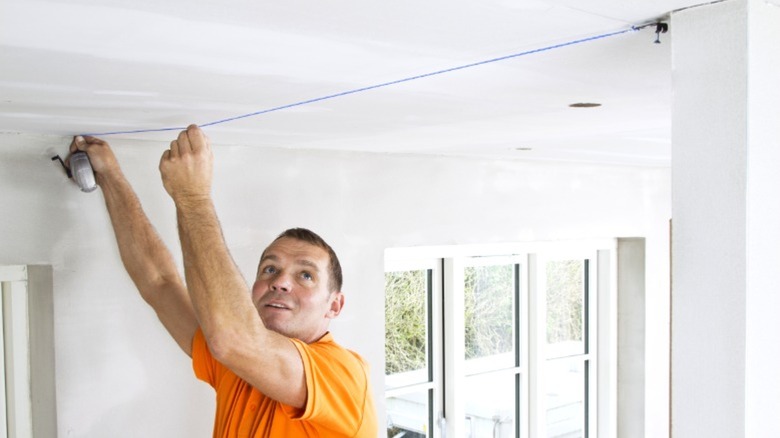
Another gap to consider is the expansion gap. Don't fit the boards snug against the wall. Leave at least a 1/4-inch expansion gap between the end rows and the wall to account for seasonal expansion and contraction so the boards don't press and buckle. As you're accounting for this, another easy mistake to make is forgetting to mark center lines. If your walls aren't perfectly parallel, your boards will be askew and unsightly by the time you reach the final row. To prevent this, mark a line on the ceiling where the center row will fall. Measure the length of the wall running perpendicular to the way the boards will run, and mark the center. Repeat this for the opposite wall, and snap a line between the marks. The supports will now have a reference line, helping you keep the boards straight and your installation looking its best.