How To Build A Stackable Retaining Wall For Your Garden
For homeowners, retaining walls are an excellent way to battle soil erosion while also giving your yard more planting space. In addition, they can serve as a focal point that can be fun to plan around. Retaining walls may look intimidating but you can actually DIY your own as long as you have tools like a shovel, metal rake, wheelbarrow, level, and a rubber mallet.
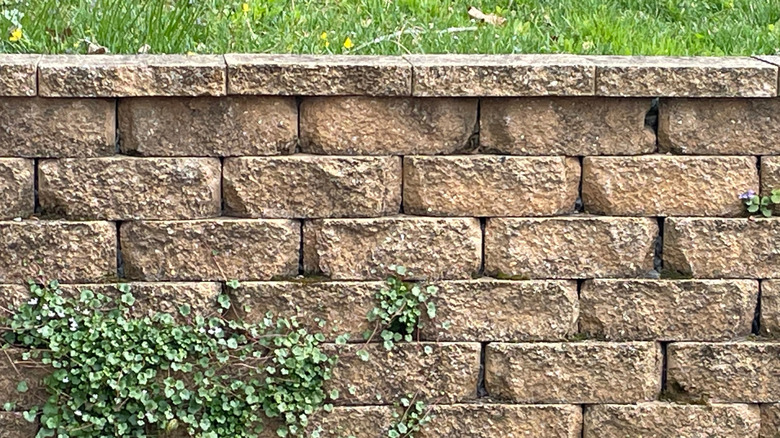
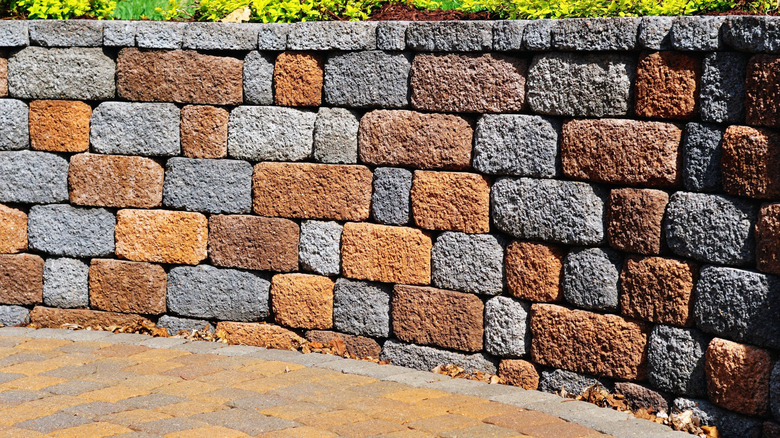
Like the name suggests, stackable retaining walls are made by simply stacking blocks together. Since you don't have to worry about using mortar, they're fairly easy to DIY. Stackable concrete pavers are the most beginner-friendly because they have an interlocking lip structure. However, you can use brick, natural stone, like quarried stone, or even wood. If you decide to branch out, research the ideal material based on your climate, soil type, and your own building level.
Building a stackable retaining wall is a beginner-friendly DIY but it has a few key steps. First, you need to plan your layout. This project will involve digging so call 811 to locate any underground utility lines. From there, you'll dig a trench and prepare your wall's base. After, you'll lay out the paver blocks in courses. It's also recommended to install drain pipes every 25 to 50 feet to ensure your wall won't collapse from water buildup. When all of the blocks are laid out, finish up your project by backfilling it with gravel or sand. Before diving in, keep in mind that stackable retaining walls cannot exceed 24 to 36 inches in height. For exact limitations, follow your pavers' manufacturer's guidelines.
How to prepare your retaining wall base and first course
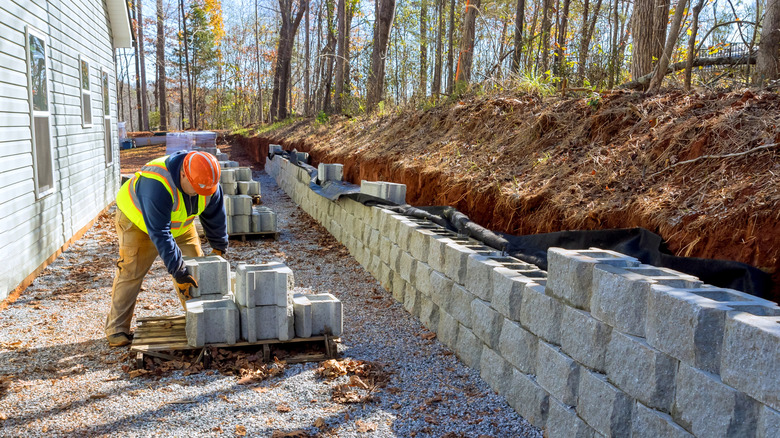
A trench is key to building a stable retaining wall because it'll serve as the foundation. To start, mark the length and width of your wall using garden stakes and a mason's line. Then, dig a trench that is about 4 to 6 inches deep and 12 inches wide. The rule of thumb is you should be able to bury half the height of your first course of blocks, plus add an additional 3 inches for your paver base.
After the trench is dug out, compact the area to prevent the wall from settling over time. Then, add and compact about 3 inches of the paver base. Typically, people use crushed stone to provide blocks with a uniform surface while still allowing drainage. Stones between 1/2 to 3/4 inches are especially great for climates with harsh freeze-thaw cycles.
Once the trench is finished, you can begin laying out the first course of blocks. Start by placing a block at the lowest elevation of the trench, leveling it, and then continue placing the rest of the blocks. Check their levels, too. If needed, you can use a rubber mallet to set them. Any low blocks can also be lifted with additional paver base. For blocks with lips, you can make your life easier by removing them with a hammer and masonry chisel.
Final steps and other things to consider
Once your first course of blocks is set, sweep any debris off the blocks and continue with the second course. Go one block at a time and keep leveling them individually. The only new step is that you'll need to cut the end blocks of each even-numbered course so you can stagger their seams. After the second course, add landscape fabric and backfill the wall with gravel or sand. Don't forget to add drain pipes, too.
Your retaining wall should last anywhere from 25 to 100 years depending on factors like the material and soil. With that in mind, you really want it to look as good as possible. While retaining walls are DIY friendly, there are some do's and dont's to remember. One big mistake to avoid when building your retaining wall is rushing the base. The entire process of digging and compacting a trench can be tedious. However, a poor base means your wall may end up leaning or shifting. Similarly, you should plan for proper drainage; otherwise the water can also make the retaining wall fail.
Finally, as mentioned, stackable retaining walls can't be higher than 36 inches. If you want a taller one, you shouldn't DIY it. First, your city might actually require that you have a permit and design by a professional for larger walls. But even if you're technically allowed to do it yourself, you will likely need a professional's guidance to ensure that your retaining wall won't collapse.