How To DIY A Faux Built-In Fridge For A Luxury Kitchen Makeover For Less
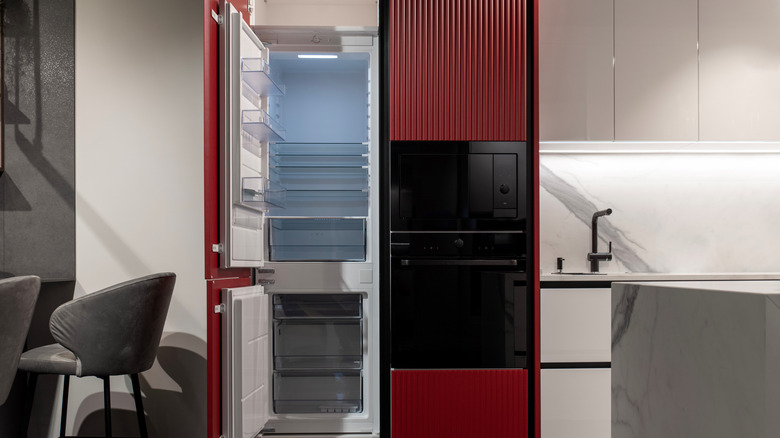
If you covet the look of a built-in refrigerator, we can't blame you. It's an instant upgrade that makes any cook feel like a fancy chef — but there are some hidden downsides to a built-in fridge, and not every kitchen has the space for one. They tend to be wider and shallower than a standalone appliance, and they're typically far more expensive. As such, you may decide that faking it is the best option — and luckily, there is a hack for that.
Instagram user @dwell.and.bloom shared how she mimicked the look of a built-in fridge with a simple DIY project. Using a couple of sheets of plywood, a bit of trim, and some paint, she built a cabinet around her existing fridge and painted the appliance to match. It may not be a dead ringer for the real thing, but the project allows you to keep the ample storage of your existing fridge and camouflage that standalone fridge to give your kitchen a touch of refinement.
The right way to paint a refrigerator
You may be understandably wary of painting your fridge; it's a big commitment, and if it goes wrong, you might have a difficult fix on your hands. However, if you take the proper steps to prepare the surface and use the right products, you can minimize the risk of complications. Prep the surface by thoroughly cleaning it, and don't skimp on the elbow grease. If you have any rust to deal with, consider using something like Rustoleum Rust Reformer spray paint to help deal with the rust before painting. It's best to use a paint that is properly formulated for the material of your refrigerator, whether it's stainless steel or a type of plastic. See your local paint shop, and bring them a sample of your cabinet paint so they can create you a matching shade that is appropriate to use on your appliance. And, don't forget to skip primer. For a stainless steel fridge, you must use one specifically designed for metal surfaces such as Weicon Zinc 550. If you do it right, you can expect the finish to hold up relatively well for years to come. This is especially true if your fridge is in good condition.
If you're going for a truly built-in look you will want to paint your fridge the same color as your cabinets. However, if you're into this DIY more for the extra storage space and a minor cosmetic upgrade to the fridge, you could also consider painting your apppliances to look like stainless steel with Liquid Stainless Steel Fridge Kit or even use turn your refrigerator into a message board with Rustoleum's ChalkBoard Paint.
Don't neglect the cabinet
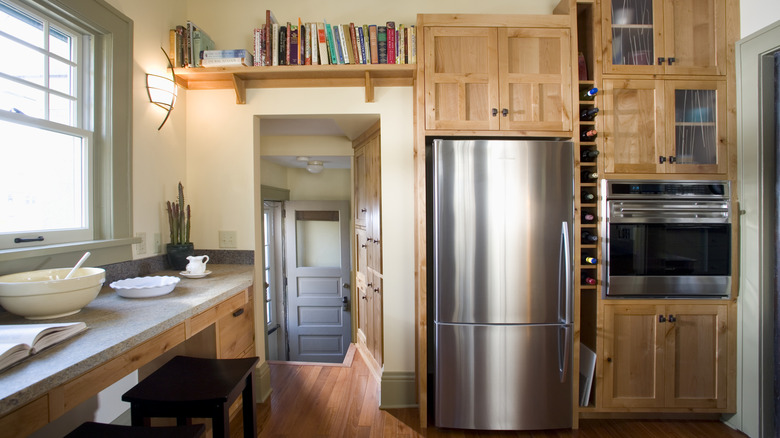
While the painted fridge may be the star of the show, the thing that takes this project to the next level is the surrounding cabinet box. Constructing the refrigerator cabinet is fairly simple, as long as you create a plan that fits your space. The supplies you will likely need include three sheets of ¾-inch maple plywood, a 30-foot strip of 2-inch maple, and an 8-foot strip of 3-inch maple. Maple works great because it's hard, durable, and fairly smooth. Cut the plywood to the right height and depth for your application, leaving some space in case you need to move the refrigerator out for servicing or cleaning. Use a router to create two ¾-inch grooves on each piece where the horizontal pieces of plywood that make up the top and bottom of the cabinet will rest.
Once you have these grooves made, cut your horizontal pieces to size. Glue your pieces together, and use finish nails to keep them in place. It's easiest to assemble the cabinet in place to be sure it fits. Either way, use clamps to hold the cabinet together while it dries. Shore up your cabinet by adding extra boards across the top and bottom at the back. Once it's square you can cut and assemble the face frames to create a more polished and finished look to your cabinet.