DIY Simple Rustic-Inspired Toolbox Decor With Fence Pickets On The Cheap
It's not every day that DIYers can find inspiration for a crafty decor project from a utilitarian workshop object. Today's DIY project: making a cute rustic toolbox based on YouTuber @Whiskeyandwhit's project, using nothing but fence pickets and a length of dowel, then modifying the approach to turn the toolbox back into something any DIYer would be happy to tote around tools in.
The video title mentions a couple of other possibilities for someone DIYing these classic toolboxes: making gifts and making them to sell. The basic design is perfect for all four purposes. It's a gift suitable for anyone with a rustic design sensibility, as well as anyone with a bunch of tools, and any child who wants to have a toolbox like Mom's. And it would make a great replacement for a gift basket, whether filled with toiletries, foodstuffs, or garage gadgets. And, as we will see, this is a very simple project, and you could make it even simpler and perhaps even slightly cheaper by using a laser cutter or CNC to do all the cutting for you. Of course, laser cutting and CNC milling open up other design possibilities, as demonstrated by this EISCO classic wooden toolbox on Amazon. Even without the laser/CNC, this would not be a difficult project to mass produce this toolbox as a product to sell: as a toolbox, decor, or even as a beautiful planter based on an old toolbox design.
Make your own toolbox decor
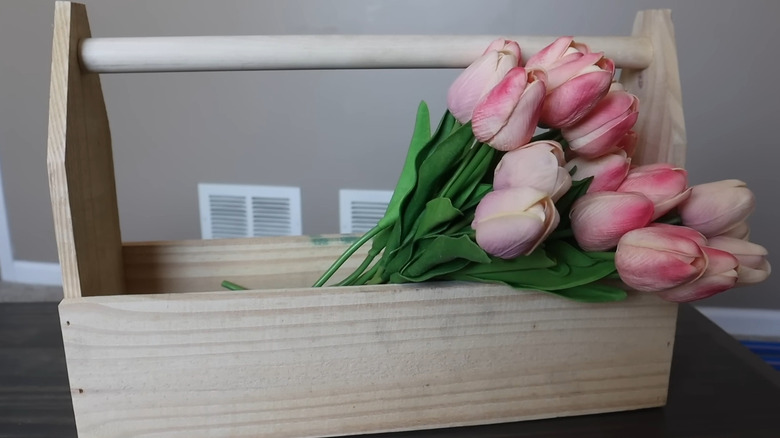
As simple DIY projects go, you won't find many simpler than this toolbox decor. She uses 1x4x6 natural wood pickets from Menard's and a section of 7/8-inch poplar dowel. Half the genius of this project is that it uses the dog ear portion of two pickets to form the ends of the toolbox, which give it its classic look, and to which the dowel handle attaches. That means you'll need two pickets per toolbox and will have a lot of wood left over, or you can simply cut the dog ears yourself using your miter saw, and make this project with a single picket. Similar pickets from Lowe's and other big-box hardware stores have less pronounced dog ears, but should work just fine and maintain the classic look.
The other half of @Whiskeyandwhit's project is that only 90-degree crosscuts are required; the fence pickets are used full-width throughout the build. The overall height and length of the toolbox are entirely up to you, but the height of the sides will be equal to the width of your fence pickets, and the width of the box will equal the picket width plus twice the thickness of the board. She butt-joints and brad-nails everything together, which is perfectly sufficient for a decor item that won't be expected to handle much weight or abuse. She completes the box with stencils and faux tulips from Kirkland's, and her stencil files are available for vinyl cutters in exchange for subscribing to her email list. There are, of course, other creative ways to repurpose an old toolbox around your home.
Forget the decor and make some toolboxes
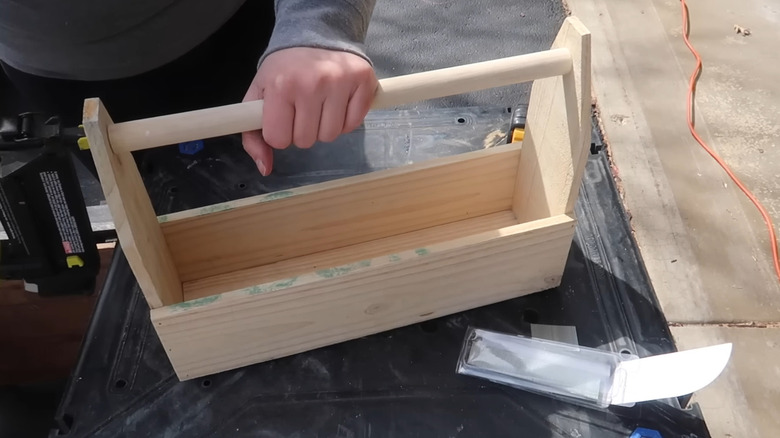
If you wanted to transform @Whiskeyandwhit's design into actual toolboxes, there's not much to it. Strengthen her brad-nailed butt joints by adding wood glue to the joints and, if you like, use screws in place of the brads. Sanding is probably not necessary for a rustic toolbox; that's your call. To avoid the chemicals (and chemical stains) in treated wood, use cedar... a durable type of wood that makes a great choice for fence pickets and DIY toolboxes that don't need to have a finish applied. Rather than butt-jointing the dowel handle to the dog-eared portion of the picket, drill matching ⅞-inch holes in the pickets and lengthen your dowels by twice the thickness of your picket. Securing the dowel in those holes will be far sturdier than relying on brads alone. Apply wood glue here, too, if you feel the need. What you end up with is a decent toolbox comparable to toolboxes available on Etsy ($33) and Amazon ($59).
There are a number of ways you could customize the toolbox for use in a workshop, though each adds a little complexity to the job. Add dividers to help keep tools standing upright and more accessible or to simply create a couple of discrete compartments, as in the horizontal divider in this model from Amazon. Make slatted sides from a different material, like furring strips or trim, as in this model. But perhaps the most promising use of @Whiskeyandwhit's basic, simple-to-build version is to make a bunch of them and use them for workshop storage. Label them on the ends and sit them side-by-side on shelves.