How To Stain Concrete Floors (And The Best And Worst Products To Use)
We may receive a commission on purchases made from links.
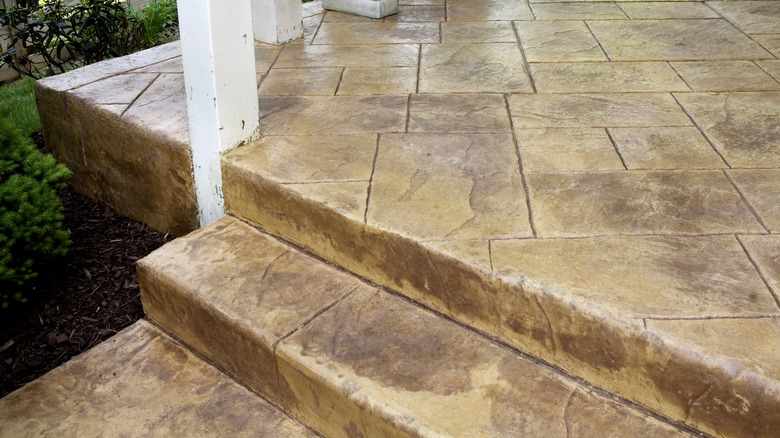
Concrete floors typically don't need as much attention as others because they are generally considered a low-maintenance, one-and-done flooring type. But many homeowners are discovering the benefits of staining their concrete floors for function and aesthetics, as they are incredibly durable. However, their surfaces are still at the mercy of high foot traffic, so treating with stain helps protect your floor from issues like cracks and scratches and also prevents curling. Concrete's porosity makes it susceptible to concrete curling, an upward or downward curve that usually leads to cracks in the slab if something heavy (like a car or upholstery) goes over it. When it comes to aesthetics, staining is preferred to painting because of the variety of natural tones it can give a space.
Before you stain your concrete floor, there are some pre-stain tests you should do. For starters, a water issue check confirms your concrete's humidity to know if moisture comes up from the subfloor through the slab. Tape a plastic sheet to the floor surface and leave for 48 hours. If you notice condensation, you'll need a breathable sealant to ensure moisture passes through the stain coating and doesn't get stuck under the seal. A porosity test is necessary to know if you'll need to do any pre-treatment for your concrete stain to take effect. You simply have to pour water on the concrete floor. If it absorbs poorly, it means the surface is too smooth for staining and you'll need to profile the floor using a sander or concrete etcher.
Prepping your floor for concrete stains
When preparing any concrete floor for a new finish, you should profile it. This means opening concrete pores to create a texture the new finish can adhere to. If your floor passes the porosity test, you don't need to profile so you can go straight to cleaning. If it doesn't, it's likely sealed or machine trowelled (a finishing that makes concrete surface level and dense). You'll have to either grind or acid-etch the floor in these cases.
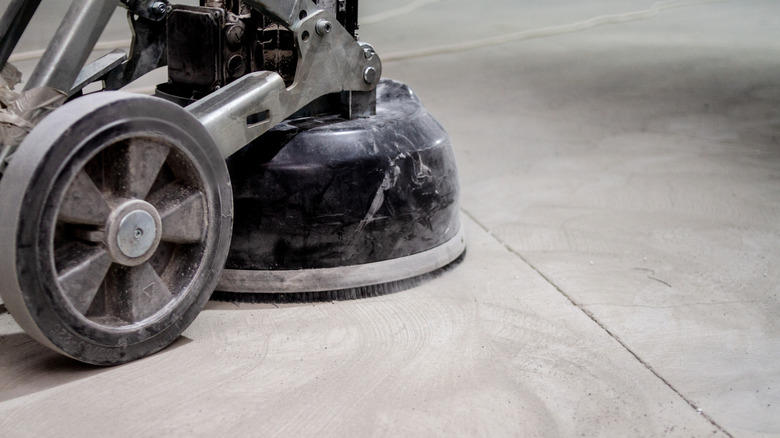
Most DIYers prefer acid-etching because it's cheaper and doesn't require special equipment. However, it's easy to make mistakes like staining the etch with your footprints or reducing the lime in the concrete which can prevent acid stains from adhering properly. Additionally, this method is not eco-friendly and results can be erratic, so many floor-finishing manufacturers don't recommend it. The more efficient, eco-friendly, and predictable grinder is preferred. You can hire a contractor or rent a grinder to do it yourself.
Always rent from a supplier that'll guide you on the best type of grinder for your space and how to use it. Ensure adequate ventilation and wear safety gear and a dust mask while grinding. You should also sweep and mop the floor and remove any furniture from the area so dust doesn't accumulate on them. Work on small areas at a time and start slow. Your goal is to grind away about 1/16 or 1/32 of an inch to open up your floor and on average, you can achieve the first in one pass.
Cleaning your concrete floor before applying stain
Before staining, the concrete floor has to be void of contaminants, be it oil stains, old paint, carpet glue, or existing sealants. Grinding helps remove most of these but you should still ensure they are all gone before staining. Always start by removing the dust raised during grinding from your space before you clean. You need to use a vacuum with a HEPA filter and work from the top to bottom of your entire space.
While there are many easy ways to clean concrete, you need to make sure you're using the right cleaning method for each stain. You can banish oil stains from concrete with laundry detergent and water. For carpet glue, scrape some of the glue with a plastic putty, then apply a good carpet glue remover that's safe for concrete. Remove any residue with a degreaser and rinse. To remove paint from your concrete floor, a paint thinner will come in handy. Grinding is enough to remove surface sealants from a concrete floor. Also, it is preferred in this case because chemical seal strippers contain harsh chemicals that can remove lime from the floor and affect your acid-staining.
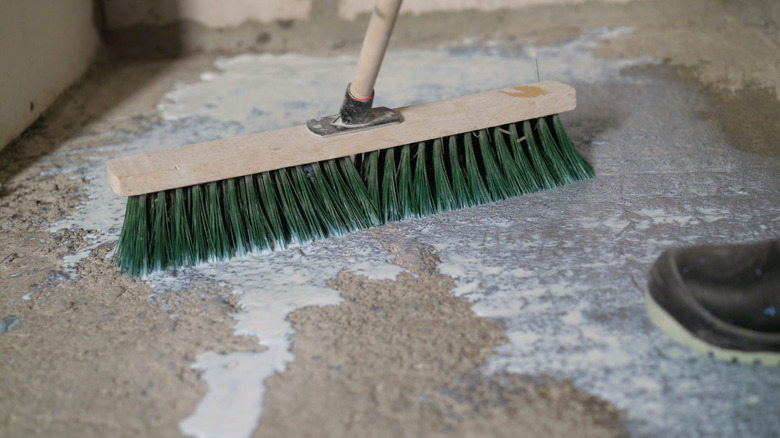
For general cleaning, apply an organic concrete degreaser diluted in water. Scrub the floor with a soft brush then rinse completely with clean water. Finally, remove any excess water with a mop or wet vacuum. Your floor must be totally dry before you start staining.
Staining and sealing concrete floors

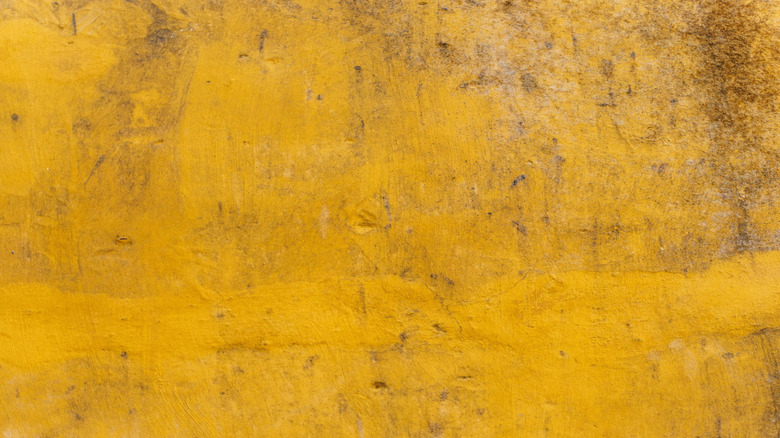
First, mask the areas you don't want to be stained — e.g., walls, baseboards, or floor fixtures. You can also use masking tape and butcher paper to create designs on the floor. Carry out a small spot test with the stain you chose in an inconspicuous area one or two days before the main job. Always follow the manufacturer's instructions for the stain application. Generally, you apply stains using either a paint sprayer or roller. Acid-based stains must be sprayed on but water-based ones can be applied with a paint roller. Acid stains work by reacting with minerals in the concrete to permanently change the color. Water-based stains soak into the concrete's pores to create a beautiful coating. Before applying acid stains, make the concrete damp (not wet) by using a garden spray to lay a fine mist on it.
Make sure to apply the concrete stain in broad, even rows (spray painter) or even strokes (paint roller). A paintbrush is useful for detailed work around tight edges. Apply in two or three coats, ensuring the color sets between each coat. With acid stains, after you've achieved your desired color, you have to neutralize the stain to stop the reaction. Mix one pound of baking soda with 5 gallons of water and spray on the concrete then rinse very thoroughly. Allow your stain to dry for at least 24 hours. Next, apply a concrete sealant using a sprayer or microfiber pads to preserve the stain.
The best and worst concrete stains to use
One of the common mistakes everyone makes when staining concrete is picking the wrong product. You could easily end up with a stain that will have you wishing you could turn back time. Different types of concrete staining products are available, but water-based and acid stains are the most common. Most DIY-ers prefer water-based stains as they don't contain organic chemicals, meaning they are non-reactive and safe to handle. Our best pick for a water-based stain is the TuffCrete from INSL-X. It has online reviewers praising its quality, ease of application, and color. Although there are few complaints about chipping, you can enhance your stains' durability by adding a sealant.
On the other hand, acid-based stains have innate longevity lacking in water-based products. They are also preferred for outdoor concrete surfaces. Consider the Vivid Acid Stain for Concrete as your first choice as there are many reviews attesting to its effectiveness, durability, and application ease. It's also convenient that the company producing this stain offers a neutralizer and sealant, too.
We found the water-based Behr Premium Semitransparent Concrete Stain to be among the least favorite stains. Multiple reviewers complained about the color outcome of the stain, most saying that it was different from their desired color. There are also a lot of cases where the stain peeled off after some time, which shouldn't be happening as stains are meant to soak into your concrete's pores.