Building Your Own Fence Gate Is Likely Easier Than You Might Have Thought
We may receive a commission on purchases made from links.
Whether you want to throw up a few panels you bought from the big box store or fully DIY it, building your own fence is a great way to save money. Still, you might find yourself wondering what to do when you get to the gate. Good news! Building a gate is not as hard as you might think.
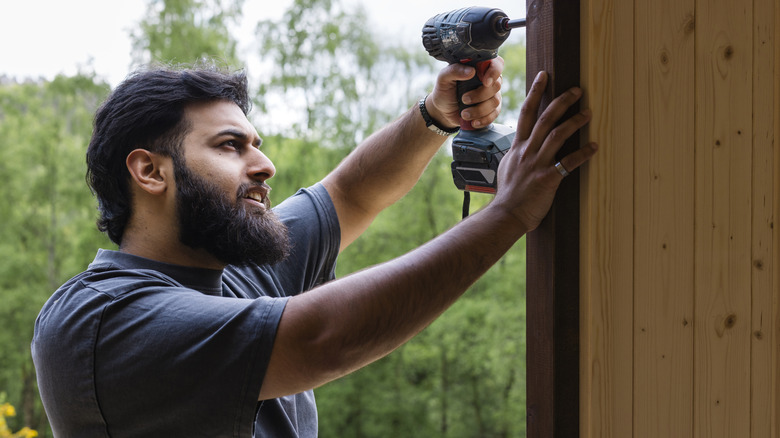
You will need a few tools and materials, including a circular saw, solid hinges that can support the weight of your wooden gate, a power drill and bits, screws, a tape measure, and a pencil. If you have an impact driver, it might make the job go more quickly, but isn't necessary. And if you want to make your life even easier, a good set of sawhorses will be handy, but you can always improvise if you do not have them.
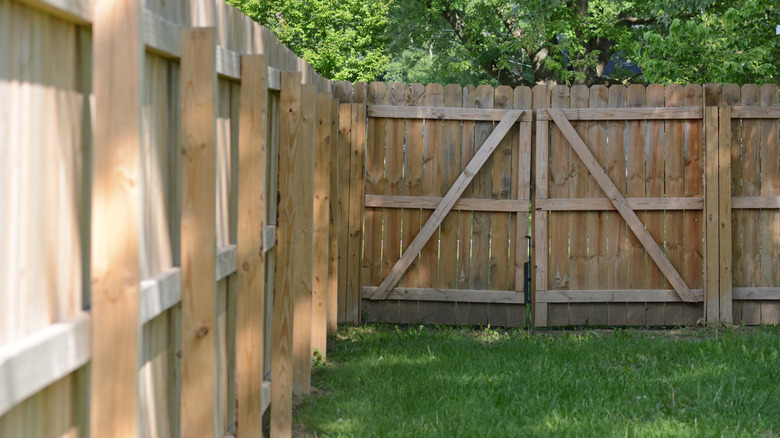
There is a key point to keep in mind. While a gate may not seem all that different from the rest of your fence, it does require more support to keep from sagging. If you have ever examined a gate, you may have noticed a Z pattern on the back. The diagonal piece provide extra support, but it's important to start it at the bottom of the panel on the side of the hinge.
Tips on building your own gate

Building a gate can be as simple as you want to make it based on your gate and fence design for a stylish and private yard. The easiest way to ensure your cuts work in your space is to simply build the gate in place. Cut horizontal braces (two to three depending on the height of your gate) and fit them snugly in between the posts where your gate will go. Screw them temporarily into place and then start adding vertical supports between each of your horizontal pieces — you don't even need to measure, just hold the lumber up to your existing supports and mark where to cut. Make sure to leave a little room on each end to let it swing freely.
When cutting the diagonal compression brace, you can do the same thing — hold up your piece of lumber at an angle, starting with the bottom on the hinge side of the gate, and simply draw lines where you need to cut to fit the piece between your horizontal supports. Cut and screw into place then add your pickets! Once those are in place, you can add your hinges and cut the gate free from the posts. And, of course, don't forget to add your latch.
The really easy way to build a gate
If you're more of a semi-homemade kind of DIYer, there is an even easier solution. Buy a panel of fence to match your other panels and cut it to the correct width. You can now either cut the diagonal pieces you need to add extra support — following the same advice as above — or use something like a Telescopic Gate Brace from Amazon and follow the installation directions. The pre-made braces will likely be more expensive than simply buying and cutting a piece of lumber, but it may be worth it for a little extra piece of mind.
Once this is done, you can move along to installing your hinges and latches. There are many different kinds of hinges, so be sure to do your research to get the right kind for your application. Some are better for brand new gates, while others work better for retrofitting situations. It's also important to note that if you have a slope, your hinges should be on the lower side of the slope so the gate does not swing into higher ground and get stuck. Now that your yard is fenced in and private, it's time to tackle other DIY projects, like a large trellis arch, to turn your yard into a secret garden oasis.