Stencil Accent Wall Mistakes Everyone Makes And How To Avoid Them
Looking for ways to create a splashy focal point in your favorite room? Stenciling a pattern across a wall gives you the look of wallpaper without the hassle of pasting and aligning all those strips. But there are many ways your stenciled accent wall could go wrong, including choosing the wrong stencil or paint colors. Less-than-crisp results can also happen if you apply the paint incorrectly or don't use the stencil the right way.
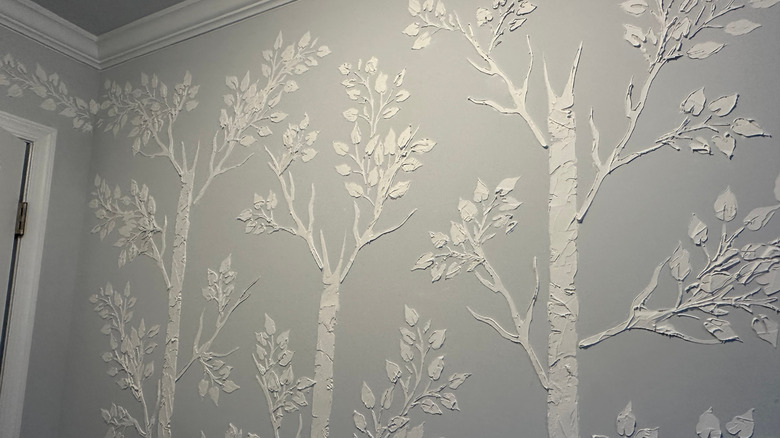
When you avoid common stenciling mistakes, you create a modern-day accent wall that outshines the isolated, excessively vibrant examples from the early 2000's. Since then, the popularity of accent walls has fluctuated while the details of a chic focal wall have evolved. Now, instead of a solid paint color that contrasts with the other three walls, designers and DIYers are exploring new and creative ways to create an accent wall without painting it. Focal walls use a range of design strategies including wood paneling, wallpaper, textured materials, and, of course, stenciling. Perfect your stenciling technique by identifying and avoiding the biggest mistakes so you're left with crisp lines, clear contrast, and a stunning design.
Mistakes during stencil preparation
Setting yourself up for success means choosing the ideal stencil, paint, and tools for the job. But before you can do any of that, you need to decide which wall you'll stencil. Make sure you want the wall to be a focal point in the room. In some cases, the best option is choosing the wall that already stands out more than the others. Adding the stenciled design makes it even more of a standout in the room. You might also choose a wall that has an architectural feature you want to draw attention to. Avoid using a stenciled pattern to hide a wall with blemishes or unappealing features. The pattern will likely have the opposite effect, drawing more attention to the uneven surface.
Finding the best accent wall colors for the stencil pattern depends largely on the rest of the room decor and your preferences. If you don't plan on repainting the wall before you stencil it, choose a color for the stencil with enough contrast for it to be noticeable. The color choices should complement one another. Using a cool color for the base hue often helps the stencil color stand out more.
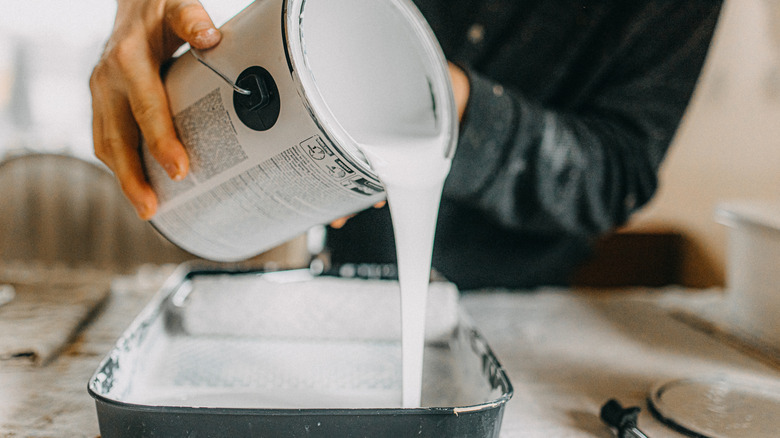
Collecting the right gear also helps. Paint rollers with long fibers soak up too much liquid and increase the chances of the color bleeding under the stencil. Opt for a 4-inch dense foam roller or a short-haired velour roller used for lacquer. You'll also need painter's tape to secure the stencil and protect trim and dropcloths to protect the floor. Paint with a thicker consistency works better because it doesn't run as much as thinner paint.
Mistakes while stenciling
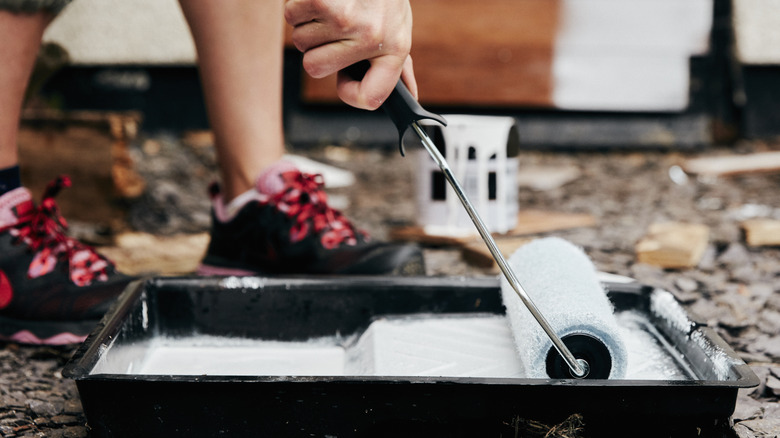
To avoid critical accent wall mistakes, you want a small amount of paint on the roller. Dip only a portion of it into the paint and use the textured, slanted part of the paint tray to roll and spread it evenly. If you still have too much paint on the roller, roll it on newspaper or cardboard to get rid of the excess.
Another potential mistake is misaligning your stencil. Many larger stencils that work well for wall designs have registration points to help you align the stencil and keep the pattern consistent. There are different types, including pinpoints. With this type, place a piece of painter's tape under the pinpoint opening. Then, use a pencil or marker to mark the spot on the tape. When you move the stencil, you can align the registration marks. Using a level is also important to help you keep the stenciled pattern going in a straight line. You can use clip-on stencil levels to check the placement of the stencil easily.
Move the roller gently over the stencil, being careful to cover all of the cutouts. As you get close to the corners or edges, you may need to switch to a small paintbrush or sponge brush to apply the paint carefully. You typically want to apply two thin layers of paint over the stenciled design. The base color will likely still show after the first coat, but the second coat will cover it. To keep the project moving, you can change which direction you move from your starting point. First, shift the stencil horizontally. While that's drying, shift it vertically below the first spot.