Avoid These Common Mistakes When Insulating Windows
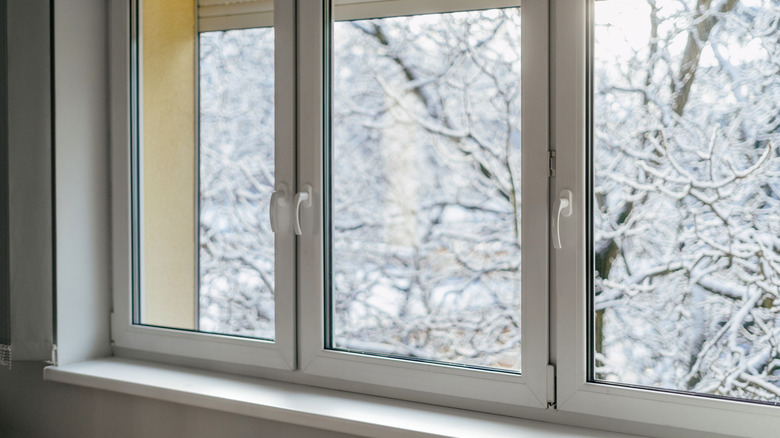
The existence of windows feels frustrating when winter comes rolling in, as they invite drafts and make it harder to keep the home warm. Once summer rolls around, windows become just as problematic, as they allow air-conditioned air to escape while letting in outdoor heat. Fortunately, insulating your windows is a cost-effective way to keep your home cozy and reduce electricity bills.
Window insulation serves two main purposes — sealing gaps to eliminate drafts and reducing heat transfer. For example, sealing gaps with caulk or weatherstripping targets heat loss through convection, i.e. air movement in or out of the home. Applying film or upgrading to double-glazed windows, meanwhile, addresses heat loss through conduction, which happens when heat passes through the window glass. The process of insulating your windows is simple, and materials needed are also accessible. The devil, however, is in the details, and a few common mistakes can turn your insulation project into a missed opportunity. These errors include missing gaps and cracks, using the wrong materials, skipping preparation, and only insulating the interior, among others.
The consequences of these mistakes could leave you bundled up in your living room while also dealing with high utility costs. Insulating windows, after all, is as much about efficiency as it is about comfort. The United States Department of Energy estimates that heat gain and loss through windows account for almost 30% of home energy use. Reducing drafts inside your home, meanwhile, can lead to annual energy savings of 5% to 30%. By avoiding window installation mistakes, you save time, money, and a whole lot of frustration!
Not sealing gaps or cracks
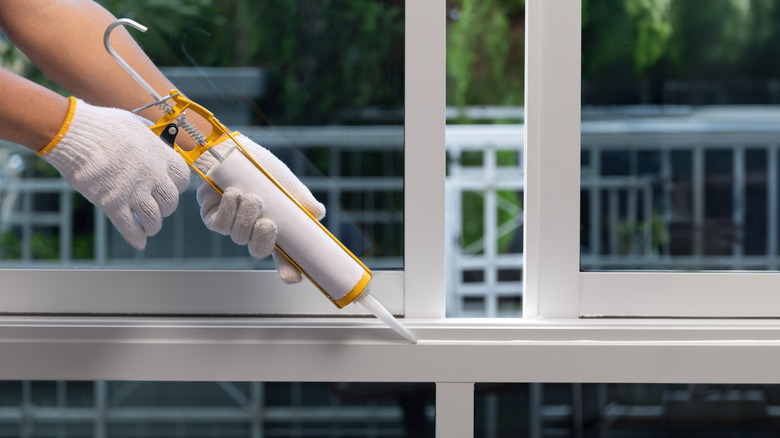
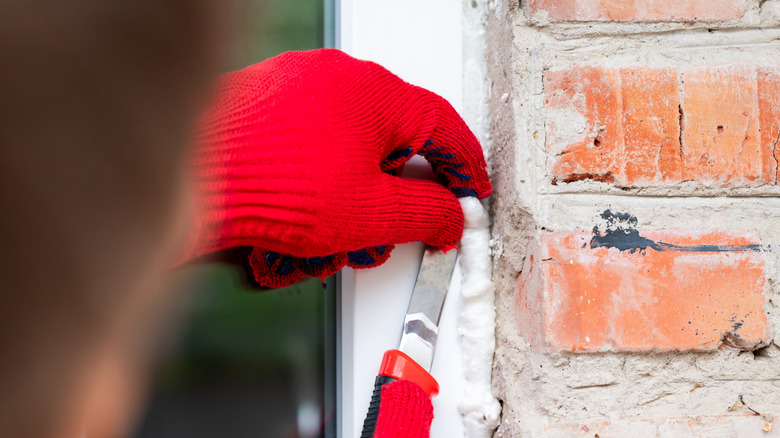
Neglecting to seal small gaps and cracks around the window frame is perhaps one of the most common mistakes people make when insulating their windows. These gaps usually form around the edges of window frames due to wear and tear or broken older caulk or weatherstripping. And while they may look tiny and negligible, they are among the prime culprits behind the cold air in your home. It's easy to assume that simply placing insulation material around the window will do the trick, but you will end up with cold drafts without properly sealing these crevices.
These gaps can lead to significant heat transfer if left unsealed, especially in extreme temperetures months when your heating and cooling system is already under strain. Your furnace or HVAC system runs more frequently to maintain a comfortable indoor temperature. Ultimately, this drives up your energy bills.
This problem is preventable. Just be sure to inspect the window frame carefully and seal any gaps or cracks with high-quality caulk. Consider weatherstripping to create an airtight seal when dealing with non-stationary window parts. If you're having a hard time checking for cracks, a helpful trick is to use a smoke pencil or light an incense stick near the edges of the window and just watch for any signs of draft to identify exactly where the air is sneaking through. This attention to detail will go a long way toward making your insulation job successful.
Using the wrong insulation materials
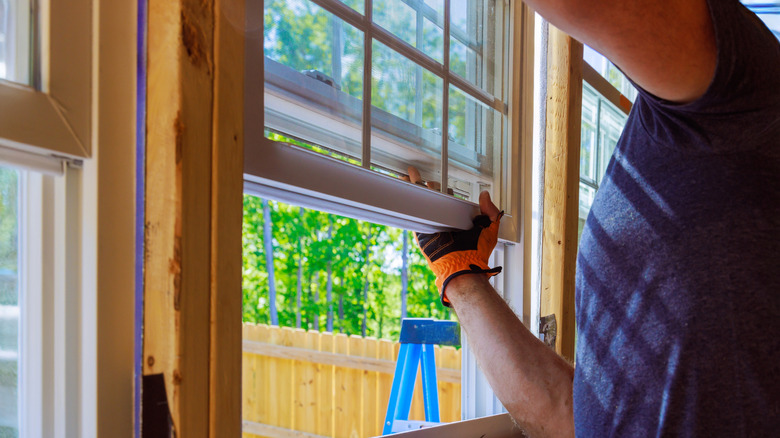
Using the wrong insulation materials can adversely impact your window's insulative performance. It may seem tempting to go for a quick and cheap fix but using duct tape or even basic plastic film over your windows is an ineffective solution. These materials either don't last long or fail to put up a robust barrier against heat transfer. Felt weatherstripping, for example, might offer some degree of insulation, but often breaks down quickly, necessitating frequent replacement. Attaching plastic window insulation film, meanwhile, doesn't create the air gap that can reduce heat transfer through conduction. Without this air gap, even with the film, indoor warmth or outdoor heat can still pass through the single pane of glass. Double-paned windows are specifically designed to tackle this challenge and are a highly effective insulation option.
Instead of wasting your time, money, and effort on unsuitable or subpar materials, invest in quality products specifically designed for window insulation. High-quality window insulation kits, double-pane windows, and professional-grade weatherstripping are all excellent choices that provide better results and last longer than their cheaper counterparts. Yes, these materials have a higher upfront cost, but they pay off in the long run by maintaining a comfortable indoor climate and helping you save on energy bills.
Not cleaning the window before installation
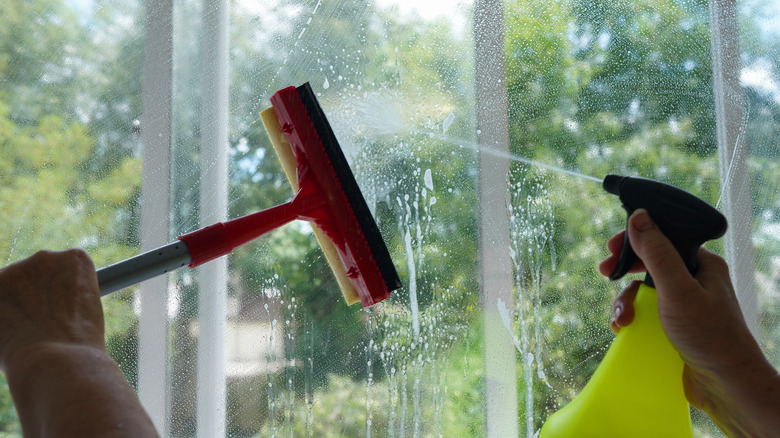
Insulating windows is not a one-step process that only involves installing weatherstripping or film on your window. Properly cleaning and drying your window before installing insulation of any kind is a vital first step. That's because dirt, dust, and moisture can prevent a proper seal from forming or even stop adhesive from working altogether. Moisture left on the window frame can also cause the insulation material to peel away over time. This means that drafts will creep back in and junk your efforts to keep a comfortable temperature inside your home. What's worse, moisture buildup often leads to mold, which can damage insulation products and the entire window assembly.
To avoid these problems, clean both the window and the frame thoroughly before installing insulation. Wipe away any debris or dirt and make sure the surface is completely dry before applying your materials. Thorough preparation ensures that adhesives and the insulation material itself work as intended to provide a lasting and secure bond, reducing the chances of insulation failure.
Using foam spray incorrectly
Spray foam is often used in window insulation. It is, however, important to use spray foam correctly to ensure it's effective in filling small gaps and cracks around your window frames. Sometimes, people make the mistake of either overapplying the foam or using the wrong type.
Applying too much foam can lead to overexpansion that can warp the window frame. This issue makes opening and closing the window difficult, resulting in unnecessary repairs or replacement that ultimately add to your costs. Imprecise foam application, meanwhile, can leave uneven seals and gaps where air can sneak through. It's best to fill in 75% of the space with foam spray.
Choosing a minimal-expanding foam specifically designed for window insulation helps you avoid issues like warping and jamming the assembly's moving parts. Apply it sparingly and focus on filling small gaps or cracks. Crucially, follow the manufacturer's instructions to ensure you're using the right amount and application technique.
Neglecting to insulate the exterior
Neglecting to seal gaps on the exterior of the window assembly is a mistake if you're trying to keep a comfortable indoor climate and slash energy use. Caulking the inside of your windows to help trap heat during winter or the cold during summer is only part of the solution. Professionals typically caulk both sides of the window — inside and outside. That said, you have to use a different caulk for sealing gaps along the window's exterior. Whereas you can opt for specialized spray foam and acrylic latex caulk for the interior side, you'll need a weather-resistant product, such as butyl rubber caulk, to seal gaps around the exterior.
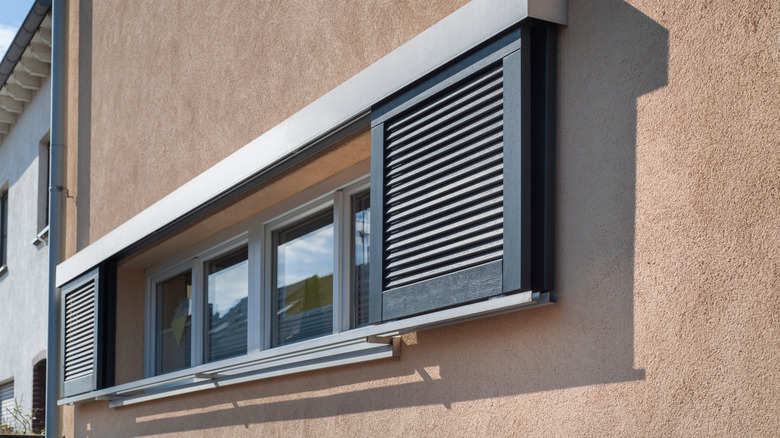
Apart from simply caulking the exterior, consider adding storm windows or insulated shutters to enhance the assembly's insulative properties. These extra layers on the outside of your windows create an additional barrier that keeps cold air from seeping in and heat from escaping — and vice versa during the summer. With both interior and exterior insulation in place, you'll maximize the energy efficiency of your windows to reduce space conditioning costs while ensuring a more comfortable home!