How To Prep Last Year's Planters For A New Season Of Gardening
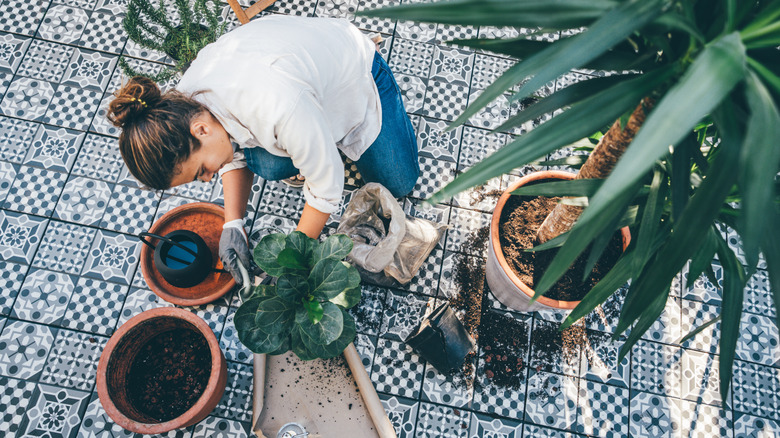
If you're already dreaming of all the gardening you'll do as temps rise, you can get a head-start by spring cleaning your garden for a breezy planting season. In addition to deciding what you want to plant and where, now is a good time to get all the necessary gear ready. Namely, cleaning and prepping planters from previous seasons, so they're ready for reuse.
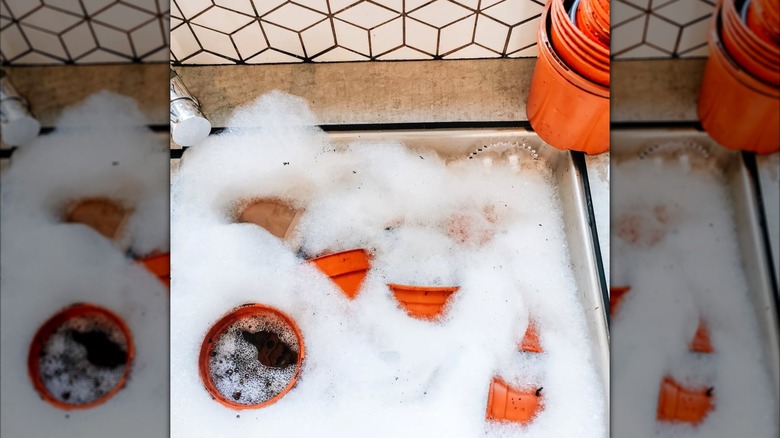
Properly cleaning planters is key to eliminating bacteria and ensuring a clean, healthy environment for your new plants. If you're working with plastic pots, brush away any visible dirt and debris, then wash them with dish soap and warm water. Once clean, disinfect the pots by giving them a 10-minute soak in a DIY solution that's 1 part bleach to 9 parts water. A scouring pad can help remove any final caked on dirt — just remember to wear protective gloves while handling the bleach solution.
If you have clay or terracotta pots, these will require a bit more elbow grease. Clay is naturally prone to absorbing minerals from soil, water, and fertilizer, which can result in white salt stains, algae growth, mold, and more. Scrub the pots with dish soap and a wire-bristle brush or steel wool, then disinfect them by plunging them into a mix of 1 part distilled white vinegar to 1 part water for half an hour. As for wood planters, avoid soaking them, instead wiping them clean with a dry or slightly moist cloth. Now, you're ready to move on to next steps.
How to prepare last year's planters to be used again
Once clean and completely dry, last year's planters require just a couple more steps before they can welcome their new plant tenants. Check that the pot's drainage holes are unobstructed to prevent waterlogging, which can cause roots to die and decay. If your planter doesn't have holes, now is a good time to add some. To do this, use a standard drill bit on plastic pots, a masonry bit for terracotta, or a diamond bit for glazed ceramic.
Now, it's time to add soil. Despite it being common advice, avoid placing shards of pottery or rocks at the bottom, as these can actually clog the drainage holes. Fill the planter to 1 inch from the top using soil specifically designed for container gardening – not garden soil. Consider mixing in some DIY compost or leaf mold to up the nutritional value and really prep your soil for a successful planting season. Once full, water the soil and allow it to compact naturally, then add soil on top, as needed. Don't manually push the soil down because if it becomes too compacted, it will slow down root growth and interfere with proper drainage. Finally, you're all set to (safely) start planting.