The Quick And Affordable Way To Personalize Basic IKEA Furniture
We may receive a commission on purchases made from links.
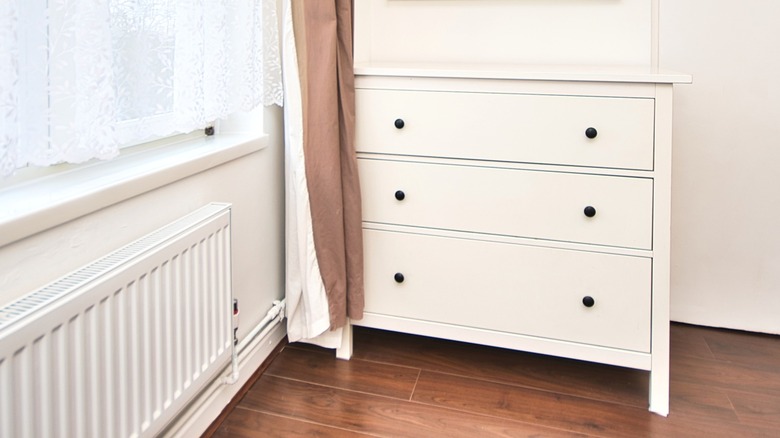
It's hard not to love the fashionable and functional furniture at IKEA. While the shopping experience alone is enough to make the trip worthwhile, the affordable prices and sensible, minimalist constructions make the brand a smart choice — some IKEA items even earn professional interior designer approval. DIYers especially love the potential inherent in each line. Simple designs offer the chance to make a one-of-a-kind creation without starting an in-depth project from scratch. It doesn't take much to make a stunning transformation, either. Sometimes, all you need is some glue and an applique (or onlay) to redefine your IKEA furniture's style.
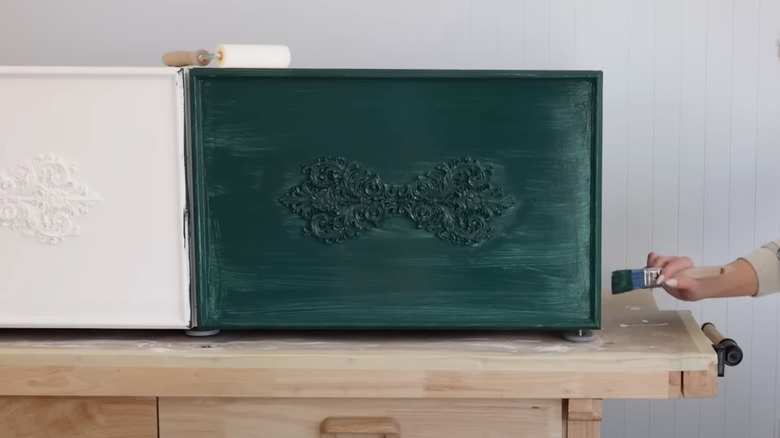
Appliques are arguably the easiest and fastest way to give your IKEA furniture an elegant, personalized look. Snag these bits of decor in various designs at craft stores, home improvement centers, or online. If you're feeling extra crafty, you can also make your own with clay, resin, or even hot glue molds. Capture the look of ornate, carved details and fun relief sculptures just by sticking on these inexpensive additions. They're available in all shapes, sizes, and styles, letting you transform everything from your child's bedroom furniture to your living room cabinets into a fitting complement to the room's theme. Using a fresh coat of paint to blend it with the furniture or create a stark contrast, you'll have a unique item that nobody would guess began as a plain Jane piece from IKEA.
How to put appliques on your IKEA furniture
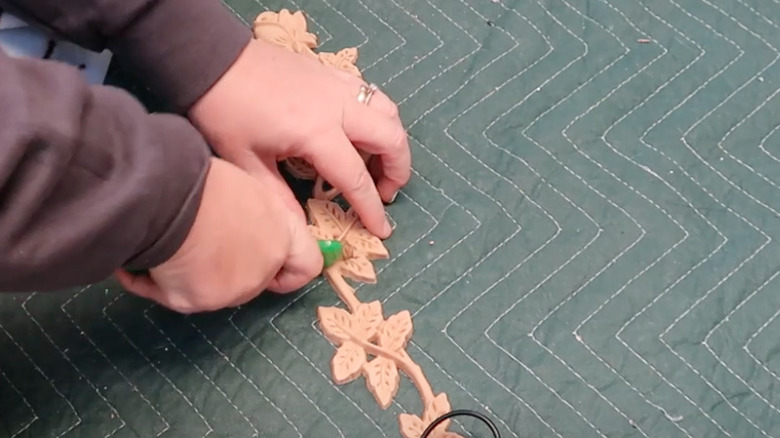
Personalizing frills-free IKEA furniture with appliques doesn't take much beyond a quality glue and a paint of your choice. If you get flexible appliques (such as those from WoodUBend), a hair dryer or heat gun will also come in handy. While they're as sandable, stainable, and paintable as wood when cool, heating these products lets you flex and form them as desired to fit your piece – they can even bend around 90-degree furniture corners! Before applying your appliques, take the necessary prep steps to avoid issues when painting those tricky IKEA furniture surfaces. Remove any handles and hardware, and if your appliques won't be the same color as the furniture, prime and paint the surfaces before adding the decorations.
No matter the style, wood glues or crafting glue like E6000 can work well for adhering them. Hold your applique on your furniture to visualize and dial in the placement, marking the edges so it's easy to line up when you glue it on. Spread the adhesive on the back of the applique, and press it into the panel. If you're using a bendable applique, use your heat gun to form the shape as desired as you apply it. As you work the piece into position, tape it in place to hold it until the glue dries. Clean any excess glue from around the applique with a paper towel or damp brush. Once the glue sets, you can paint or further adorn your furniture and appliques.
Tips for making appliques work on your IKEA furniture
Appliques may be easy to install on IKEA furniture, but that doesn't mean you won't run into potential issues. What do you do when an applique has to span multiple surfaces, such as on drawer fronts? How do you work around handles and hardware? While you should always start with accurate measurements and choose products that fit the space, you can usually find workarounds for situations like these.
When an applique must cross multiple surfaces, such as drawer fronts on a VIHALS chest or swing doors on a BESTÅ table, simply cut it in half. Hold the uncut applique in the position where you plan to install it on the furniture. Mark the cut points on both sides of the applique, drawing a straight line between them to make a cut line. Cut wood appliques with a small hand saw. Meanwhile, WoodUbend appliques and similar products are easy to cut with a knife. Heat the applique to soften the material. Once it's pliable, carefully cut it with a utility knife or other sharp blade.
Don't feel like you have to work around handles and knobs. An applique can make a great backdrop for drawer and door pulls. With the design update, your furniture will likely be due for new hardware anyways. Decide where you want the handle or knob to sit over the applique, and drill a hole in it wide enough to fit the screw. Put masking tape over the drill point to prevent splintering and form a clean hole.
Using appliques to create gorgeous IKEA furniture designs
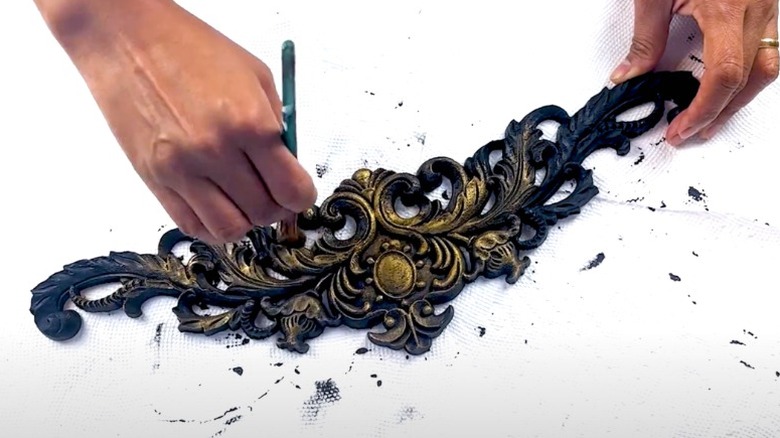
A simple applique addition will bring instant depth, texture, and life to your minimalist IKEA furniture item. But, clever planning can make them do even more for the final appearance. Onlays come in all styles to suit your personality. Grab sea animal shapes, like these Newbested Ocean Life Cutouts, to make underwater scenes on your child's TROFAST storage unit. Or, use sculpted flowers to make floral bouquets burst forth from your BRIMNES wardrobe. You could also stick with traditional appliques, like these Chunful Decorative Wood Appliques. Add a classic flourish that will class up any IKEA case goods. With these, you can play with spray paints, metallic waxes, and other finishes to make vintage designs that pop.
And, why stop there? Embellish your embellishments and consider how to make your appliques take your IKEA items even further. Pair your applique with trim or an overlay (another must-have product for DIY IKEA hacks) for a design that goes far beyond the basic. You could also add complementing ornamentation to enhance the applique's effect. For instance, the designer at YouTube channel Marilyn's House of DIY Home Decor elevated their appliques with crystal insets for a shimmering, glam display. Many designers have also mixed appliques with contact and transfer papers for colorful, layered creations. The creator at YouTube channel Crafted by Monnow Lane works this beautifully into a botanical design you can easily translate to an IKEA piece. Note how the leaf drawer pulls provide the perfect finishing touch for this charming thematic conversion.