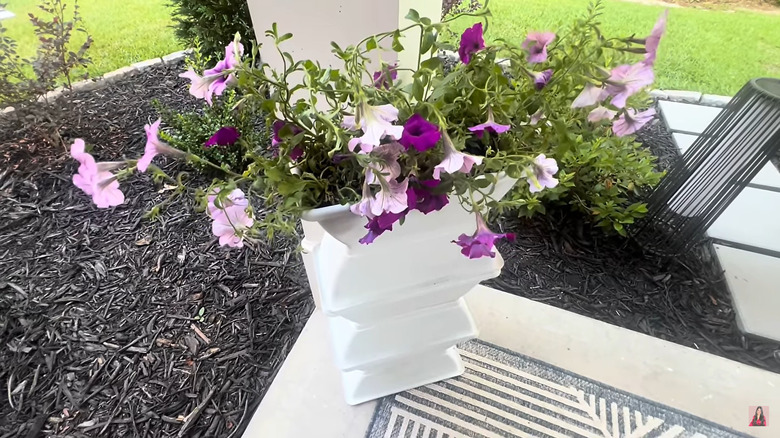
Give Your Outdoor Decor A Boost With A Tall DIY Dollar Tree Planter
Is your deck or porch in need of some floral drama? Dollar Tree will help you bring it with a sextet of stacked plastic planters. Simply fuse together six planters in an alternating top-to-bottom pattern capped off with an open planter ready to hold flowers and foliage. Finished with a few layers of spray paint, no one will guess that this statuesque planter was so inexpensive to make.
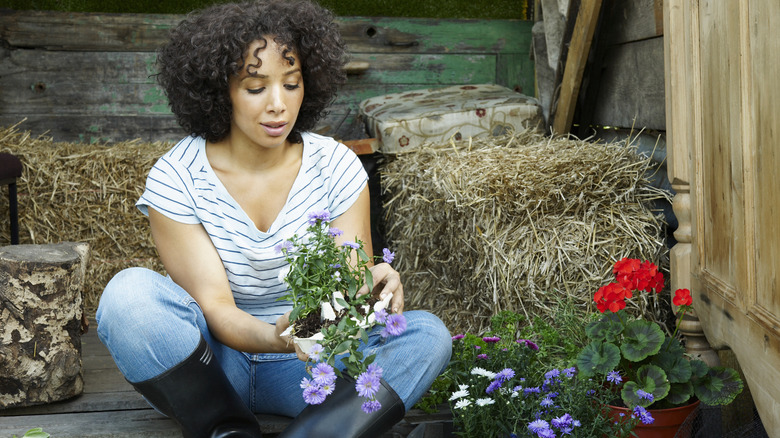
What you'll need for this project is six Garden Collection Plastic Rectangular Planters, spray paint that bonds with plastic, a few sheets of sandpaper, and a heavy duty adhesive like E6000, a glue you should keep in your home. You'll also need something to add weight to the base and prevent tipping; some rocks, a brick, or a few plastic sandwich bags filled with playground sand are good candidates. For extra reinforcement, also purchase a Cooking Concepts Cutting Board to attach to the base with E6000, 0.25-inch self-tapping wood screws, or both. To top off, any paint color or texture will work, as long as it's weather-resistant and formulated for plastic. A stone-look paint or metallic tint will further mask this planter's humble origins.
Stack up a stylish planter
Scrub the cutting board and the exteriors of each planter with sandpaper, concentrating on the planters' opening and the base to help both the glue and the paint bond with the plastic. Wipe away any dust created. For the cutting board base version, place whichever material you're using as a weight on top of the cutting board. If you're using sand, this is a great opportunity to reuse plastic baggies or small lidded plastic containers or bottles. Edge one planter's opening with glue, and invert it over the cutting board. If you're adding screws, send one through each corner of the lip and another at the midpoint of each long side.
Apply a generous amount of glue around the bottom edges of another planter. Press it onto the top of the combined planter and cutting board base, carefully matching the edges. Squeeze glue around the opening of another planter, invert it, and place it on top of the growing tower of planters so that the topmost planters are lip to lip. Repeat this alternating pattern with three more planters, ending with an open planter atop the other five and the cutting board base. After gluing all of the components, let the adhesive dry and cure for 24 to 72 hours before painting. Once the glue is fully cured, coat the exterior of your planter with several layers of paint. Fill the upper planter with potting soil, and complete the effect with a collection of container plants perfect for your front porch.