Reuse Empty Tin Cans To Illuminate Your Garden Planters At Night
We may receive a commission on purchases made from links.
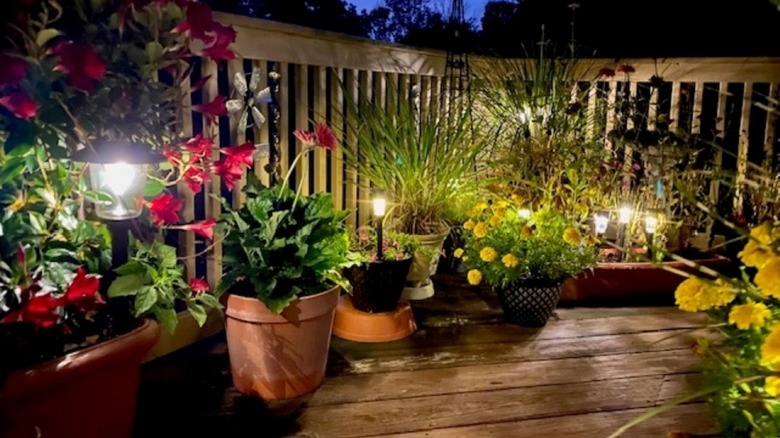
After the sun has set and dusk shrouds your backyard, don't go inside. Add a little light and, in an instant, your patio will feel more like a living room. With the help of a tin can and a dowel rod or broom handle, you can fashion your own upcycled torch that is not only inexpensive but also extremely easy to make while saving room in your recycling bin. A tin can atop a wooden rod makes an attractive vessel to hold a real or LED flickering candle for an inviting ambiance you won't want to leave.
What you'll need to pull off this DIY is a shallow tin can (tuna or wet pet food cans are perfect), a wood screw, spray paint, sandpaper, and a drill with a screwdriver bit. For the rod, either purchase a 1-inch-diameter dowel rod or cut a wooden broom handle in half (about 3 feet long will work). You'll also need a candle, either bare or set inside a glass holder. If open flames cause you too much worry, an LED light with a flickering flame effect is a safe alternative.
Light up your garden with a DIY tin can torch
Before launching into this DIY, take some precautions to smooth away any rough metal bits on the can's edge that could leave you with a nasty cut. Find an old metal spoon or butter knife (one that you don't mind if it gets scratched). Press the curved bottom of the spoon or the flat side of the knife firmly against the edge of the can as you rotate it. This should push any burrs down and reduce possible injury. Then, wash the can and remove any labels.
Drill a hole in the center of one end of the dowel rod, and attach the can to it, open-side up, with a wood screw. Give the whole thing a light sanding, and apply a few coats of spray paint. As for color, matte black is classic, but any color will do. Try a metallic sheen with Rust-Oleum Color Shift spray paint in green copper or a primary color that will add cheer to your surroundings. Before painting, soak your spray paint can in warm water to help you get a smoother and more even coat.
Once the paint dries, your upcycled torch is ready to be installed. If the soil is loose enough or you're inserting it into a planter, it should drive in without much trouble. For more compacted soil or a lawn, sharpen the end of the dowel rod with a pocket knife to help it slide into the ground. Place your candle inside the tin can, and wait for the sun to go down to enjoy its soft glow.
Use different techniques on a taller tin can
If neither tuna nor canned pet food ever finds itself in your shopping cart, give taller cans a try. This is a genius way to reuse leftover soup cans. Since a deeper container will swallow up much of the light from a small candle, adding holes or cuts to the sides of the can will let the light escape in style. For these variations, you'll need a few extra tools and supplies, including a drill bit extender to mount the taller can on the dowel rod before painting.
Morph a soup can into a lantern with triangular projections that glow from within. Slice vertical lines around the sides of the can with a dremel. This can throw off sparks, so always wear eye protection. Space the cuts 1½ inches apart, and leave about a 2-inch margin between the top and the base. Once you've cut slices around the entire can, set it on a hard surface, and press down on the open edge with a flat, heavy object like a paver or a board. Apply pressure until the can collapses enough that the cut sides bend outward.
If you've been intrigued with punched tin and always wanted to try your hand at the technique, this is a great time to make an attempt. Draw a dot art pattern on the can with a permanent marker. Fill the can with water, and freeze it; this will help prevent the can from bending while you make the holes. With a hammer and a heavy nail, drive holes into the frozen can through the markings you made. These variations will light up your garden in unique ways.