23 Creative Ways To Reuse Plastic Nursery Pots In Your Garden
We may receive a commission on purchases made from links.
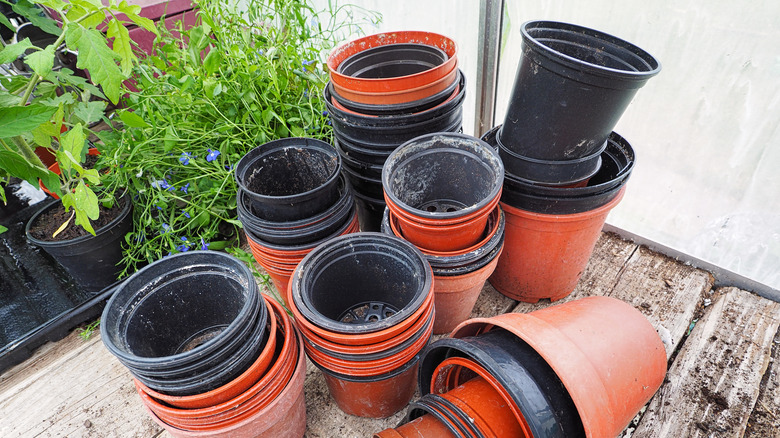
Prior to the mid-1900s, plants couldn't be shipped long distances because the ceramic planters they were grown in broke so easily. The invention of the plastic nursery pot revolutionized the horticultural industry, and seedlings were grown en masse to accommodate the demand. Gardeners were left scratching their heads wondering what to do with that shed full of black and orange planters in all manner of sizes. The answer to that question is lots of things!
With very little amendments, these pots make great storage containers, soil scoops, seeders, twine dispensers, frost covers, and plant pot stands. Encourage wildlife into your garden by turning plastic nursery pots into bug hotels and bird feeders. Use hidden pots to create a more flexible garden. A pot buried in the ground becomes a worm farm, a barrier for space-hungry plants, or a planting guide.
In most cases, you'll need to clean and sanitize the planters before you reuse them. This ensures you don't spread pests or diseases throughout your garden. To do this, brush off any loose dirt, wash thoroughly in warm, soapy water, and then soak the pots in a 1:9 ratio of bleach and water. Leave the planters in the solution for about 10 minutes, then rinse them with fresh water. And don't worry too much about them taking up lots of storage space. Plastic nursery planters are shipped in large quantities, so they come in uniform shapes and sizes that stack neatly.
Create a plastic nursery pot halo
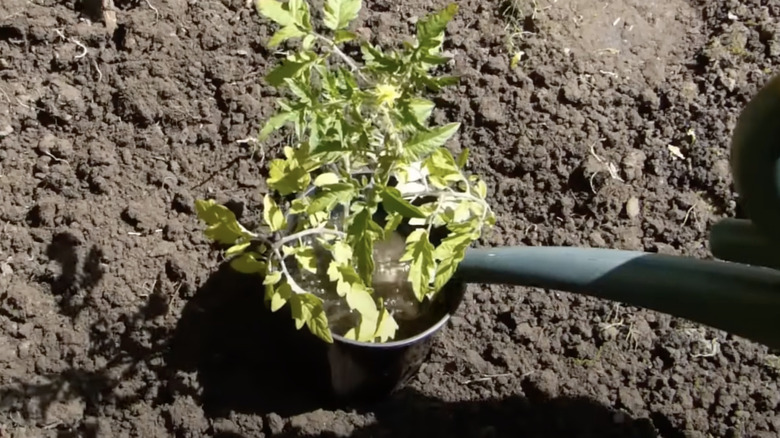
Some vegetables are particularly thirsty. If you want lots of tomatoes, for example, you'll need to keep up the watering. You can buy purpose-built halos designed to direct water right where it's needed — your plant's roots — but they don't come cheap. For example, a pack of three tomato watering trays costs almost $40 on Amazon. Instead, cut a hole in the bottom of a plastic planter that's just big enough to slip over your plant. It's free, and the retained drainage holes direct the water similarly to a purpose-built tray.
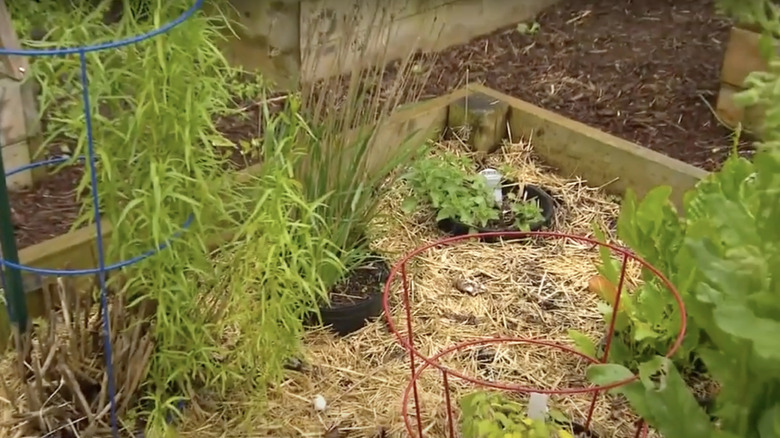
Build a hotel to attract beneficial bugs

Beneficial insects like solitary bees, wasps, ladybugs, beetles, and spiders need crevices to complete their life cycles. Recreate their preferred habitat by turning a plastic nursery pot on its side and filling it with straw, leaf litter, twigs, hollow plant stems, bamboo, corrugated cardboard, rolled up paper strips ... basically anything that's biodegradable and creates crevices for insects to nest or shelter in. Place your bug hotel in a sheltered area away from wind, rain, and potential predators. Or, add a hook to hang it or mount it to your fence.
Harbor a new generation of birds with a birdhouse
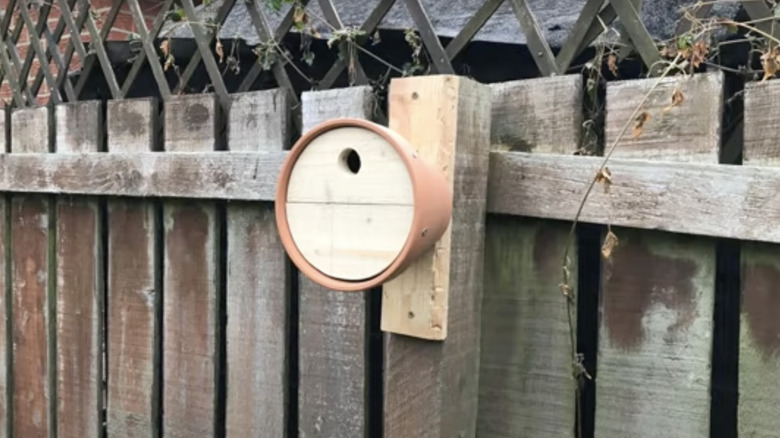
Measure the diameter of the top of the pot and cut a circle of wood to those dimensions. Then, cut an entrance hole into the wooden circle. A hole under one-and-a-quarter inches will keep out invasive house sparrows that oust nesting native birds like chickadees and wrens. Press the disc firmly into the top of your pot — the tapering walls should ensure it stays in place. Attach another wooden disc to the bottom of the pot, and drill through it to mount your nest box to a fence post or tree.
Plastic nursery pots make perfect collection buckets
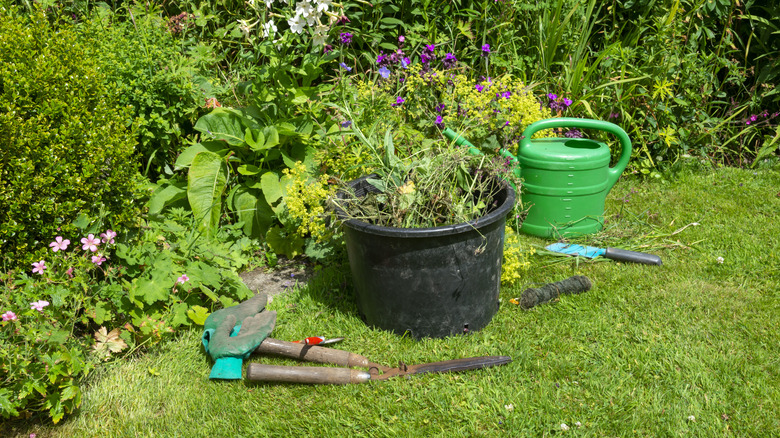
If there's one thing you need to do as a gardener, it's collect and carry things around your garden. Weeding or dividing perennials? You'll need somewhere to put all the plants you just pulled out of the ground. Harvesting vegetables? Despite using your backyard like a personal supermarket, it doesn't come with a shopping cart. Harvesting baskets and steel buckets are undeniably cute, but you have to pay for them. A large plastic nursery pot takes care of all your carrying and collecting needs without you having to spend a penny.
Scoop, distribute, or sift mulch, soil, or seeds
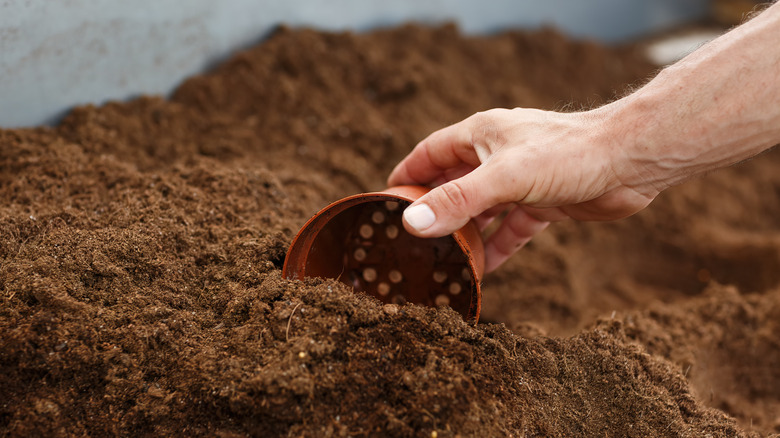
Sifting is a great way to remove stones and other large debris from used soil that you want to reuse elsewhere in the garden, in containers, or for seed germination. A clean plastic nursery pot can double as a sifter; the fine soil drops through the drainage holes and everything else stays inside the pot. Likewise, use the pot as a dirt, compost, or mulch scooper and distributor, or take advantage of drainage holes to spread lawn seed, fertilizer, or pest repellents evenly over your garden beds.
Repurpose planter for frost and pest protection
Cut the bottom out of an old plastic planter and slip it over young plants and transplants, pressing it into the soil a little, to protect them from all manner of problems: from big hungry herbivores like rabbits to cutworms. If you mulch your beds, an upside-down pot will stop small plants from being buried in the stuff. The collars also act as mini greenhouses, keeping plants warm if a cold snap hits your area early in the planting season. If your plants need more protection, upturn a pot over your plant.
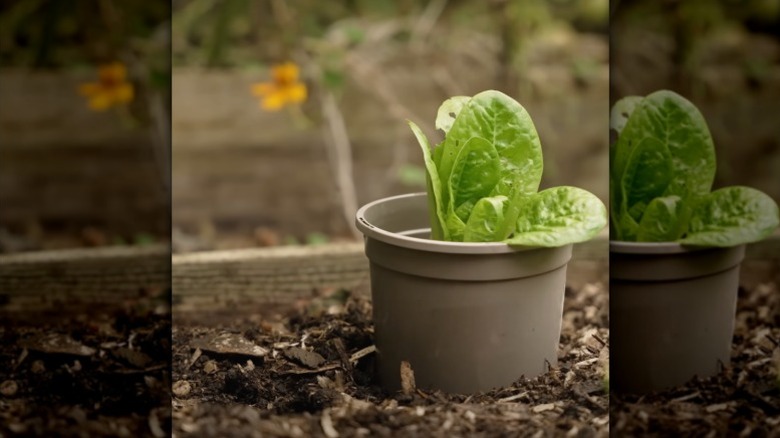
Double your container gardening space with two plastic nursery pots
Popping a bottomless plastic planter atop another, larger (diameter-wise) planter and filling them both with potting soil expands your growing space by almost half. Plant vegetables or shrubs that need deep root space in the top pot and fill the stepped edge formed in the lower planter with lettuces, herbs, or select ground covers ... any species or variety that thrives in shallow(er) soil. Want even more space in your garden? Make the bottom planter a hanging basket and hang it from a fence post or your balcony eaves.
Plastic planters make nifty storage containers
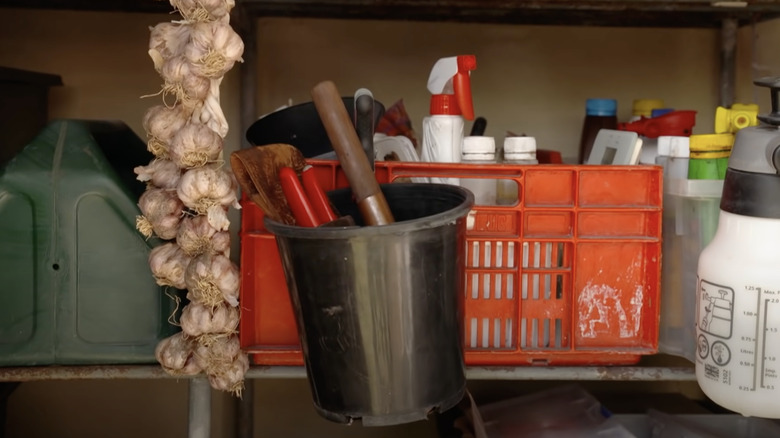
Clip these lightweight pots to baskets and shelves in your garden shed or nail them to a fence post and use them to store everything from garden gloves to pruners. This Amazon Basics 20-Piece Black and Silver Steel Spring Clamp Set for almost $18 will cover any size of planter. Tired of your garden hose snaking all over the ground when not in use? Coil it inside a large nursery pot — one, say, you received that lemon tree sapling in — to keep it contained. Very big pots also work great for storing long-handled tools.
Make your own plant food in a plastic nursery pot worm farm
Cut or drill holes into a large nursery pot, partially bury it in the ground, and fill it with worms and biodegradable garden clippings and kitchen scraps. Uncle Jim's Worm Farm 100 Count Red Wiggler Composting Worms Mix is about $24. After a few weeks, harvest the worm castings and spread them around your plants. Free fertilizer! Not a fan of actively cultivating creepy crawlies? Simply skip adding the worms and only add the scraps to create compost, though note that the material will naturally attract wild critters.
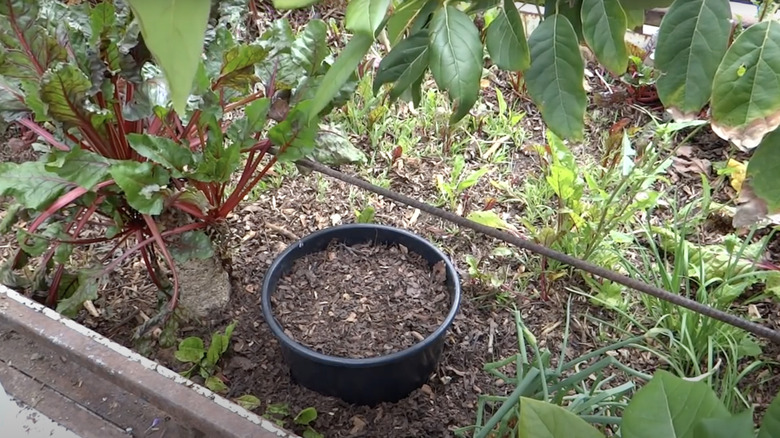
Dig old plastic planters into your garden bed to restrain runaways or organize annuals
To change out lackluster perennials or extend seasonal color easily in select garden beds, bury some large nursery pots and pop potted plants — it's vital to keep them in their pots, too — inside them. When you're ready for a change, simply lift out the existing potted plant and replace it with another. Grow fast-spreading plants in pots sunk into the soil; the walls of the pot create a barrier for aggressive root systems. This can also help reduce competition in a small garden bed.
DIY a plastic nursery pot and base into an affordable bird feeder
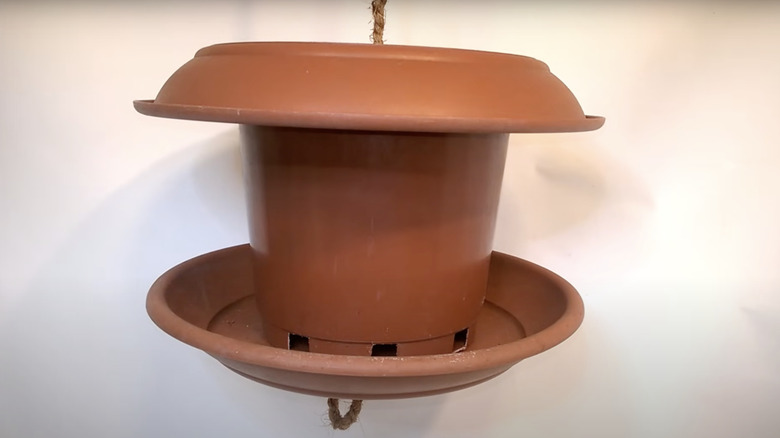
This activity takes advantage of the usually large drainage holes in garden center planters. Cut some extra holes in the sides of the bottom of your planter. Next, drill a hole in the center of the pot and the two saucers, then thread some rope through all of them. The bottom saucer will catch extra seeds, while the top saucer becomes the lid for your feeder. Have your wildlife-loving kiddos decorate the bird feeder with non-toxic paint before filling it with bird seed and hanging it from a tree.
Keep squirrels out of your bird feeder with a plastic pot baffle
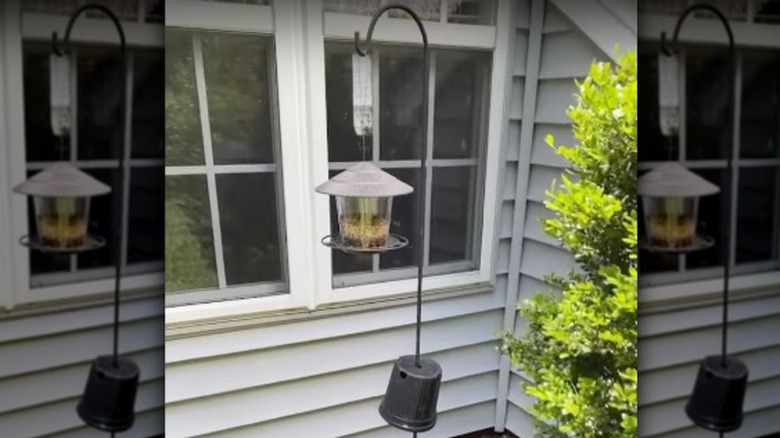
If the bird seed in your feeder is attracting more squirrels than birds, take another of your plastic nursery pots, cut a hole in the center of the bottom, and thread it upside down over the pole the feeder hangs on. Add a clamp to keep it from sliding down. The upturned pot creates a barrier that prevents the squirrels from scaling the pole, though they may still try to get any bird seed that falls to the ground. Bonus: the pot doubles as a bird perch.
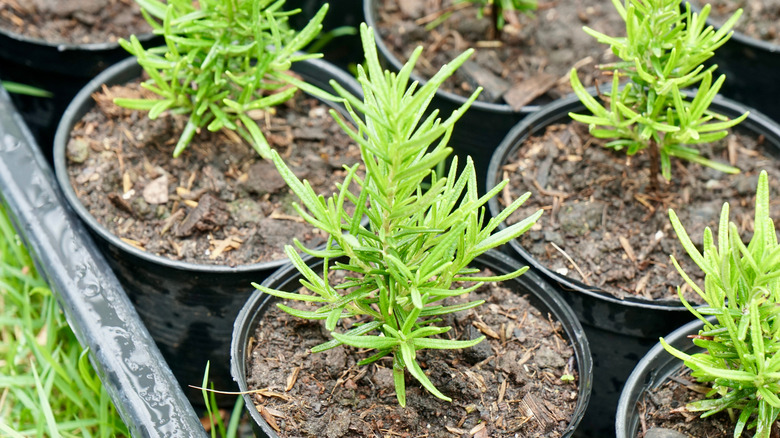
Place a plastic planter under strawberry runners
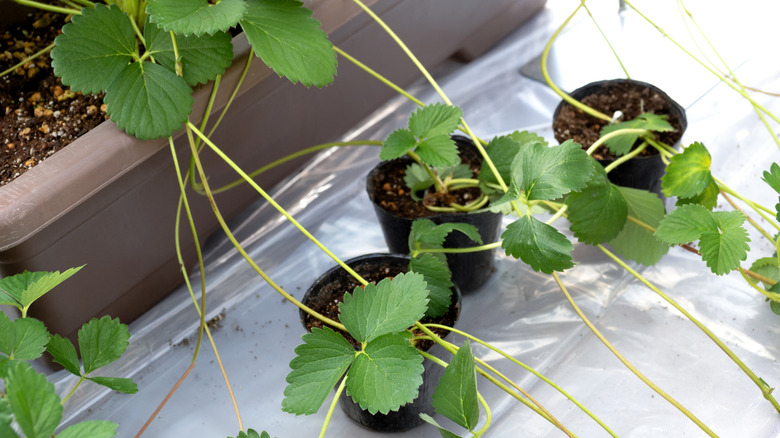
Mature strawberry plants naturally grow stolons, or runners — small new plants on long stems that will root into the ground. Savvy gardeners can take advantage of this trait to propagate new plants. Use a wire peg or clip to secure individual runners in small plastic nursery pots filled with potting soil or compost. Water as usual. Once these new strawberry plants have grown a substantial root system in their pot, snip off the stem that attached them to the mother plant and replant them elsewhere in your garden or give them away.
Have lots of nursery pots and saucers? DIY a birdbath
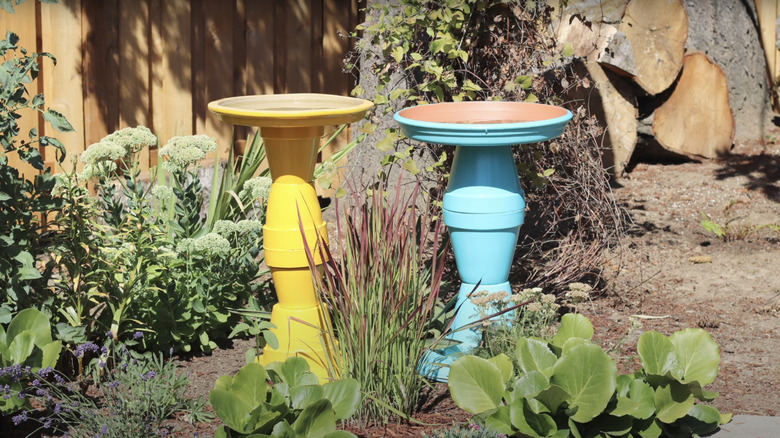
To make this affordable birdbath, you'll need some plant pot saucers, the plastic nursery pots themselves, and strong glue. Glue a 2-inch deep saucer (right way up) on top of a large upturned planter. Alternatively, stack planters one atop another to make a taller post. Paint the pots with a non-toxic, exterior paint to disguise the cheap plastic. Fill the saucer with water and add a large rock in the center as a perch or some colorful glass pebbles for decoration. Ensure the bath is stable and won't knock over.
Upturned plastic planters add height to your container garden
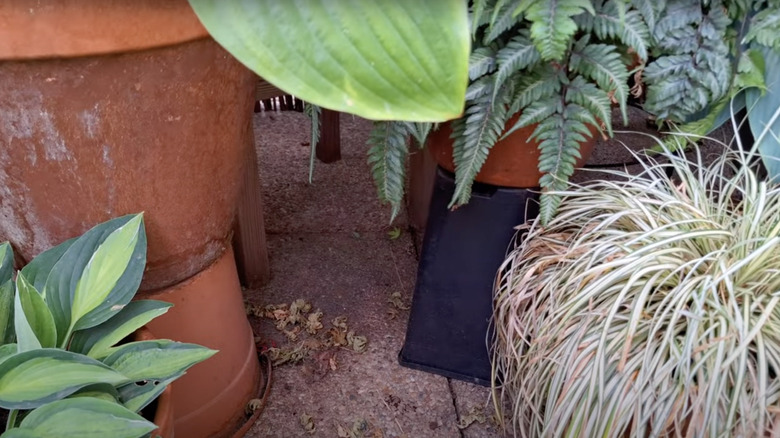
Stands for outdoor plants can cost anywhere from $15 to $50 or more. Keep that money in your wallet and instead perch your balcony or patio plants atop large upturned plastic nursery pots. These sturdy pots come in all kinds of sizes, allowing you to vary the heights of plants for more visual interest. Plus, getting them for free means you can affordably switch up your display whenever you want. Some also say that they look more natural and are more discreet than store bought stands, too.
Dispense garden twine from a plastic nursery pot
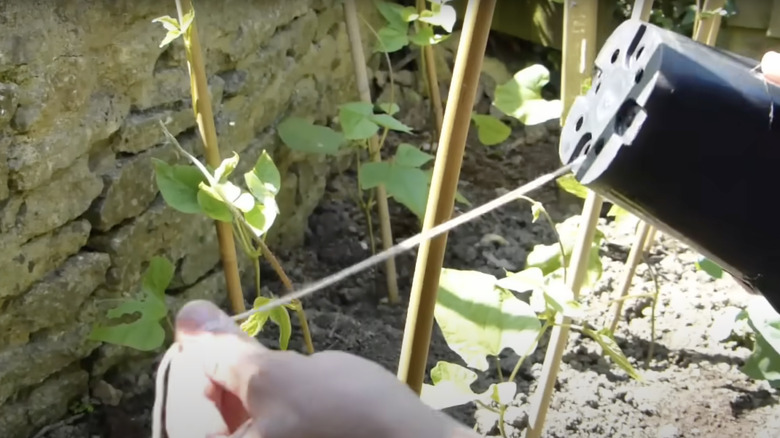
This idea is so simple, you'll be surprised you never thought of it before. If your garden twine is constantly getting tangled or you struggle to find the loose end, pop the roll inside a clean, sterilized plastic planter. Choose one that's just a little larger than your ball of twine so it doesn't roll around too much or form knots. Pull the loose end through one of the drainage holes, and cover the open end with 3M Utility Duct Tape — get three rolls for a little over $15.
Propagate cuttings and grow seeds
Buying seedlings and mature plants from garden centers adds up, both in how much you spend at the store and, if you visit in person, the money you spend on gas to get there and back. Save your pennies — and your time — by taking cuttings from your favorite plants and popping them into some nursery pots filled with potting soil. You can also do the same with seeds you've collected yourself. Washing and sterilizing them between each use is vital; failure to do so risks spreading fungal or bacterial diseases through your garden.
Stack your strawberries in a tower made from three plastic nursery pots
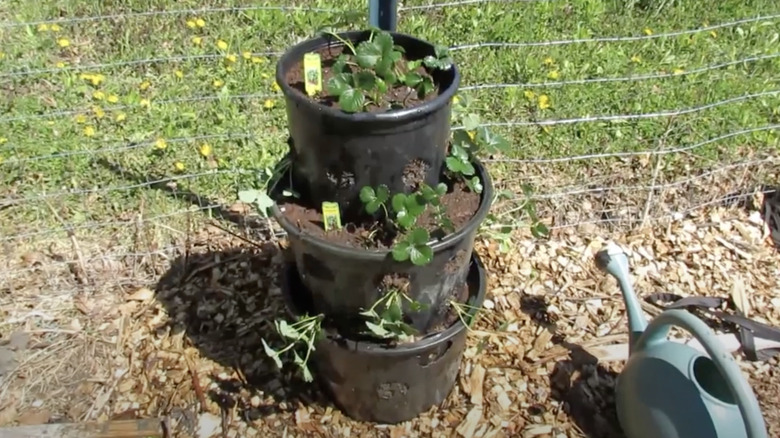
Wondering how to grow strawberries if you don't have space for a garden bed? For this DIY, you'll need two large plastic nursery pots and one a little smaller. Cut out holes in the walls of all the planters using a utility knife or scissors. Cut the base out from one of the large pots and the smaller pot. Fill the bottom pot with soil, then stack the other two pots, filling them as you go. Plant the spaces between the rims and the holes with strawberry seedlings.
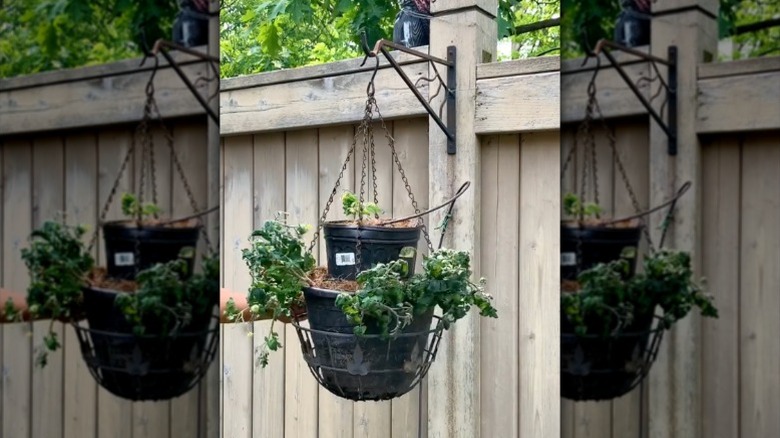
Create more growing space with a plastic planter vertical garden
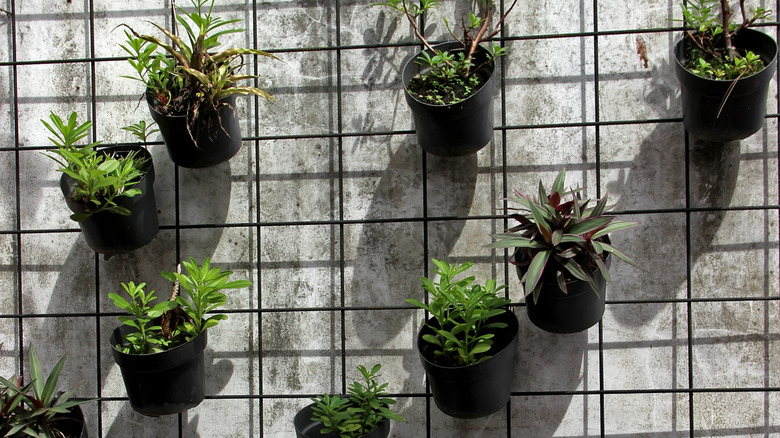
Vertical gardens add both space and visual interest to a small backyard garden or balcony space. The ways you can achieve this with plastic nursery pots are near endless. Hang thick wires between two fence posts horizontally and thread planters onto each line or use hooks. Likewise, hang them from a wire mesh panel, mesh wrapped around a tree trunk, a wooden ladder, or an old window frame. Pop pots into brackets affixed to a wooden panel or a stencil-decorated pallet. Aesthetic achieved, fill the planters with soil and plants.
Use plastic nursery pots as planting guides
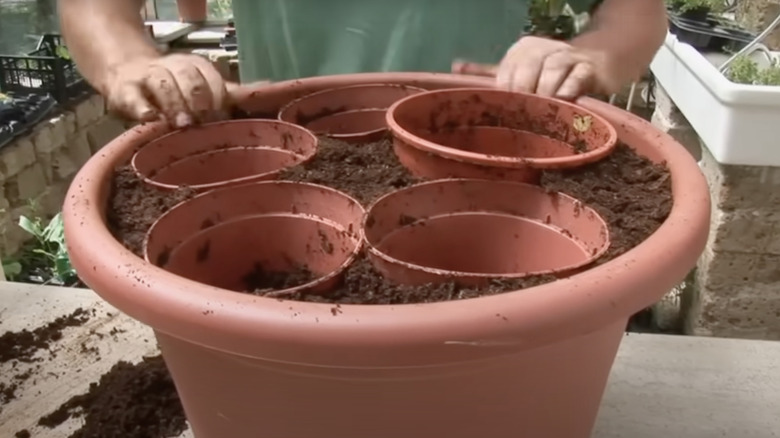
Are the roots spilling out the bottom of a potted plant? It needs a new home right away. Fill a planter roughly the next size up halfway with soil. Pop in a used plastic planter that's around the same size as the existing pot (your guide) and continue filling the large pot up with soil. Remove the smaller planter and pop your plant into the hole. You can also use this trick to arrange multiple plants in a big planter destined for a patio or balcony display — you just need more disused pots.
Save soil: Use small plastic planters as filler in big pots
Filling a large decorative planter takes a lot of soil — which you either have to buy or dig up. If neither prospect sounds appealing, pack the bottom of the planter with old or even broken plastic nursery pots before pouring in that dirt. They'll act as filler, reducing the amount of free space in the planter available for soil. This works especially well for plants with shallow root systems. It may also improve water drainage in planters with small drainage holes; few plants like having consistently wet feet.
Get crafty and transform old plastic nursery pots into garden decor
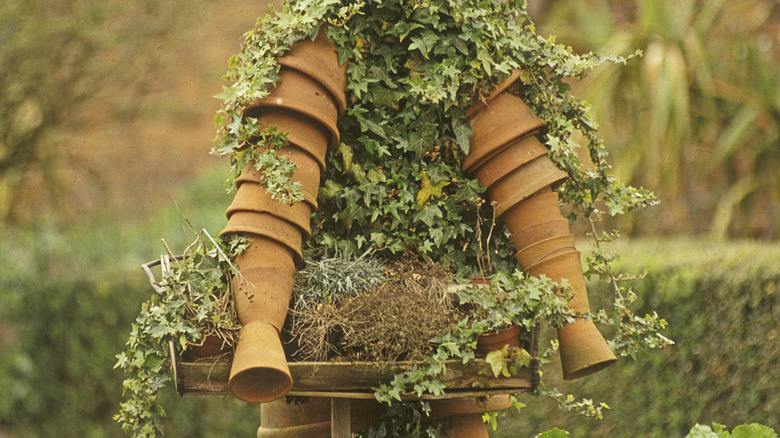
To turn pots into a decoration, spray paint them in bright hues or use them as a painter's canvas. We like this FolkArt Non-Toxic Outdoor Gloss Acrylic Craft Paint Set for about $26. Alternatively, cover the planter with plaster for a stone-like finish. Turn a plain planter into a creative garden feature by filling it with quirky natural materials — think pine cones, dried flowers, and driftwood. Stack multiple pots together and secure them with wire to create garden sculptures — totems, colorful critters, or even rustic flower pot people.
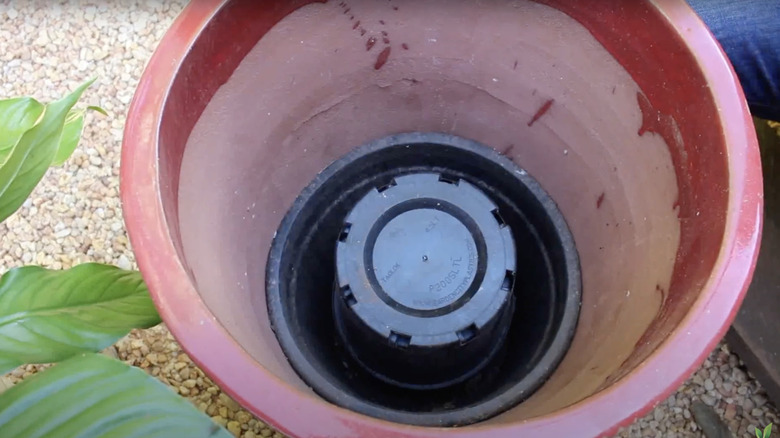
Line a decorative pot
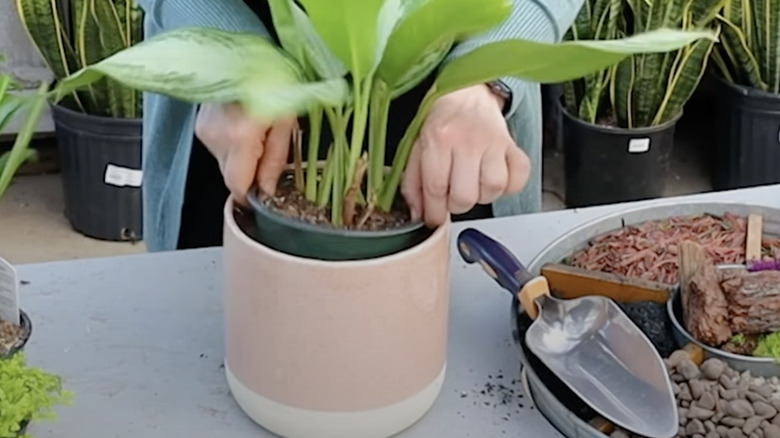
Can you plant in a pot that doesn't have any drainage holes? With this method, you can! If you don't want to get crafty with all your used plastic pots, repurpose them as liner or sleeve pots. Plant your shrub inside a plastic nursery pot, then place the entire thing into your decorative but sadly sans drainage holes planter. Cut the plastic pot shorter if it sticks up over the rim. Water as usual, but lift the inner planter out after watering and empty the pot to make sure your plant isn't sitting in standing water.