The Sleek Door Design That Saves Space In A Walk-In Closet

Your closet doors can make the difference between your walk-in closet feeling cramped and disorganized or spacious and clean. Traditional swing closet doors can do the storage space a disservice. The arc of the door is limiting, hindering shelving, hampers, and other essential organizational furniture. But how do you address this cluttered walk-in closet mistake? The key to optimizing your walk-in closet is the type of door itself, specifically sliding doors. Opening and closing by simply sliding back and forth, they save you some much-needed floor space in the process. And installing them is a beginner-friendly home improvement project.
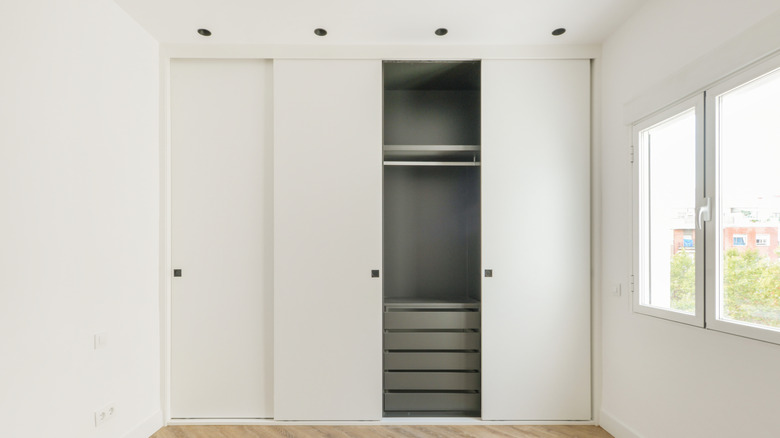
Sliding doors are a surprisingly effective addition when optimizing your walk-in closet storage. Unlike traditional doors that require space to swing open, sliding doors are situated flush against the entry of your closet. This makes them an excellent pick for a fully-furnished walk-in, giving you that much-needed extra space for further storage. They require minimal effort to open and close, simply sliding on a track, creating a user-friendly space perfect for all ages.
Further, customization is another benefit of sliding doors, with a wide variety of materials and finishes to incorporate in your design. If you're looking for something a bit rustic, you can opt for an ornate wooden design with painted detailing. Mirrored closet doors can also make any space feel a bit bigger. Plus, there are plenty of DIY alternatives for unattractive sliding doors, making them the perfect canvas. Regardless of your style, sliding closet doors can be a space-saving technique that doesn't require a lengthy install.
How to install sliding closet doors
Installing your sliders is surprisingly simple, only requiring a few steps for the ultimate storage and organization in your walk-in closet. Most hardware stores carry entire kits that make sliding door installation a breeze, complete with a track, wheels, and screws. Start by measuring the frame of where you want your sliding closet door. If necessary, cut the length of your track so that it fits within the doorframe. Depending on the rail itself, it will either be situated at the front of your door header or towards the center, so ensure you are reading the instructions properly. Then, secure the track in place with a few screws. With a custom installation, you may need to cut your doors to the proper size beforehand, using the measurements you took earlier.
On the top of each door, install your rollers about 5 inches from the edge. These will sit flush into the door track, allowing your door to slide back and forth. Drill these into the top of your doors, and you're ready to pop them in the rail. Start with the interior door, holding it at a slight angle until the wheels click into place. Repeat this step for the outer partition, ensuring that both are secure within the rail. At the bottom of your door, use a plastic guide that is secured to the floor to keep the doors from swinging back and forth as you open them. Now you have a functional, space-saving feature to enjoy every inch of your walk-in closet.