The Clever Paint Storage Hack You Never Knew Your Craft Room Was Missing
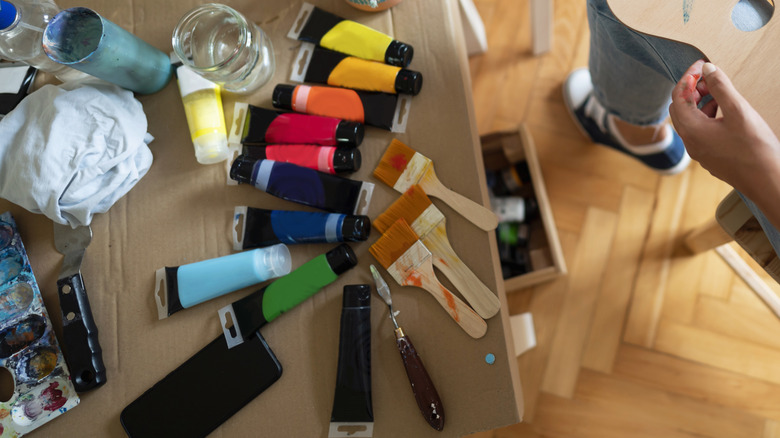
Keeping your craft room spick and span or your home art studio organized can be a challenge, especially if your mode of creative expression involves lots of supplies and moving pieces. Paint tubes and jars can be especially hard to keep neat. They often end up stored in drawers or cases, where it can be hard to keep them sorted and see what you have. One solution to avoiding this mess is by creating a hanging paint tube rack, a great craft room organization hack that can help keep your workspace well-organized.
This storage approach allows you to easily see and access all your paints, meaning you can keep track of your supply better, which leads to fewer dried out and expired tubes lingering in boxes or drawers. All you'll need to DIY this hack is plywood, binder clips, and nails. Unless you prefer the look of raw wood, you'll also need some spray paint. There are countless options for customizing the rack for your specific space, style, and needs.
Creating a rack for hanging paint tubes
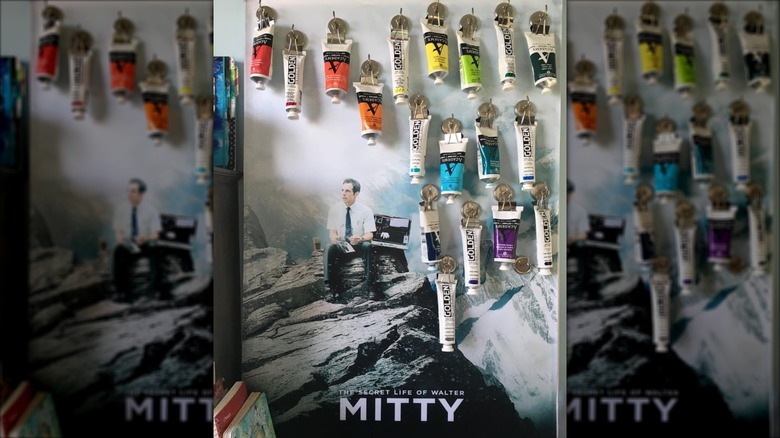
To create this paint storage hack, select a piece of plywood in your desired shape and spray paint it your chosen base color. Drive small nails in rows across the surface, equally spaced in a grid pattern. Since you will be hanging the binder clips, choose nails with larger nail heads that will help them stay in place. You could also screw in small cup hooks instead of nails. The size of your grid will depend on how many paints you have to store and the size of your tubes, with tiny watercolor tubes allowing a tighter arrangement of nails and large tubes needing a bit more space. If you have different sizes to hang or want more options, customize the rack with narrow spaces at the top and larger ones near the bottom.
Clip the bottoms of your paint tubes with office binder clips and hang them on the nails. If you roll the ends of your tubes after each use before clipping them, it allows you to get more paint out of each tube. To make coordinated clips, decorate them with washi tape or paint each clip with the color in the tube it holds to have a map of swatches that's easy to reference. The rack can also hold crafting tools like spatulas and scissors or be used to hang small pieces of art as they dry.
Ways to customize your paint storage
The backing wood for this project has many options for customization to help you create a home art studio. Cut your own unique shape from the plywood or find a precut wood board in a themed design like an artist palette or heart shape. If space is limited, instead of a large sheet of wood, hammer each row of nails into a 1-inch-by-1-inch board or strip of trim or molding. For a renter-friendly version if you cannot hang the plywood, lean it against the wall above your desk or art station.
Replacing the wood and nails with alternatives changes the entire look of your paint storage rack. Enlist a magnetic whiteboard and some magnetic clips to move the paints around where you want them. For a fun textured version, hang sheets of cork on the wall and use push pins as hooks for the binder clips. Utilizing pegboard and pegboard hooks opens up even more possibilities for storage like attached baskets and small shelves to hold jars of paint. Another option is to install small Command hooks directly on any surface or inside of a cabinet or closet door for hanging paint storage.