How To Restring Your ECHO Weed Eater Like A Pro
We may receive a commission on purchases made from links.
So it's finally time to restring your weed whacker, and you've got an ECHO? Well, good for you! This brand is one of the leading companies globally in power tools, and their weed eaters are no exception. Based on reviews, we even listed the ECHO 25.4cc Straight Shaft String Trimmer as one of the best gas-powered weed eaters. Replacing the string will be easy as long as you know the exact kind of cutting or trimmer head your model has.
This brand sports five styles of cutting heads that utilize string on their trimmers: Speed-Feed (400 and 500), Rapid Loader, ECHOmatic, Heavy-Duty Fixed Line, and High-Capacity Manual head. We'll be focusing on the first three since they are common trimmer heads for homeowners while the other two are typically for professionals and commercial landscapers. As for strings, the best replacements are the ones with a diameter of 0.095 inches. Amazon offers this highly rated ECHO Cross-Fire Trimmer Line for $21.
Before doing any work on your trimmer, always turn it off first. You'll likely need to raise the bump head section to restring, meaning the engine will be on the ground. To prevent fuel from leaking onto the filter, ensure the air filter side is facing up.
Steps for restringing your ECHO Speed-Feed and Rapid Loader trimmer heads
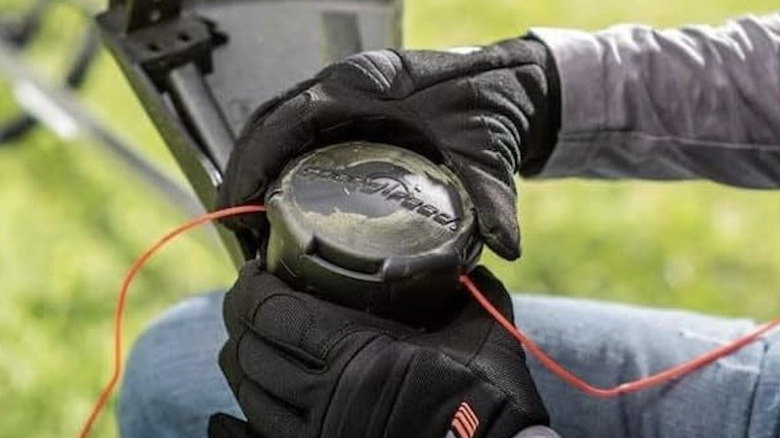
This YouTube video by ECHO Tools shows that the Speed-Feed head doesn't need any disassembling to restring. First, turn the spool part of the trimmer head until the two eyelets on both sides are aligned with the notches on the top part. You should be able to see through both holes simultaneously when they're well aligned. Next, cut about 10 to 12 feet of string, putting it through one eyelet and out the other. Make sure the string on both ends is an even length. The final step is to hold down the top of the head and turn the spool part clockwise to wind the string into the cutting head until most of it is loaded. If the string gets tangled, turn the spool part in the opposite direction to unwind. Leave just enough string to touch the cutting edge of the trimmer head. And that's it!
Replacing the string on the ECHO Rapid Loader head is even easier according to ECHO Canada's instructional YouTube video. This head comes as either a 2-line or 3-line, but you fix them the same way. Pull out any old string from inside the spool. Don't try yanking the string from the outer part of the head because it won't budge, and you could damage your tool. Grooves on the side of the head indicate where the eyelets are. Cut an eight-inch length of string and insert it into the eyelet until a little of it comes out the other side. Repeat this for the other groove(s).
How to replace the line in the ECHOmatic trimmer head

The ECHOmatic trimmer head has a pro version, but you restring them almost the same way. You'll need to bring out the spool to replace the string on both versions of this cutting head. To remove the spool, hold the drum at the base of your trimmer head and turn it clockwise until you hear a click. Cut 20 feet of string and insert it into a loop on the inside of the spool until you have 10.5 feet on one end. Hold the two sides of the string with your index finger between them and wind the line around the middle ridge on the spool in the direction indicated on the body.
For the pro version, fold the string until both ends are even. Then, insert the middle fold into the groove on the middle ridge of your spool and wind. When you have about 5 to 6 inches of string left, insert the line on the left into the notch on the left ridge of the spool and repeat for the right line. Thread the string ends through the eyelet on your trimmer head and replace the spool.
If you're unsure of the type of cutting head your ECHO weed eater has, you can check your user's manual. Power Mower Sales also has a nifty guide to help you figure out your tool's trimmer head. While you're working on your string trimmer anyway, try soaking weed eater string as a handy lawn hack to keep your nylon string strong and prevent frequent breaks.