DIY A Chic Wood Side Table With An IKEA Armrest For Minimalist Decor
A neat side table can go a long way when you're redecorating your living room. Though these furnishings are often fairly simple in appearance, they offer significant practical value. For example, they are a particularly convenient place to leave the TV remote, put down your drink, or plug in a lamp so that you can read on the couch. Plus, if your side table has a design that matches your space, it will help elevate the visual aesthetic of one of your home's most central locations. With a few simple IKEA products, some heavy-duty adhesive, and a dash of wood stain, you can create a new side table from scratch that has a sleek, eye-catching design.
For this DIY, you'll want to use a NYPON Plant Pot from IKEA as the base for the table and glue a few RÖDEBY Armrest trays to its sides. Then, place a SNUDDA Lazy Susan on top of the base so that it becomes the main surface of the table, and touch up everything with a dark wood stain. The finished product looks surprisingly elegant and will perfectly match spaces with a modern or transitional decor style. Building this table is also a straightforward but effective way to incorporate minimalist decor trends into your home this year.
How to build a luxurious-looking side table for your living room
To assemble a trendy side table for your home that follows the design from @FrenchicTV, you'll need to get a pair of IKEA's RÖDEBY armrests in the bamboo color and a lazy susan that doesn't have rails (via YouTube). You'll also need a large, sturdy plastic pot plant with a flat base. While it might seem smart to use an earthenware pot instead for the extra weight, the material will be top-heavy and more likely to break in the event that the table gets knocked over, so it's best to stick with plastic. To begin, wrap one of the armrests around the upright pot and measure the remaining gap if the armrest doesn't fully enclose the pot. Then, cut the panels necessary for filling this gap from the second armrest. Apply a generous amount of mounting glue, such as Unibond No More Nails Adhesive, to the outside of the pot. Wrap the wood around it once more, and add the extra panels.
Once the base of the table has dried, flip it over. Then, glue the lazy susan to the pot's bottom with your mounting adhesive. Wait for it to dry once more before applying your wood stain. A half-pint of Varathane Early American Wood Stain should help give your table a similar appearance to the one in the video. If you're looking for a slightly darker or richer color that matches your other living room decor ideas, try a Kona or dark walnut stain instead.
Upgrading your living room's new side table
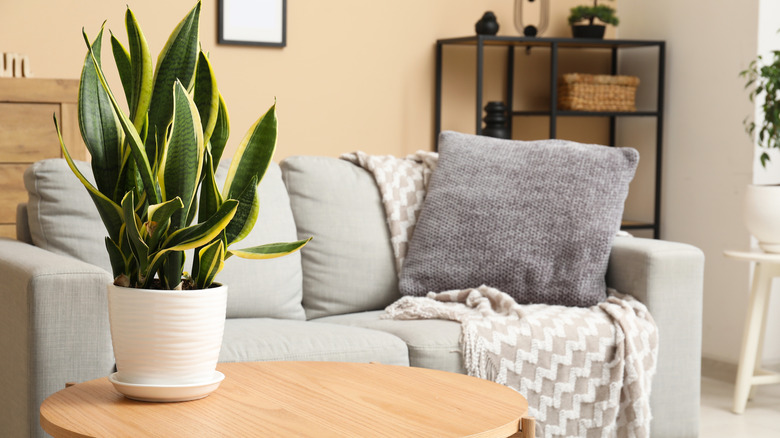
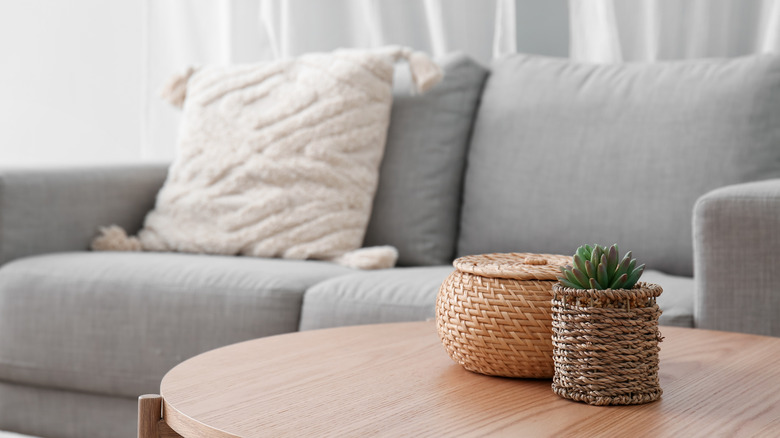
The simple, no-frills design of this side table makes it a timeless furnishing that's easy to decorate. A small lamp is a great place to start since it's a fixture with considerable functionality. A natural element, such as a potted plant or vase of faux flowers, can make the furnishing look more welcoming and add a bit of color variety. Colorful coasters or a pair of candles could also look great, depending on how you've styled the rest of your living room. This table is relatively small, so don't add too much, or you'll end up giving the surface a cluttered appearance. Don't forget to read up on more tips to decorate your side tables if you're feeling stuck.
If you'd like to make your end table slightly taller to match your existing furnishings, try adding a few wooden boards to the design. A square-cut board can fit directly below the lazy susan and on top of the inverted pot as long as it's wider than the diameter of the table base. To connect the added wood block with the table's top piece, use wood glue rather than mounting adhesive. Then, add a circular wooden block to the inside of the table base, along the bottom, and attach another larger square panel below it with wood glue. This new foundation should give the table a bit more stability, in addition to increasing its height.