How To Install A Dimmer Switch In Your Home Without Calling An Electrician
We may receive a commission on purchases made from links.
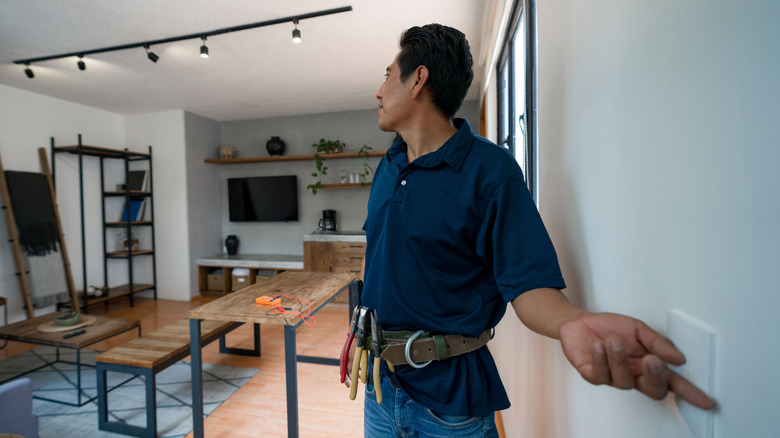
If you've ever wished you could adjust the lighting in your home for the perfect mood, installing a dimmer switch is easier than you might think. By dimming your main light fixture in the room, you'll set the mood with your ambient lighting. Lamps and track lighting, which can also be placed on dimmers, can provide multiple light sources, giving your living space a cozy feeling and offering even greater flexibility to create the perfect atmosphere.
Not only do dimmer switches set the mood for your room, but they can also save energy if paired with the right bulbs. When you use a bulb such as the BOGAO GU10 Halogen Bulb with your switch, you'll consume about 20% less electricity compared to an incandescent bulb. LEDs, such as GEPLAD GU10 LED Dimmable Bulbs, are even more energy-efficient. Not all LED bulbs are compatible with dimmers, though, so be sure to check before making the switch. You don't need an electrician to install your new light switch; all it takes is a few tools, such as a screwdriver, wire stripper, circuit tester, wire connectors, and electrical tape, and following some easy steps.
Safety first when installing a dimmer switch
Choosing a compatible switch and lighting fixture will ensure the success and safety of your project. Make sure your dimmer switch is designed to work with the type of bulbs you plan to use, such as LED, halogen, or incandescent, or choose a universal switch, such as the BESTTEN Dimmer Light Switch. Also, make sure the dimmer is rated to handle the wattage of the lights connected to it. Incompatible switches can flicker, buzz, or simply not work, so remember to check the packaging to confirm compatibility before purchasing. Taking this step will potentially save time, money, and frustration.
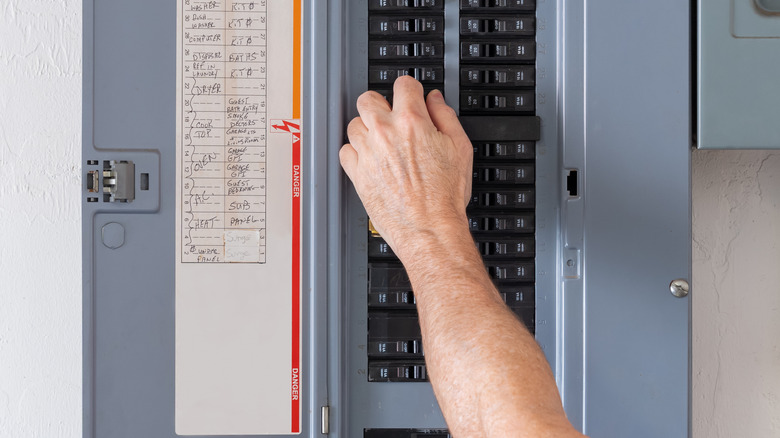
Finally, to ensure your safety, you'll want to turn off the electricity to the switch. If you have an older home, look for a fuse box. Newer homes likely have a circuit breaker box that controls the power. You can use a circuit tester such as Klein Tools NCVT1P Voltage Tester to make sure you're in the clear. Once you've ensured that no electricity is running to your switch, you're ready to start your installation.
How to install your dimmer switch
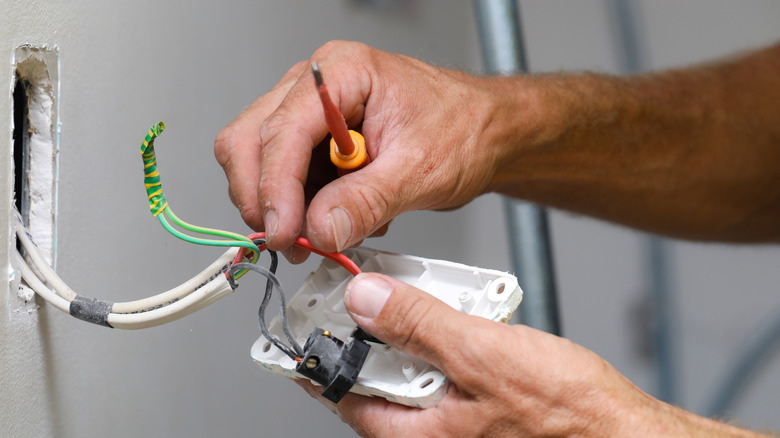
It's easy to replace a wall switch step-by-step. First, remove the screws holding the old switch to the wall. Pull the switch away from the wall, then take a picture with your phone so you can remember how the wires were connected. Next, gently tug the switch free of the wires, using a screwdriver to loosen the screws holding them in place, if necessary. Then, using a wire stripper such as the IRWIN VISE-GRIP Wire Stripper, carefully remove about ¾ of an inch of plastic insulation from the wires.
Start by twisting the switch's green ground wire securely around the copper ground wire from the box. Then, connect the two house wires to the corresponding wires in the box, securing them with wire nuts. Ensure no bare wires are exposed, and wrap the connections with electrical tape. Now, place your wires back in the box and reattach the box using your screwdriver. Finally, return to your circuit panel or fuse box and turn the power back on to test your switch. If it works properly, you're done!
If you have a three-way switch to control a light from two locations, the wiring process differs slightly. Start by connecting the ground wire, then attach the black wire to the common wire in the box. Next, connect the two traveler wires to the remaining wires. Finally, follow the steps above to complete the project. Your mood lighting is now ready for your next gathering!