DIY A Sturdy Lap Desk For Your At-Home Workspace With A Cardboard Box
We may receive a commission on purchases made from links.
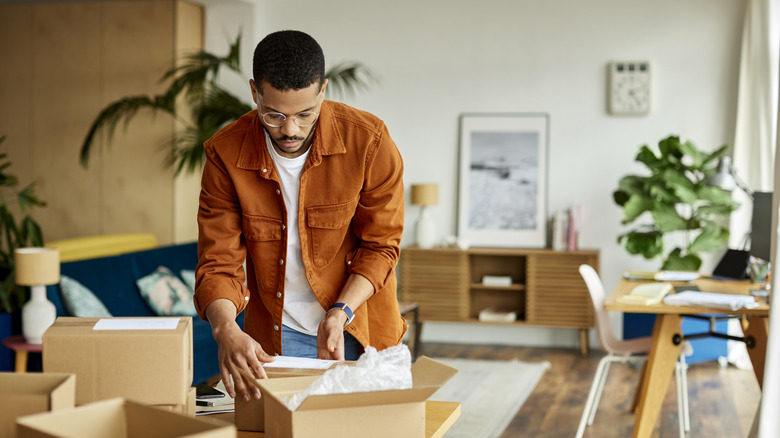
When it comes to budget-friendly DIY projects, cardboard is king. You can make a unique decorative shelving unit from cardboard. You can even transform a cardboard box into a high-end vase. You can even turn this versatile material into a lap desk with holders for snacks, drinks, and a tablet or computer. To do so, the first thing you'll need is a large, clean cardboard box. Don't have one on hand? You can get free moving boxes at Home Depot or find them in buy-nothing groups on Facebook. Then grab four cardboard paper-towel tubes or one long wrapping-paper tube you can cut into four pieces, plus a tool for safely cutting cardboard. An X-Acto retract-a-blade utility knife is one good option.
If you'd like your lap desk to have compartments for snacks and drinks, gather leftover lids from food packages. Round lids from oatmeal canisters and peanut butter jars make good beverage holders. They can also be turned into built-in snack containers. Rectangular lids can also hold snacks and small office supplies such as paperclips. For food and beverages, choose lids made of plastic or another easy-to-sanitize material.
Before constructing your sturdy little desk, determine its dimensions. Researching common lap desk sizes on Amazon can help. The medium-sized SAIJI Bed Desk for Laptop, for example, is 20 inches wide, with a 12-inch depth, and can be adjusted to be between 9.4 to 12.6 inches tall. Use a tape measure to see if a similar height would work for you. Also, sketch the desktop dimensions you're considering to see if they'll comfortably fit your devices, along with your food and drink holders, and a book or notepad.
How to design and customize your lap desk
Before building your desk, break down your box to create four flat pieces of cardboard. Draw your desktop on one piece. TikTok user thecardboardqueen made one side of their desktop curved. Something similar can help your desk hug your body. After you've perfected your design, cut it out. Then, trace it on your other cardboard sheets and cut again.
Next, shorten the cardboard tubes to the height you've selected. Trace the tubes' holes where you'd like the legs to go on all but one of the desktop pieces. Also, choose where you'd like your snack and beverage holders to go, then trace your lids in the appropriate spots. If you'd like your desk to hold your phone or tablet upright, trace the bottom edges of these devices on the desktop, too. Cut on all of the traced lines, stack the three desktop pieces containing leg holes, and then pop your lids and devices into the cutout spaces to make sure they fit. The desktop piece without leg holes becomes the top of the stack after you've attached the desk's legs.
Finally decide if you'd like any parts to be detachable. Detaching the legs minimizes the amount of storage space needed for your desk, and removing the snack and drink holders lets you wash them in a sink. If detachability doesn't matter, consider gluing these pieces to the desktop, which can add stability and prevent them from getting lost. Adding epoxy to the desktop can create a hard, long-lasting surface. Or experiment with ergonomic features like a pool-noodle wrist rest that makes laptop use more comfortable.