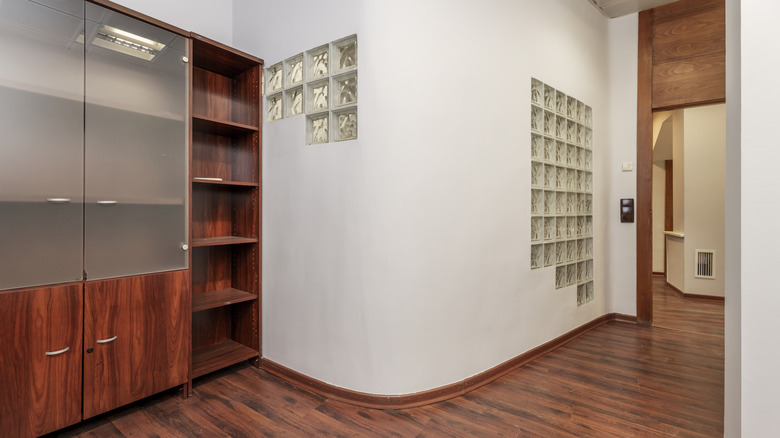
Don't Give Up On Paneling Just Because You Have A Curved Wall
Imagine finally deciding to give your space that much-needed upgrade. You've spent hours scrolling online for inspiration and found paneling ideas that can add timeless flair to your space. It's definitely an easy way to bring texture into a boring room. But you soon realize that you have a curved wall in the space. Without a continuous flat wall surface to fasten the panels to, you've been thrown a literal curved ball that makes the task suddenly feel impossible.
You don't have to give up on your paneling vision just yet, nor hate your otherwise perfect curved walls. The solution to this dilemma comes in the form of flexible molding, which is actually simpler than you might think. The magic lies in this molding's ability to bend and conform to the shape of your wall. Unlike traditional, rigid paneling, these products comprise a more malleable material, like PVC, polyurethane, or wood attached to a flexible backing designed to follow curves and corners with ease. So, you can simply work with the natural shape of your radius wall instead of fighting against it. The good thing is that this is a DIY project that even beginners can tackle; there's need for intricate carpentry or expensive contractors!
How to use flexible molding on a curved wall
The first thing you need to do is measure the length of the curved wall where you want to install the paneling. Be meticulous in this part, since accurate measurements are key to ensuring that everything fits properly. With measurements on hand, you can start shopping for flexible paneling. You can get flexible wood paneling from specialty stores, like The Wood Veneer Hub (or EliteTrimworks, if you're after a painted look).
The next step is to cut the paneling into sizes that fit the dimensions of your radius wall. Flexible stick-on moldings usually come in long strips so you'll need to trim them to match what you need, and you can do this by either scissors or a utility knife. Once done, you're ready to stick the molding in place. It's crucial to use a level at this step to make sure that the molding is perfectly aligned before adhering it to the wall. If you bought stick-on molding, you'll need to peel off the film to expose the adhesive backing before pressing the molding firmly against the wall. If it's not a stick-on product, you can secure it to the wall with a suitable adhesive or screws, per the manufacturer's instructions. Once you've fastened the molding and everything lines up as planned, use caulk to fill any gaps between the molding and the wall to create a smooth and seamless finish. Finally, paint the molding to match the wall or add a contrasting color for a more dramatic effect.
