A DIY Lofted Bed Is More Doable And Less Expensive Than You Think
We may receive a commission on purchases made from links.
While we don't always consider it as such, the kid's bedroom is one of the most important rooms of the house, acting as a personal sanctuary, study area, entertainment space, play room, and relaxation station all in one. That's a lot of roles for a room with limited capacity, making it absolutely crucial to squeeze as much function as possible from every inch of space. Thankfully, there are plenty of ways to make this happen without much expertise or expense. Kids' bedrooms present a host of creative storage possibilities, but the ultimate space-saving solution is arguably the loft bed. Even at their smallest twin sizes, mattresses take up nearly 20 square feet of usable area. Imagine all the utility you could reclaim by raising the bed and opening the space underneath!
Well, that dream can certainly become a reality and likely in an easier process than you might expect. If you have unused or reclaimed 4 by 4, 2 by 6, or 2 by 4 lumber, you can also make it dirt cheap, though you can also get great deals on new lumber if you know where to look. Other than the wood, you'll only need paint or stains to give the wood frame an attractive finish and fasteners to build and install the frame. Find a corner where you can attach at least two sides of the bed to the wall, and measure the frame you will need to fit the mattress. With your dimensions laid out, you can start planning your loft bed.
Planning a practical loft bed design
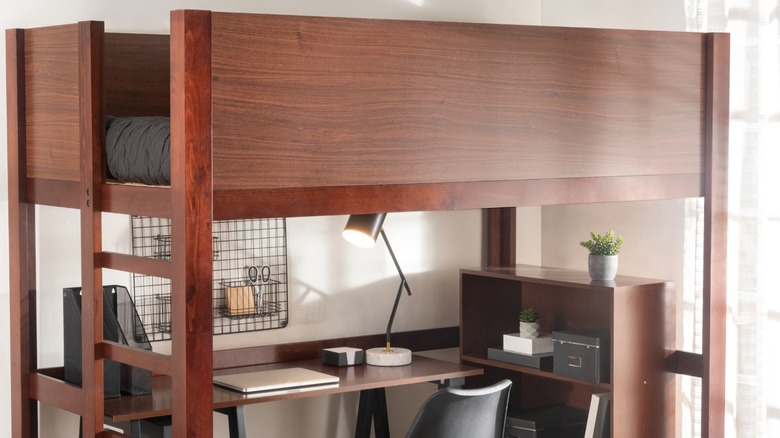
Position your bed where it can have a sturdy hold from wall studs and corner and side supports in the room. You can get creative, even using closet space to fit a small lofted bed. Decide on the items you plan to put under the bed, like a desk, mounted TV, or drawer chest, to ensure you raise the bed high enough. Loft beds should typically be about 52 inches from the ground, with the top of the mattress at least 30 inches from ceiling. Test different heights within that range, raising the bed to a comfortable position for whoever is using it.
For the rectangular frame, you'll need dimensional lumber, such as 2 by 6 or 2 by 4 boards. Use lag bolts (e.g., ¼-inch bolts, 3 ½–4 ½ inches long) for connecting the frame to the wall studs. Meanwhile, any sections that don't sit against the wall will need vertical support in the corners and at the sides. You can use 4 by 4 supports for these or combine two 2 by 4 boards. To add stability and prevent shifting, you'll also likely need to run stretchers between the legs and between the rectangular frame sides. The legs can also hold rungs for a built-in ladder. As a shortcut, though, you could buy a separate ladder like this Marudina bunk ladder and not worry about designing and building your own. The frame will also need slats to support the mattress foundation, which can be a simple custom-cut piece of plywood or OSB.
A straightforward approach to DIYing a lofted bed
Measure and mark the height of your loft bed's frame, using a laser level to make it easy to line up where it will attach to the wall. Find the studs with a stud finder and mark their locations, ensuring you stay as close to the stud's center as possible. Build the rectangular bed frame, and raise it to the marked height. Use a beam level to ensure it stays even. After drilling pilot holes to prevent splits in the wood, drive the lag bolts into the wall studs to hold the frame. Install 4 by 4 supports at any corners that don't meet the wall, using long construction screws to maintain a tight hold. With these in place, you can install bracing between the rectangular frame pieces and support legs to prevent shifting.
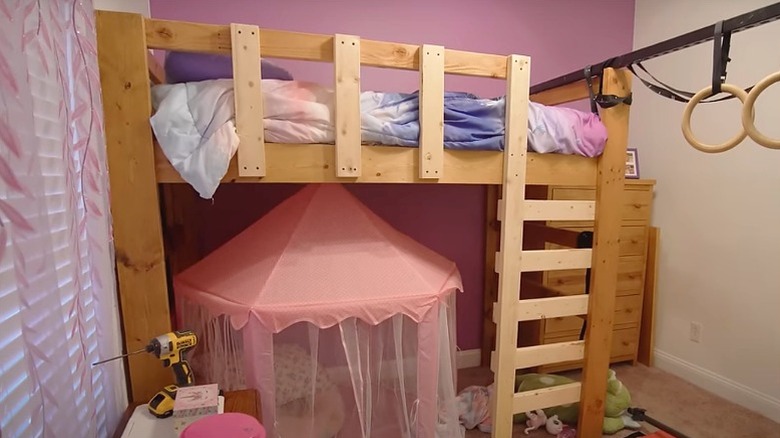
To make the platform for the bed, one of the simplest options is to install supports running lengthwise across the frame to hold a set of roll slats for the mattress. Alternatively, you can attach parallel supports running widthwise across the frame to support a piece of plywood. The designers at YouTube channel The Broken Masterpiece share their method of putting up 2 by 4 spanners with joist hangers, like these AXWHYS hangers. In their tutorial, we also see a clever way of installing a ladder for a floating rung appearance. To make it easier, though, you can simply attach 2 by 4s between two supports and still achieve a clean look, completing your low-cost, low-effort DIY lofted bed.

