Mistakes Everyone Makes When Growing Camellias
We may receive a commission on purchases made from links.
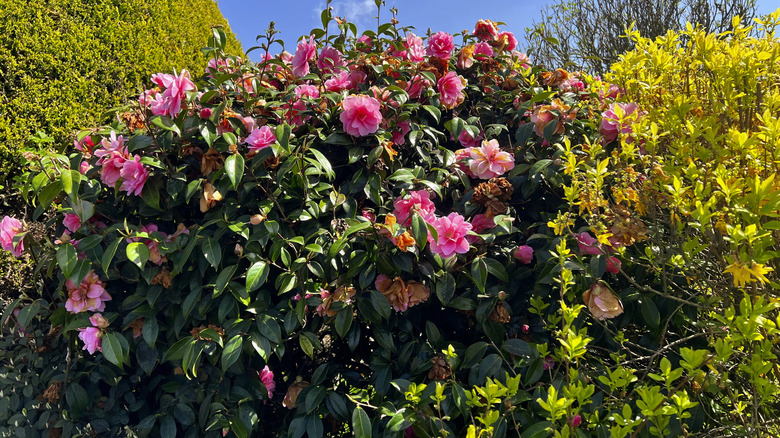
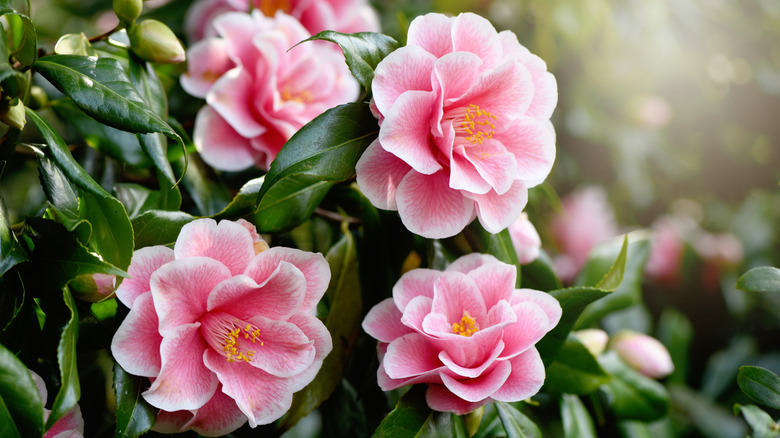
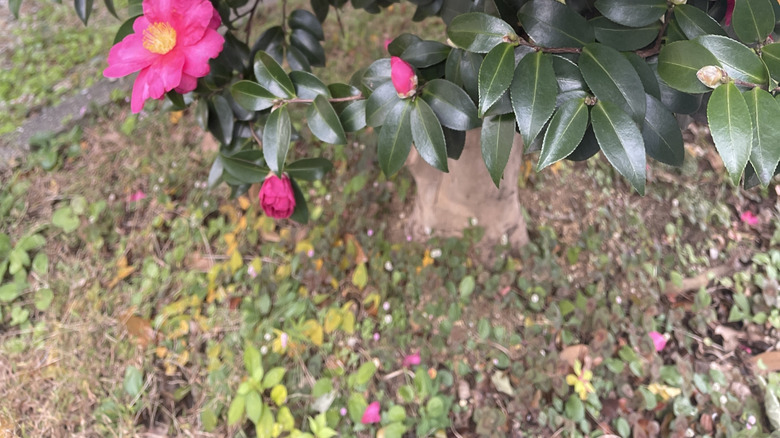
If you're looking to add beauty to your yard and garden, you might be considering planting camellias. These evergreen shrubs produce beautiful flowers — with many different colors and bloom forms to choose from between the different varieties. One of the reasons many people decide to add camellias to their garden is that the shrubs flower either in the fall, winter, or early spring, depending on the specific variety. These are times when many other garden plants are dormant or just getting ready to bloom, so incorporating some camellias into your garden can keep it colorful during times of the year when it would otherwise be dull.
Generally, growing and taking care of camellia plants isn't all that hard. However, this doesn't mean that there aren't some mistakes you can make. If you don't meet the nutrient, water, or shade requirements for your camellias, their growth might stall and the plants probably won't produce that bountiful mass of blooms you're banking on. Other mistakes could inadvertently threaten the health of your camellias and increase the risk of a pest infestation, disease, or damage from harsh winter conditions. Continue reading to learn more about the most common mistakes people make when growing camellias and what you should do instead to help your plants stay healthy and thrive.
Planting them in alkaline soil
When you want to grow camellias, it is essential to determine the pH of your soil before you plant them. If you plant the shrubs in soil that is too alkaline — or basic — their nutrient needs may not be met. Similarly, if the pH is too low (and overly acidic), they may also not grow and thrive to their full potential.
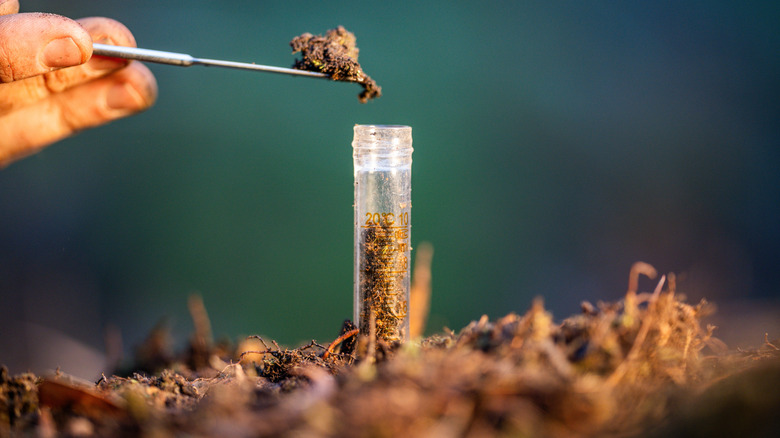
Camellias do best in acidic soil with a pH between 5.8 and 6.5. Start by using a soil test kit, such as the Rapitest Soil Test Kit from Luster Leaf, to determine the pH of your soil. Once you have this information, you can work to raise or lower the pH as needed to help achieve that ideal range for camellias. Sulfur can be used to lower the pH of alkaline soil. One option to try is the True Organic Soil Acidifier. Applying it a few weeks before planting your camellias (and then retesting the soil) can help you get the pH into the ideal range. One note to consider: If your soil pH is greater than 7.5, adding sulfur may not be effective. Soils with such a high pH have too much free marl or calcium carbonate, which can make it nearly impossible to adjust the pH. If this describes your soil, your best bet is probably to plant camellias in a container instead of in the ground.
While camellias prefer acidic soil, if your soil is too acidic, the plants also won't be able to get all the nutrients they need to grow properly. To raise the pH of overly acidic soil, you can use dolomitic limestone, such as the Old Castle Lawn and Garden Pro Pelleted Dolomitic Limestone, or calcitic limestone, like Solu-Cal Enhanced Calcitic Lime. Opt for dolomitic limestone if you live near the coast, since these formulations include magnesium, which is often lacking in sandier soils.
Planting camellias in full sun
When deciding where to plant your camellias, you may pick the sunniest spot in your yard, thinking that the plants will grow faster with access to such abundant light. However, doing so would be a mistake. While there is no question that camellias need sunlight to help their flower buds develop and ensure the rest of the plant grows properly, too much sun is not a good thing. When camellias are out in the sun all day, without any reprieve from its hot rays beating down on them, their leaves may become scorched. Too much sun can also be problematic for the flowers on the shrub — their color may be less vibrant, or they could even shrivel up and drop. Both of these potential issues are most likely to occur if you plant the camellias in full sun and live in an area that regularly sees hot temperatures.
To avoid these problems, placement is critical when planting camellias. Look for an area in your yard and garden that receives partial shade. This way, the shrubs will still have access to some direct sunlight to help them develop properly, but they will also enjoy some reprieve from the strong rays to protect their leaves and flowers from getting damaged. As your camellia plants get older, they may better tolerate being in the full sun. This is because their leaves will be more layered and spread out, supplying more shade to the roots of the plant.
Not properly choosing or preparing the planting site
Beyond their sunlight and shade needs, there are other site-specific considerations you mustn't overlook when planting camellias. For example, if they are planted in an area that's exposed to strong winds, their leaves may turn brown. Wind exposure can also cause petals to brown around the edges. Another site-related mistake is to just plant the camellias in the ground without giving any thought to the depth of the hole you're digging, the density of the soil, or if there are other plants or roots that are too close to where you want to put the shrubs. These mistakes can lead to problems such as root rot, competition with other plants for nutrients, and more.
So, after selecting a partially shaded spot with some wind protection, take steps to prep the soil to ensure success when planting your camellias. One measure should include pulling out any large stones and breaking up clumps of dense clay soil. This will help ensure proper drainage and protect the roots against rotting. If you are placing the camellias near other plants, make sure their root systems won't be too close together (requiring the two to compete for water and nutrients in the soil).
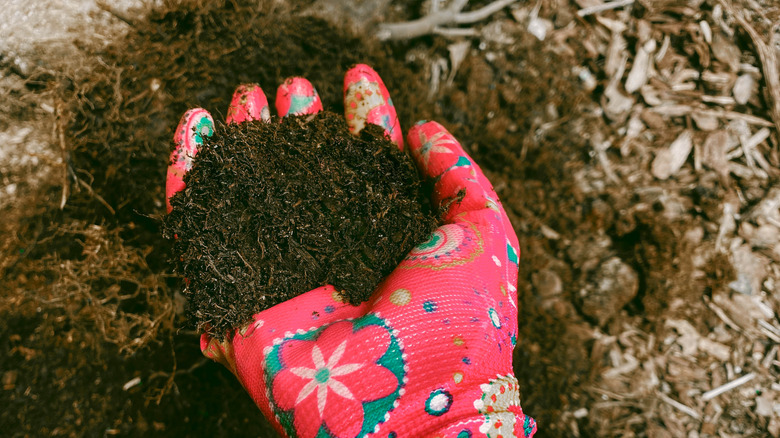
While camellias have shallow roots and should not be planted too deeply beneath the surface, you should still dig a deep hole — at least 8 to 10 inches deep — before planting them. Doing so will ensure that you're able to spot any nearby roots that could compete with the plant. It will also allow you to loosen more soil for proper drainage. Before positioning your camellia in the hole you dug, add some organic matter — such as manure, compost, or leaf mold — to improve the soil's fertility (while also increasing drainage).
Not supplying camellias with consistent moisture
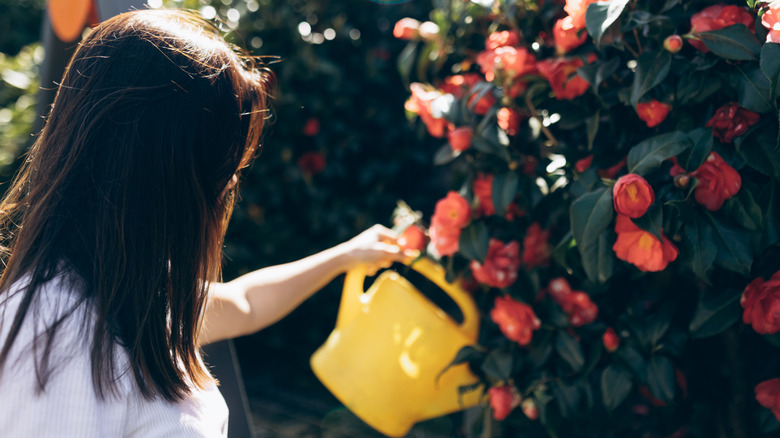
There are a few watering mistakes that can put the health of your camellias in jeopardy, such as underwatering. If the plants don't get a steady supply of water, especially as their leaves and flowers are forming, they may not develop properly. Depending on how long the water supply is interrupted, your camellias' leaves may grow to a smaller size than they should be. Underwatering can also negatively impact the development and appearance of the flowers.
To avoid such issues, it is critical to give your camellias a steady supply of water once the flower buds have formed. Ideally, the top 14 to 18 inches of the soil should remain consistently moist. Just take care to avoid overwatering and making the soil overly soggy, as this isn't good for the plants either.
Supplying your camellias with the best type of water is also important. Relying solely on tap water for extended periods is not ideal. Tap water typically has a neutral to slightly basic pH. Since camellias prefer more acidic conditions, relying on tap water can be detrimental to their growth. Rain water, which is slightly acidic, is ideal. If your area doesn't get enough regular rain — or typically experiences periods of drought during the summer — consider investing in a rainwater collection barrel, such as the FCMP Outdoor Raincatcher, to avoid solely using tap water for your camellias.
Forgetting to mulch around your camellias
If you forget to mulch your camellias — or just assume that adding mulch is an unnecessary step — you may be inadvertently threatening the success of your plants. As mentioned above, camellias require consistently moist soil to grow and look their best. They also have a shallow root system. Without mulch over the soil, more of the rain that falls or the water that you supply from your garden hose will end up evaporating, depriving your plants of the moisture they need and drying out that top layer of soil. Covering the ground around the plants with mulch will help ensure it retains more moisture from rain and hose watering, allowing the roots to access that moisture when needed. Beyond maintaining moisture in the soil, mulching offers the additional benefit of helping to keep weeds under control.
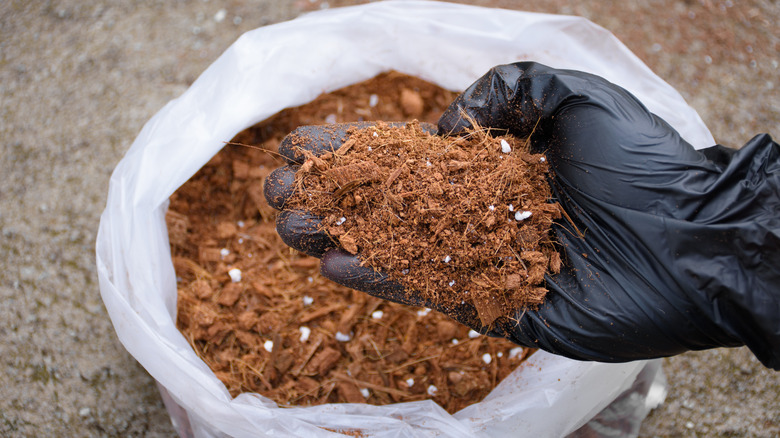
There are various forms of mulch to choose from, and many of them can be a suitable choice for your camellias. The type you opt for should help regulate the soil temperature, minimize erosion, ward off weeds, and deliver beneficial organic material to help the plants get necessary nutrients. Some potential mulch options that meet these criteria include shredded pine bark, shredded cypress, pine straw, and leaves. You could also use peanut hulls or crush cobs of corn, if you live in an agricultural area and have access to them. Just be sure to keep an eye on the mulch and add more when needed. Aim to add between 3 and 4 inches of mulch to allow it to offer the benefits described above without being overly thick that it prevents oxygen from reaching the roots of your camellias.
Failing to fertilize at the right time of year
If you want to help your camellias to produce gorgeous blooms, it is essential to learn the best time of the year to fertilize them. If you apply fertilizer in the fall or winter, your efforts may be for naught. The plants are dormant during these seasons. They're not actively moving sap through themselves or making new sugar. They won't get the greatest benefit from any fertilizer that is added to the soil during this dormant period.
Instead, you should fertilize your camellias in the late winter or early spring. This is when the plants are becoming active again and will benefit from a nutrient boost to speed along growth and enhance bloom production. The right fertilizer will depend on your specific goals. As you may know, fertilizers are labeled with numbers that indicate the nitrogen-phosphorus-potassium balance. If you've only recently planted the camellias in your yard, then you should opt for a fertilizer with more nitrogen, such as a 10-10-10 or 12-4-8 option. If you've had camellias in your garden for several years and they are already established, then a 4-8-8 fertilizer with lower nitrogen levels may be the best choice to support flowering.
Thinking that new plants grown from seeds will look identical to the parent plants
If you're in love with how beautiful your camellia plants are and how much they're improving the look and feel of your yard, you may be ready to grow some more. If so, you might be considering propagating new plants from the seeds that fall in your garden. After all, these new plants should look just like their "parents" that you know you love, right? Wrong. Unfortunately, there are many mistakes to avoid when growing flowers from seeds. And, typically, trying to grow camellias from seed just isn't recommended. The seeds produced will almost certainly not grow to look like what you are expecting. This is because of cross-pollination between all the different varieties.
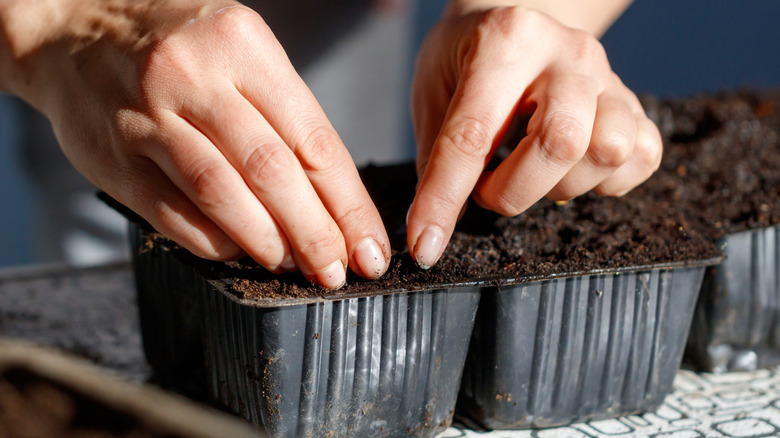
However, there are other options for adding new camellias to your garden, such as propagating by grafting, layering, or using semi-ripe cuttings or hardwood cuttings. If you want to propagate using cuttings from your camellia, use a rooting compound and place the cuttings — taken in mid-summer for semi-ripe cuttings or autumn through winter for hardwood cuttings — in a small pot filled with growing medium. Protect them from cold and harsh sun, and after about three months, your new plant should have developed roots.
Not monitoring your camellias for signs of a pest infestation
Camellias aren't as prone to pest infestations as some other ornamental species. Knowing this may cause you to let your guard down and assume that there isn't anything you need to do to protect your plants or monitor them for signs of an infestation. This would be a mistake, however. While the plants may be hardier than others, and not as likely to suffer an infestation, that doesn't mean that they are exempt from any issues.
Scale insects are one pest you'll want to protect your camellias against. While unlikely to kill the plant, these pests suck juices from the leaves or twigs. This can make the plant look sickly and will impact its ability to produce new growth. To clear up a scale issue, consider using an insecticidal spray. Ensuring your camellias are well-spaced out can also help prevent scale — and other pests — from infesting them, as there will be more room for air to flow around each plant.
Aphids are another insect that may cause problems for your camellia plant. Like scale, aphids suck juice out of the leaves — most commonly when the camellias are actively producing new growth, as this growth is much softer than more established sections of the plant. To control an aphid infestation, consider adding some natural predators to your yard, including ladybugs (which are one of the best bugs for protecting your garden). The little pests can also be sprayed with a blast of water or a soapy spray.
Assuming camellias will make it through the winter without protection
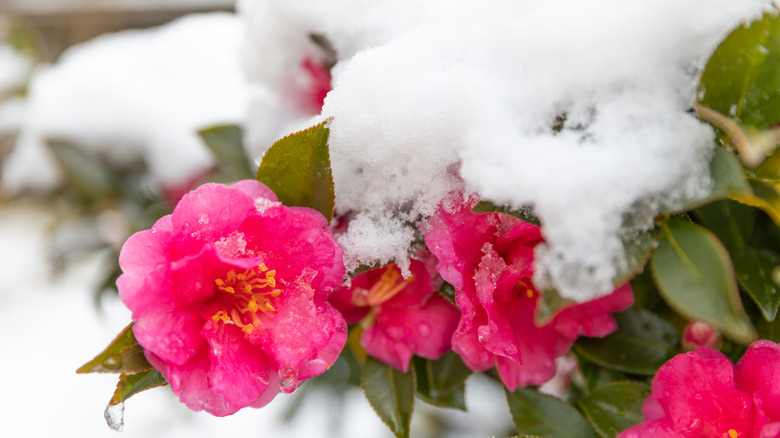
Camellias are generally hardy and able to withstand colder temperatures. However, that doesn't mean that you don't need to give any thought to caring for your camellias in winter — particularly if they are still young. As mentioned earlier, harsh winds can threaten a camellia. Cold winter winds can be even more of a threat, emphasizing the importance of choosing a planting location that offers some protection against the elements. Consider covering your camellia plants — especially younger ones — with horticultural fleece to create an additional barrier between the plant and the cold winter winds. This layer of fleece can also decrease how much the leaves become discolored over the winter.
If you have any camellias in containers, you may want to take a few additional precautions to protect your plants. There is less soil around the roots of a plant that is in a container. This means that there is less insulation to protect the roots from the frigid temperatures. Consider moving potted camellias inside or at least into a garage or shed when the temperatures plummet. If bringing the planters inside is not feasible, you can purchase some bubble wrap to cover the outside of the container. This will offer some additional insulation to make up for the lack of soil around the roots.
Not knowing how to prevent, spot, and combat camellia petal blight
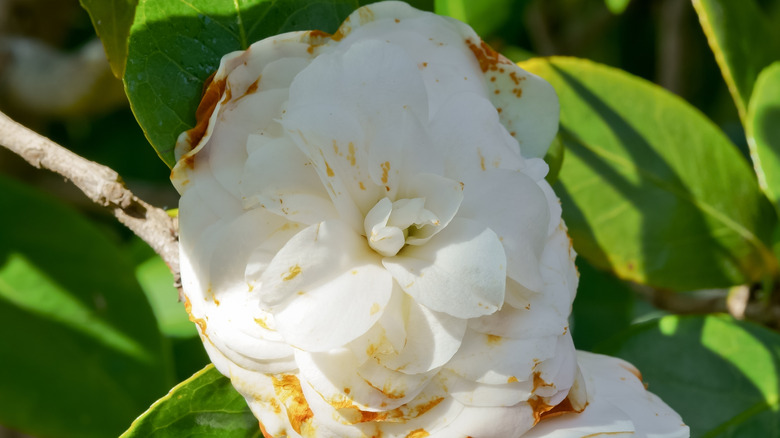
If you aren't careful, you may inadvertently increase the chances your camellia plant will become infected with a disease. One disease that camellias are particularly susceptible to is Ciborinia camelliae. More commonly known as camellia petal blight, this disease can lead to a range of problems. Some of the first signs you may see include small brown or tan wet splotches on the flowers. If the disease progresses, these spots will spread, almost covering flowers and leaving a slimy coating on the petals. Even after the petals fall for the year, it can survive and potentially cause new issues the following season.
While you can try using a fungicide to control camellia petal blight, it isn't recommended as the first approach. Instead, take care to remove any infected flowers from the plant or the ground after they have dropped. The fungus can also stay alive in mulch, so if your camellia plant has been infected, you should replace the mulch around it.
There are also a few things that you can do to protect your camellias against infection — or future infections. Water the plants from the base and ensure they are well spaced out. This will allow for adequate airflow and prevent them from staying too wet. Once the plants have flowered (and dropped their petals), spreading a 4-inch layer of pathogen-free organic mulch after removing any debris or petal droppings can also help. Be sure to avoid adding too much mulch directly around the plant's trunk, as it can interfere with airflow, and can make camellias more susceptible to disease.
