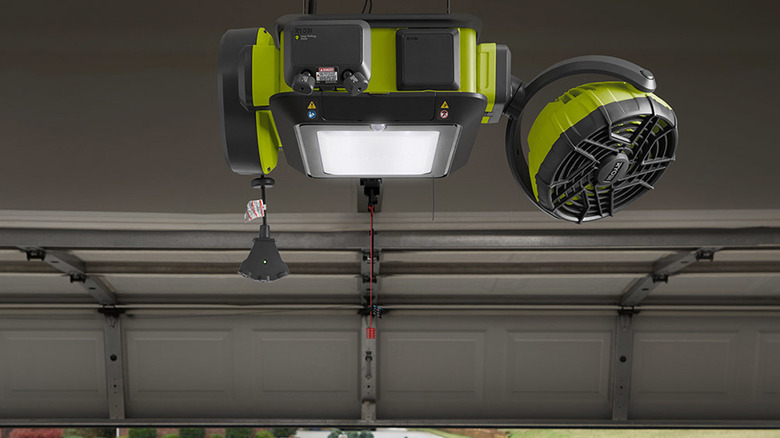
How To Fix A Ryobi Garage Door Opener That Beeps But Won't Move
From time to time, your Ryobi Quiet Compact garage door opener might seem to take a break. Oh, it's not ghosting you; it will beep and blink to let you know it has no intention of doing its job. But the door won't move at all. What's actually happening here is that the opener has lost some key settings — a common problem with garage door keypads and openers — without which it can't be safely operated. So, it lets you know and stands down until you straighten things out. Fortunately, the solution is right there in your Operator's Manual.
For whatever reason — tripping the safety sensors, a power surge, or some unknown twist of quantum physics — the unit no longer has the door's travel limits stored. Since the opener uses user-settable limits rather than a physical limit switch, that means it no longer knows where to stop when opening or closing. Fortunately, all you have to do is tell it what to do. For that, you can turn to your manual for a detailed set of steps to take, which is also explained on YouTube with @addismultitasking3504's concise video explaining the procedure. Fortunately, it's all pretty straightforward since reviews indicate this loss of settings is a pretty common problem. Ryobi discontinued the garage door opener, once one of our favorite garage hacks, after losing a patent-infringement lawsuit related to two Chamberlain Group patents.
How to fix the travel limit problem
To remedy the situation, start by pulling the emergency release rope, which opens your garage door if you lose power so that the door moves freely. Then, open the door until the outer and inner trolleys in the track engage with each other. Press and hold the up arrow button for three seconds. Once it begins to blink, you can release the button and then use it to set the door's upper travel limit. Once it's in the correct position, press and release the Set button. Next, perform the same operation for the lower travel limit. Press and hold the down arrow button for three seconds until it blinks, then release it. Use the button to position the door at it's correct closed position. There should be no gap between the door and your garage floor. Hit the Set button to store this position. You have two minutes to complete each step.
After you've set both limits, you must test the door by using the arrow buttons to raise the door to its upper limit. To do this, simply press and release the up arrow button as you usually would to raise the door. Then, test the lower limit in the same fashion: Press and release the down arrow button, and the door should return to its fully closed position. If either of the settings is incorrect, you can erase them and start over by pressing the up arrow button for three seconds, basically restarting the process.
