The Dollar Tree Frame DIY That Illuminates Your Home With Golden Light
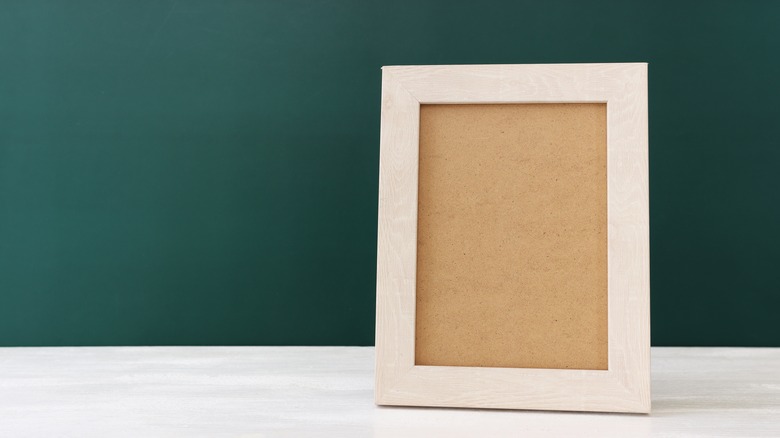
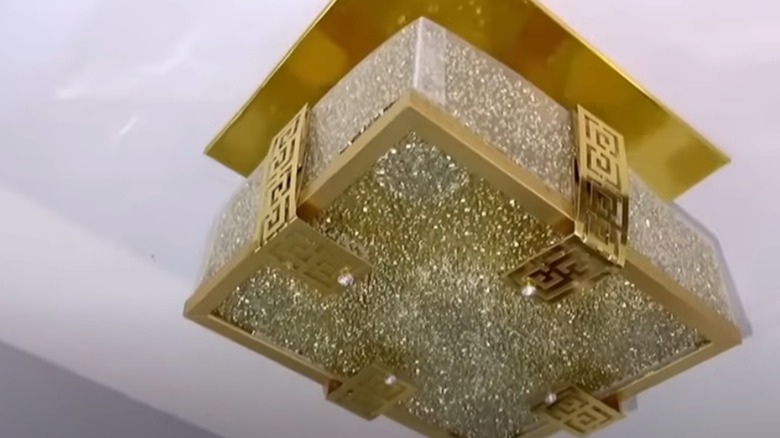
The right light fixture on the ceiling can have a huge impact on practical illumination in any room and can also make a design statement in such a prominent place. While options are endless for stylish statement lighting, it can sometimes be costly and difficult to install, particularly if your ceiling is not already wired for electricity. YouTube's Yodhav Essentials has a great solution that uses battery-operated LEDs and inexpensive supplies from Dollar Tree to construct a high-end look for less using just a 8 x 10 photo frame and a translucent cutting board sheet. The result is a gorgeous fixture that is both renter- and budget-friendly.
Not only is it easy to construct, but it can also be customized to your décor and embrace a number of design styles by simply adjusting the finishing touches on the constructed frame. Install it on your ceiling with command hooks for an easy way to light your space with a lot of style. Or use it vertically attached to the wall as a sconce. You can even adjust the size of the project to accommodate smaller frames. Make a pair and use them as bedside light sconces that save room on your nightstand.
How to create a DIY lighting fixture
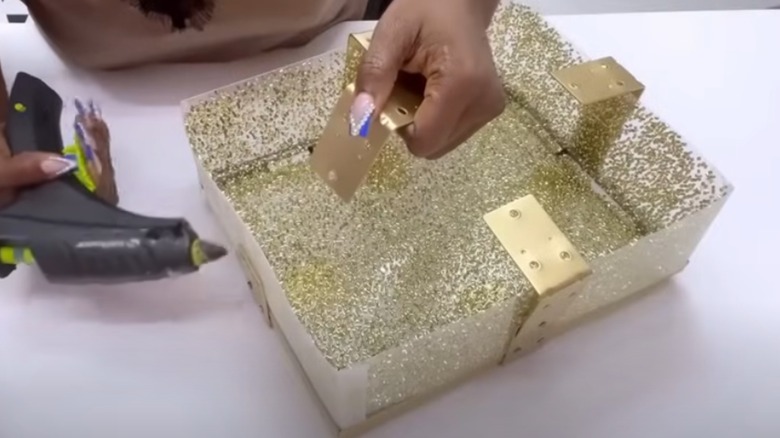
Begin by disassembling the Dollar Tree photo frame and removing any backing and glass. You will reinstate the glass without the backing against the frame, gluing it securely in place. To add additional stability, use some of the cardboard under the metal tabs to make them stronger. Attach metal corner brackets to the sides at the midpoint along the four sides of the frame using small screws, driving small pilot holes in the wood to accommodate the screws. Choose a paint color, like gold, for your accents and apply it to visible areas like the frame and brackets. Use a Dollar Tree semi-transparent cutting mat to create your lampshade, cutting it down into four equal strips. You will want to overlap each piece at the corner and secure them together with hot glue, forming them into a box that fits inside the frame and the brackets. Once all sides have been glued together. attach that shade frame to the brackets with some hot glue and additional screws.
To decorate the frame of the shade, use Mod Podge to apply some glitter or confetti to both the inside of the cutting mat strips and the top of the glass, which, when it dries, will create a beautiful multifaceted effect. For the final step, create the base of the lamp with a piece of wood or MDF board cut to the same size or slightly larger than the original frame. You can cover it with a sheet of gold contact paper or paint it with gold paint. Use smaller blocks of wood or MDF painted a similar gold to fix the base to the shade with a second set of the brackets attached to the first to put some distance between the shade and base. To finish, cover the brackets with gold decorative paper or tape to hide the screw holes.
Hanging and customizing your new light
To add illumination, use several LED puck lights on the inside of the box shade before hanging, either resting inside the shade or attached to the base. Use a remote to turn on the lights for an easy electric-free lighting fixture you can put anywhere you need it. Just use command strips to hang from a ceiling or wall.
The customization options are endless for this one to create the perfect lighting for your space. While the YouTube results in a sparkling glam ceiling fixture, you can swap it out for another metallic to your taste, like silver, copper, or antiqued brass just by changing the type of paint and glitter that you use on the project. You can even vary from the metallic in other design directions once you have the framework constructed. Alternatively, use some acrylic paints to create a pretty Tiffany-style stained glass look. Or, decoupage dried flowers and leaves to the shade for an organic style fixture or sconce. You could also leave the shade transparent and use colored LED bulbs for a more modern aesthetic.


