Get Smooth Ceilings Fast With A Useful Tool For Removing Popcorn Texture
We may receive a commission on purchases made from links.
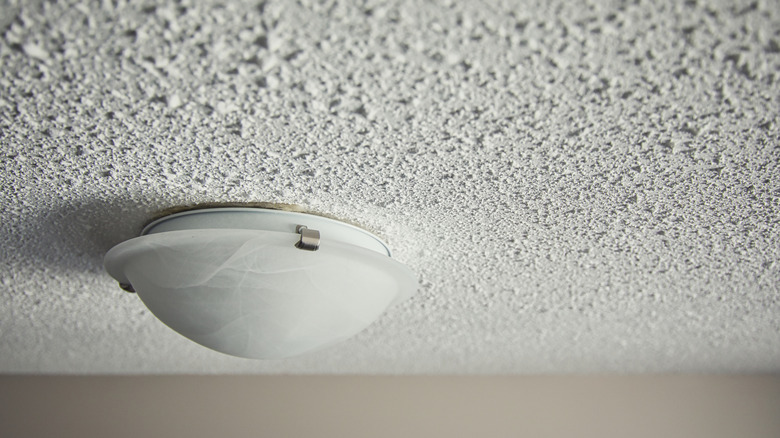
Popcorn ceilings are one of those things that have haunted homeowners for the better part of a century. For a time, they were a popular choice for builders because the popcorn texture covered up imperfections and saved the monotonous step of applying joint compound, sanding, priming, and so on. Now, they look outdated at the very least, and as we have learned, popcorn ceilings can harbor a hidden danger, as they potentially contain asbestos and lead. Removing them, therefore, is a must for many homeowners. Unfortunately, removing popcorn ceilings is a pain in the neck, back, and shoulders. The wet-and-scrape popcorn ceiling removal technique is a go-to because it requires nothing more than a hand scraper and a spray bottle. The cost is that it can take ages of backbreaking labor to do by hand, and because the scraper will inevitably cause divots and gouges, it may require repair work and additional sanding. Instead, you may want to consider investing in a power drywall sander.
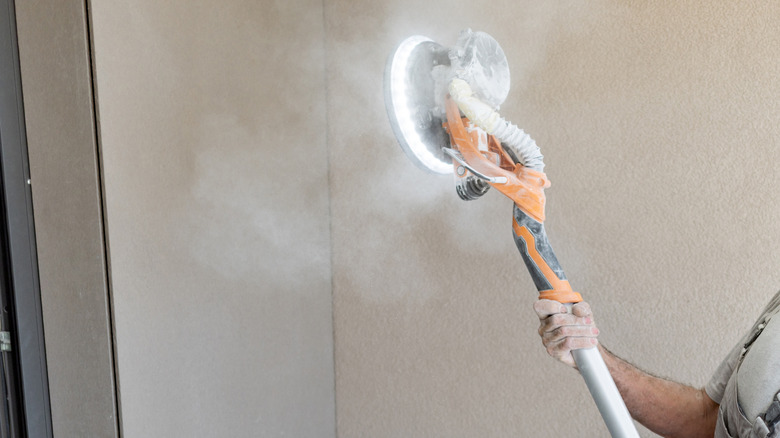
There are plenty of drywall sanders now available for personal use, which basically have an automatic sander attached to a long pole. Home DIYers swear by the sander for making quick work of popcorn ceilings. Not only can it save you from having to clean up a wet, goopy mess like the spray-and-scrape method, it evenly sands the ceiling in one go, meaning less repair and patch work. An option like the WEN DW5084 Dual-Head Drywall Sander would be suitable for most at home DIYers, and though it's not cheap, it can save you a lot of time and backbreaking physical labor in the long run.
Sanding ceilings isn't without its cons
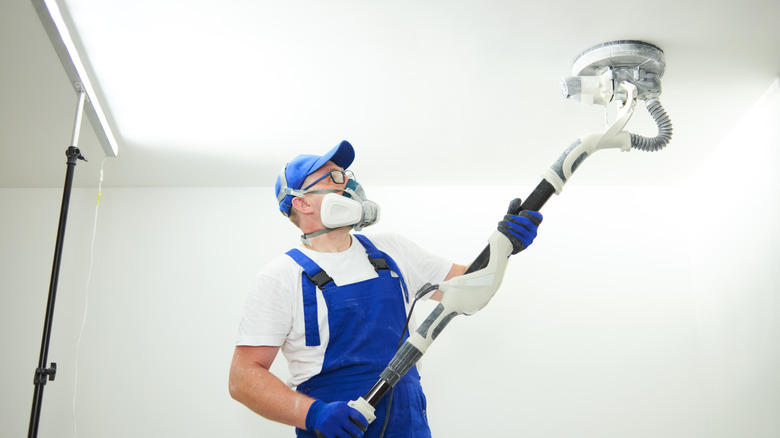
The advantages of a drywall sander are numerous, and can help you speedily and easily remove popcorn ceilings, but they come with plenty of disadvantages as well. For instance, even though drywall sanders often come with a dust-free promise and suction capabilities, there's no way to sand down popcorn ceilings that won't result in a ton of dust. Pairing the sander with a shop vac can help mitigate some of the dust, but expect to do some intense cleanup after the job is complete, including plenty of vacuuming, dusting, and even wiping down the walls. You'll also need to take personal protective equipment seriously, using goggles and a respirator mask to keep the dust particles from getting into your eyes and lungs.
Additionally, while the sander can make quick work of popcorn ceilings, they are also very heavy and require a lot of physical strength and stamina to use, particularly on large rooms or high ceilings. Try to look for lightweight models and ones that come with shoulder and back support braces, which help to distribute the weight to your core, not just your arms.
Before you plug your sander in and get to work, it is strongly advised that you order an asbestos test kit before removing the popcorn ceilings. If your ceilings test positive for asbestos, contact a professional asbestos removal service. If the test is negative, you can proceed down the DIY route, but be sure to put on safety goggles, a mask, and gloves to protect yourself from inhaling any dust particles.
How to use a sander on popcorn ceilings
In general, you'll need a shop vac to help you remove the excess dust from the air. Otherwise, you'll be working in a dust storm full of fine drywall particles which gets into everything, including your hair, eyes, mouth, and lungs. According to reviews on various models, the shop vac won't eliminate the dust entirely, but will significantly reduce it.
Now you're ready to get sanding with a low grit sanding pad. Pick an area away from the edges of the walls, as the round sanding head will not be able to reach these completely. Be sure to hold the sanding disc flush and flat against the ceiling for even removal, and you should be able to shed the popcorn ceilings quickly — some users took as little as one hour to completely remove the textured finish in an average-sized bedroom. As you sand, check out your shop vac bags periodically to make sure they aren't clogged or overflowing. You may need to replace them frequently thanks to the amount of dust being created.
To deal with those unfinished edges, you can use the spray-and-scrape method, a sanding brick, or another handheld sander that's designed to fit into edges and corners. Though there shouldn't be significant damage thanks to the coverage of the sand disc, patch up and sand any imperfections, then apply a drywall primer — and just like that, you're ready to paint. Finally, follow our tips for cleaning up drywall and joint compound dust, and enjoy your popcorn-free ceilings.


