The DIY Slanted Storage Unit Idea For Sloped Ceilings And Under-Stairs Space
We may receive a commission on purchases made from links.
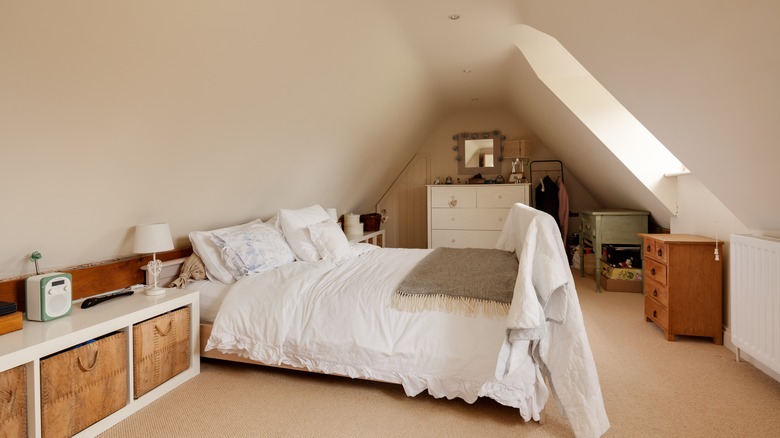
Increasing the functional value of your key living areas often starts with optimizing your storage so that all your major surfaces and walkways stay free from clutter. However, finding more room in your cabinets, bedrooms, and closets for your belongings can be a challenging process. If the storage areas you have available have a sloped ceiling overhead, then using the full dimensions of your space can be especially tricky. For many homeowners, a DIY set of drawers with a slanted back could be the perfect way to make the most of this type of space. Although this project might sound intimidating at first, it mostly relies on tools that you might already have lying around in your garage and some basic geometry.
For a quick look at what a DIY slanted storage unit could look like in your home, make sure to check out @welcome2thewoods on TikTok for the perfect project outline. In the video, Melissa cuts a frame for her new furnishing using a table saw, and builds custom drawer boxes that gradually get smaller the higher up they are in the structure. She also attaches drawer dividers with wood glue and drawer fronts with pocket screws. With a fresh coat of paint and some newly installed hardware pieces, Melissa's completed storage unit looks fantastic and offers a considerable amount of space for storing just about anything. It's a particularly fantastic DIY design if you're seeking to maximize storage space in your small home.
How to make drawers for spaces with slanted ceilings
To begin building a dresser like Melissa's, you'll need to carefully measure your space and calculate the angle of your ceiling's rise. To figure out the angle, scribe a piece of cardboard with the joint where the sloping part begins. Then, cut the cardboard and measure it with a protractor. If you have a level app on your phone, you can also use it to quickly measure the angle. Next, measure the distance between the lowest and highest points of your ceiling's slope. This is the maximum depth of your new cabinet. The angle you calculated earlier also corresponds with how steep the angle of the side panels of the cabinet box should be. These slanted pieces can be tricky to get right, so consider cutting them first to make sure they fit.
Next, cut a base for your frame and an inset back panel for the area without an angular rise. You'll also need an angled piece to cover the top of the triangular slope of the frame, since you won't be able to fit a drawer there. Use pocket screws to attach both back panels, and screw in a shelf near the top of the dresser above where the drawers will go. With the frame assembled, you can now begin creating drawer boxes. Cut a notch on the inside of the boxes' sides so you can easily slide in the bottom panel with wood glue.
Assembling your new sloped storage solution
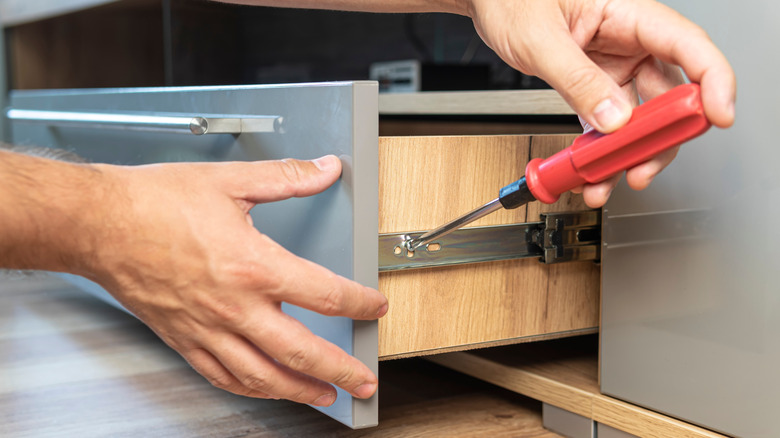
Before you add your drawer boxes to the cabinet's main frame, you'll need to install drawer slides. One easy way to do this correctly is by using a spacer panel that accounts for the height of the drawers and their fronts. Make sure to add a small fraction of an inch for the gap between the drawers themselves, or they'll get stuck whenever you try to open them. While this simple method works great, there are also several other ways to make installing cabinet drawer slides a breeze. Don't forget to get shorter drawer slides for the upper boxes, since they will have smaller dimensions due to the sloping design of the project. Make sure your drawer boxes fit correctly before proceeding.
When you're done with the drawer slides, it's time to assemble the face frame for your cabinet. In the TikTok video, the creator does this with the help of a bar clamp. This tool comes in handy for all kinds of cabinetry and woodworking projects, so if you don't already have one at home, the Wen Quick-Adjust 36-Inch Steel Bar Clamps are a great choice. Next, it's time to prime and paint. When you install the drawer fronts of your cabinets, consider using double-sided carpet tape to hold them in place while you attach their screws. Finally, attach your drawer pulls to the front of the boxes. Make sure to review all the types of cabinet hardware to find the fixtures that best fit your space.

