Why Priming Your Floor Is Necessary When Using Epoxy In Your Garage
If you're looking to change up your garage floor, epoxy is one of the best options to consider. Thanks to its versatility, you can achieve a range of eye-catching colors and textures from metallic to glitter and marble. Before you even touch the epoxy bucket, though, you need to first prime your floor. This vital step will ensure that you achieve the best and longest-lasting look possible.
Epoxy itself is a type of resin that can be used on concrete floors. It is a popular choice for garages because it's incredibly resistant to stains and chemical damage, and it also holds up well to regular wear and tear. To fully experience all these benefits, you have to use an epoxy floor primer, as this ensures that your epoxy will properly bond to your floor. In addition, primers help eliminate air bubbles that can form during installation and assist with moisture resistance.
The one downside of primers is that they're often expensive. It may be tempting to skip their use in hopes to save on costs. However, if you skip this step, you will likely spend more on future repairs for your epoxy floors, and you may even have to redo your floor installation.
Primer does more than improve the look of your epoxy floor
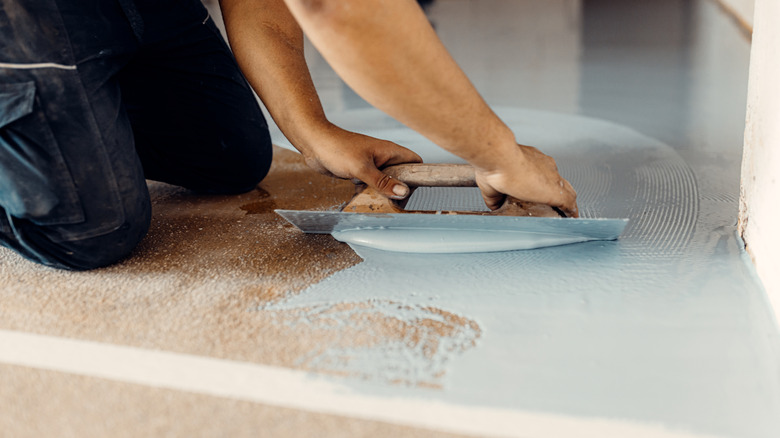
To really understand a primer's benefit to your epoxy floors, it's helpful to know how it works. Essentially, a primer forms a mechanical bond with your concrete, filling in the pores of your floor and locking together once solidified. However, you can't use just any old primer for this process. You'll need to purchase one specifically designed for epoxy because these primers go deeper into concretes' pores when making that initial mechanical bond. This leaves you with a much stronger base and a smooth, poreless surface to apply your epoxy. After mechanically adhering to the concrete, the primer creates a thin coat that your epoxy can adhere to through a chemical reaction, which is even stronger than a mechanical bond. Once set, the epoxy's chemical bond with the primer makes the whole floor flawlessly smooth and extremely durable.
To pick the proper primer for your floor, you should do research based on the epoxy you choose. If you have a floor with a lot of chemical stains, you can also look into oil blocking primers. Most epoxy primers are water-based but these solvent-based products are specifically designed for concrete surfaces contaminated with grease, petroleum, and other chemicals that cannot be completely cleaned.
How to properly prime your garage floor
Epoxy flooring may seem easy to DIY, but there are a few things to consider. First, you'll need to work quickly, and there is not a lot of room for mistakes. Epoxy's pot life is only about 30 to 45 minutes once mixed. If you want to prime your floors yourself to save some costs, start by repairing any holes or cracks and thoroughly cleaning the space. This includes not only sweeping to remove dust and debris but also removing stains. For common stains like oil and grease, you can try using some unexpected household items like baking soda or even Coca-Cola.
Once all cleaning is done, you should etch your concrete. This process makes concrete more porous and it can be achieved by using an acid and water solution. Remember: Epoxy primers penetrate concrete's surface, so the more room you give it to work, the better results you'll have. You can learn more about how to etch your floors here. Be sure to use protective gear when acid etching concrete.
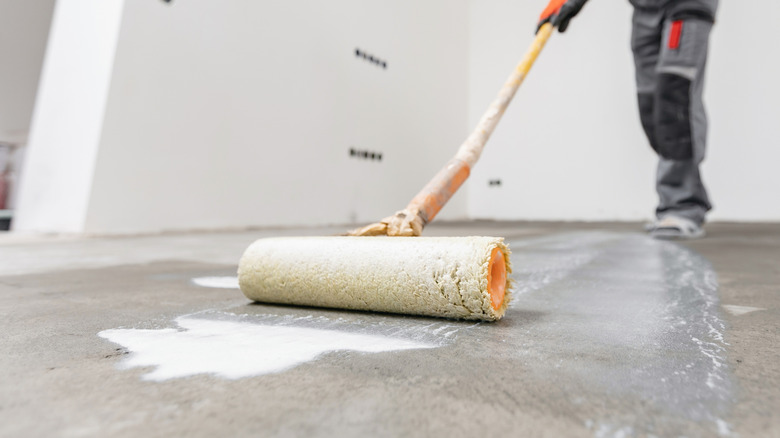
From there, mix the primer according to its instructions and pour it in ribbons on one area your floor at a time. With a paintbrush, apply primer along the borders of the room before switching over to a roller brush. For safety, ensure that your garage is ventilated, and wear rubber gloves along with protective goggles. After application, allow your primer to dry for at least four hours, depending on the manufacturer's guidelines, and add a second layer if necessary. Once that is done, you can finally move on to adding epoxy to your floors.

