Reuse Empty Soup Cans To DIY A Vertical Garden That's Great For Small Yards
We may receive a commission on purchases made from links.
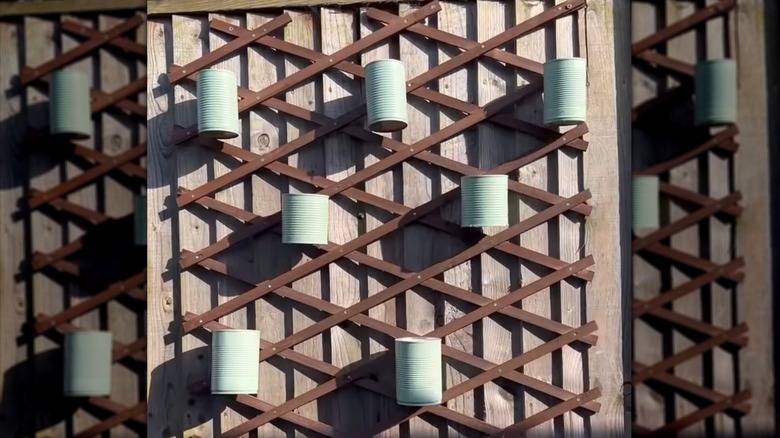
Soup cans offer more than just their delicious, comforting brews on a cold day. These gleaming canisters can be excellent crafting material as there are numerous clever ways to repurpose empty soup cans around your home or garden. But there are only so many soup cans that you can turn into pencil cups, and you might want to find some new ways to use your supply of empty soup cans shoved in a cabinet. If you're a little space-challenged and stuck with a small yard, soup cans help you create a garden utilizing your vertical space, such as on a fence or patio wall. A nail, hammer, or drill, soup cans, and a green thumb are all you need for this easy DIY garden project.
You can easily recycle soup cans in most curbside recycling programs or at your local recycling center. Often made of steel with tin-coated interiors, they're durable and handy. In addition, it can feel like a waste to toss them in the trash if you aren't able to recycle them in your area. However, creating a vertical garden with soup cans lets you extend the cans' lifespans with an eco-friendly project. It's a good alternative, especially if you don't have a robust recycling program in your area. When you reuse any item, you are doing your part for the environment, plus making do with what you already have. So next time you finish a can of tomato soup, save it and follow these steps for your new garden.
Making your vertical garden with soup cans
Remove any labels present from the can and rinse the inside; after all, you want your plants to enjoy a clean home! You also need drainage holes; with a drill or a hammer and nail, punch at least three holes in each can's bottom. You may also consider marking each can with its contents to make it easy to harvest your bounty later. Some gardeners also like to paint the cans with a neutral color, like white or beige, as this can help keep the soil cool while reflecting heat and cut down on rust. If you're still feeling crafty, you could repurpose household items like jar lids to make a few DIY plant labels. Another option is to use a chalk marker, such as Timart Extra Chalk Markers, to identify each plant.
Once you finish prepping your cans, then it's time to set up your DIY vertical garden. You may either mount them on a wooden trellis such as the Avalution Wooden Lattice Panels, nail each can to a piece of wood, or hang them individually on nails in your fence. Another clever way for this project is to repurpose an old, unused ladder: attach a can or two on each ladder rung and then hang it horizontally across your fence. After you mount your cans, you can fill each one with soil and seeds to let your garden grow with the best options for your area.
What to plant in your vertical garden
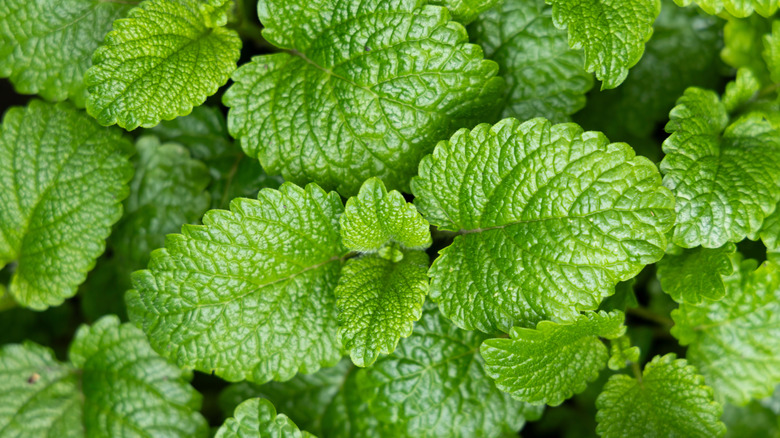
As you choose what to plant, consider the sunlight and shade conditions for your area, especially if your new garden won't get at least four hours of sun. Herbs such as parsley, lemon balm, thyme, and sage can be good candidates for vertical planting. Watercress is another great choice that grows quickly, but be careful if you live in an area with high precipitation, as it hates being waterlogged. Mint, a balcony-friendly herb, will likely grow with no issue in most areas, though you should harvest it regularly once there's growth.
If you have an abundance of sunlight, try growing basil, whereas if your garden is more on the shady side, coriander can be a great choice. With the proper seed planning and this creative DIY, you could quickly have all the ingredients for a delicious salad! Best of all, because you're setting up a vertical garden, you won't have to worry about rabbits coming to munch your crops.


