How To Correctly Measure Grout Joint Size When Tiling Floors Vs Walls
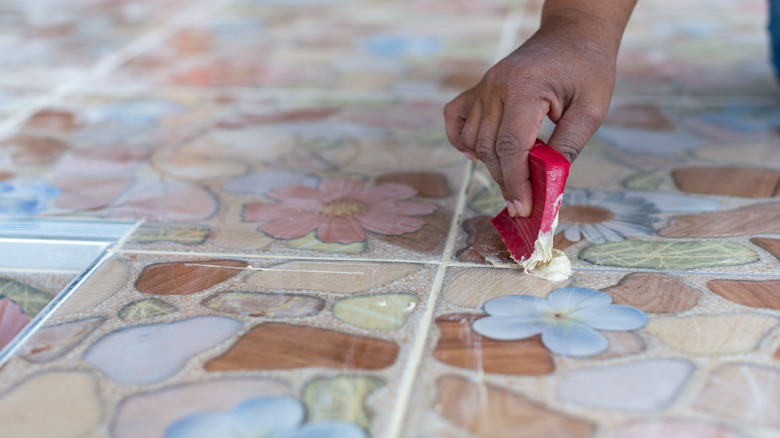
Changing up your floor is a great way to give your home a completely new feel without touching anything else. Tiles are a popular option because they're DIY-friendly, but if you're looking to install tile flooring, you may be stumped when it comes to determining your grout joint width. Fortunately, picking the proper size is much simpler than it seems.
As a general rule of thumb, you should have a joint size between 3 and 5 millimeters for floor tiles. If you've put up wall tiles before, you may notice that's quite a bit bigger than their recommendation of 2 or 3 millimeters. One reason for this is that floor tiles need more grout to provide traction, especially in areas that are prone to becoming wet like your kitchen and bathroom.
To pick an exact joint size, you need to research recommendations for your specific tile and substrate, or for the floor material you're covering. For example, materials like ceramic tend to have a natural variation in size, so a wider grout joint will allow you to cover up those imperfections. Your joint sizes will also change depending on your floor's slope, curves, and so on. For example, you'll use more grout if you're tiling on an incline to add traction, and less when you're going into a recess. Once you have those general guidelines down, picking the right grout for your tile should be simple.
Why you shouldn't skip grouting your tiles
For tile owners, grout can be annoying to deal with. Because grout is porous, it's prone to both staining and discoloration. Its porosity also makes grout difficult to clean, as those stains are deeply absorbed. Over time, grout can seem like an aesthetic blight, so you may be asking yourself if you really need to use grout when installing tile. The answer is a resounding yes.
Grout isn't only there for aesthetics. Although you can select from a range of colors to match your tiles, grout serves a more important purpose. It's vital for protecting both your tiles and the material you place them on. It allows your tiles to withstand movement and thermal expansion, and it prevents moisture from seeping underneath them. You can't fix this just by laying your tiles super close together, as that will cause them to rub against one another and potentially break. The only exception is if you're using groutless tiles that are specifically designed to be installed that way.
Keeping up with cleaning your grout will help prevent stains. You can use either a grout and tile cleaner or create your own mixture with ¾ cup of baking soda, ¼ cup hydrogen peroxide, and 1 tablespoon of dish soap. Use a firm-bristled brush to really work your cleaner in. Just make sure you avoid acidic cleaners (including vinegar), as these may dissolve your grout. Additionally, waxy or oil-based cleaners may leave an ugly film behind.
More tips to follow for grouting your floors
Besides determining a joint size, the most important factor is ensuring you pick the right grout. The most common types are epoxy, sanded, and unsanded. Each works best on different seam widths and materials, so you'll have to do some research to pick the appropriate option for your project. For example, avoid sanded grout for glass or stone tiles, as they're easy to scratch.
If you have leftover grout from tiling your walls, you may be able to use it on your floors, depending on your tile. Remember, wall joints are usually smaller, meaning the grout is finer so it can get into small spaces. That may be an issue if you're using tiles that need a wide grout joint. Research the tiles you plan to use and follow the manufacturer's specifications.
From there, properly grouting your own tile isn't too difficult, as long as you take your time. Before you perform any installation, though, run a test using your tile and some spacers. These neat tools allow you to lay out your tile with the space for the grout joints added. That way, you can see how it will all really look once installed.

